- 8min
- 3515
- an opinion
Contents
Can I build a wooden fence for my garden on my own? The idea sparked in my mind as a father when my child repeatedly expressed concerns about our puppy escaping. As a parent, it’s fulfilling to meet our children’s expectations, and this prompted me to explore ways to create a sturdy wooden fence. I’m excited to share this journey with you, and by the end of this article, you’ll have the confidence and knowledge to construct a wooden fence that you can proudly showcase.
installing wood fence for the garden can be an exciting experience for gardeners and tool lovers. Among the advantages of wooden fences and railings are their low price, compatibility with the environment, easy design and construction, and creating a beautiful atmosphere in the garden and home.
There are different ways to build wooden fence; We want to introduce you to one of the simplest of these methods, so stay tuned.
Getting Ready to Build Your Own Wooden Fence
The first question that will likely come to mind is how to make wooden fence for garden .Checking your local rules and regulations is an essential first step before installing a wood fence. While it might sound complicated, it’s crucial to understand these guidelines to ensure a smooth project. Local rules often dictate fence height, placement, and materials, and some areas may require permits for certain fence types. By knowing and following these rules, you’ll avoid potential issues and fines, making the rest of the fence installation much easier and hassle-free.
Related Articles: German Garden Tools
Wood Fence Materials: Finding the Right Fit for Your Outdoor Space
Understanding the weather in your region is crucial when it comes to choosing the best material for your outdoor wooden fence. Does your place enjoy abundant sunshine year-round, or is it characterized by frequent rainfall? or it experiences a harmonious blend of sunny and rainy days? Tailoring the materials for a wood fence to your local climate ensures both durability and aesthetic appeal, making your outdoor space a true reflection of your environment. This helps your fence last longer and look better, so it matches the weather where you live.
Creating Privacy and Elegance: A Guide to Installing a Shadowbox Wood Fence
After selecting your preferred material and receiving your approval to proceed with building, let’s move on to the next exciting step: crafting your wooden fence for garden! Rest assured We’re committed to making this process exceptionally easy for you, and we’ll provide guidance every step of the way. Here’s a step-by-step guide on how to install it:
- Now it’s time to connect these pieces, connect wooden pieces easily in this way; the end of one piece has to be attached to the end side of the other piece; wood glue, nails, and wood screws should be used in combination to join all wood pieces.
Related Articles: Garden Tools Manufacturers
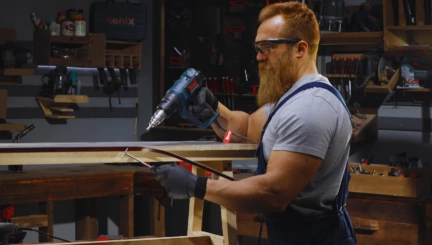
- If you want a longer-lasting connection, you can use a Ronix air nailer (nailer) to connect the parts.

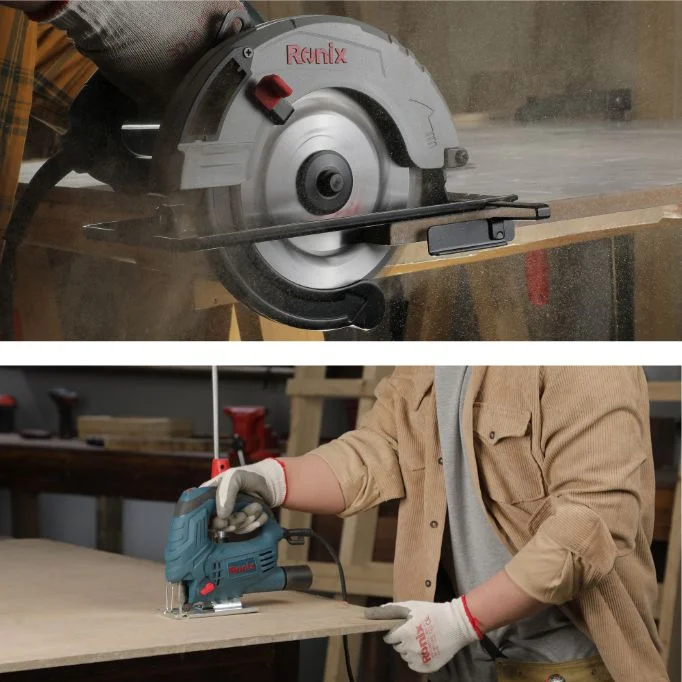
Now it’s time to make wood pieces with arrow-shaped tip and attach them to the frame you made. The number of these wood pieces, their dimensions, and their distance from each other is totally according to your personal interest. Using a Ronix jigsaw or a circular saw (jigsaw) (circular), cut the pallet tips into arrows in the desired dimensions. You can also use a Ronix miter saw (compound) to achieve a more precise cut.
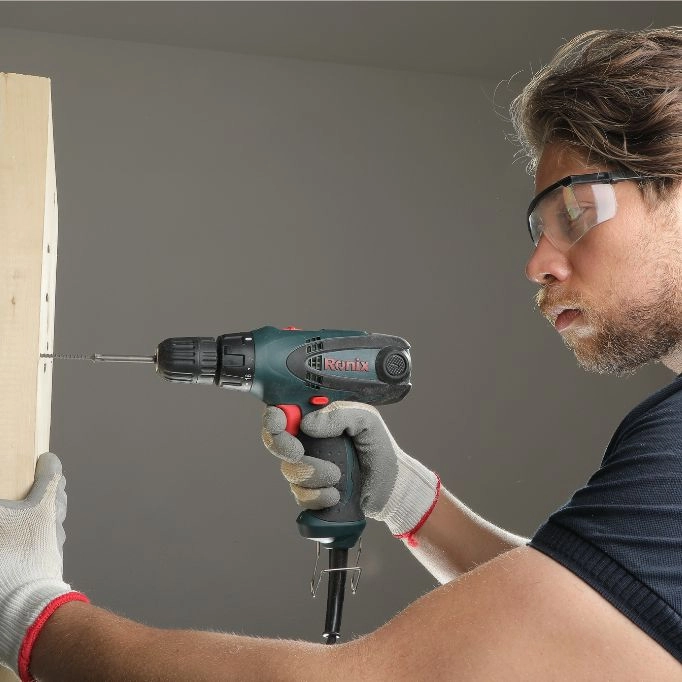
- Now, using a Ronix cordless screwdriver drill (brusless screwdriver) and observing the desired distances (about 10 cm), connect the arrow-shaped tips of the wood pieces to the main frame using an electric screwdriver.
Related Article : Use of hand tools in gardening
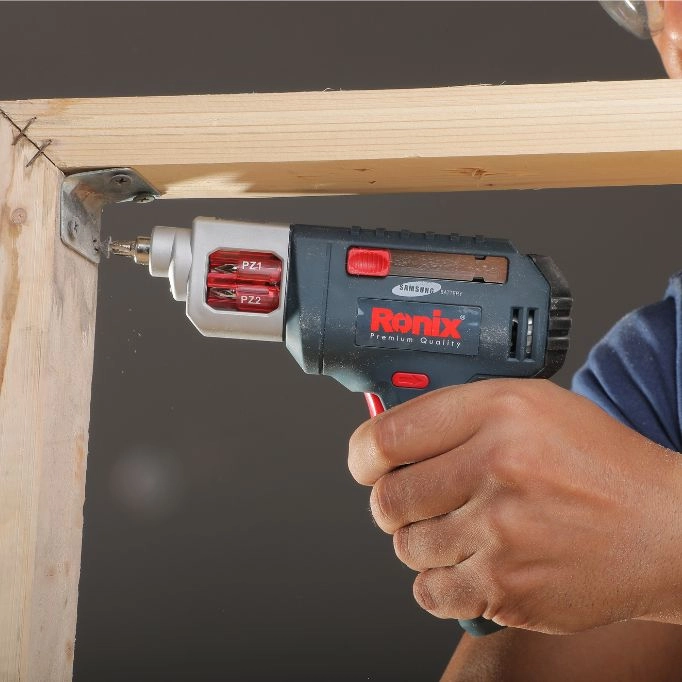
- There is one very important point; To install your DIY wood privacy fence in the garden, you need to make a wooden base. To build this wooden base, consider four wooden boards with the length and width of the fence frame and screw them to the vertical bases (which you have cut in the shape of an arrow) using a Ronix cordless screwdriver(brusless screwdriver)
- You can use an orbital sander to clean the surface and make a smooth wooden fence. If your workpiece has damages and grooves, you can use wood putty to fill pores, cracks, etc. You can make wood putty at home or use ready-made putties available in the market. After accomplishing this task, it takes about 8 hours for the surface to dry.
The Digging and Post-Setting Process
how to build a wooden garden fence has a straightforward solution: just follow these steps, and you’ll have a beautiful fence when you’re done.
Measure Your Fence: Measure both the height and length of your fence to determine the necessary digging depth.
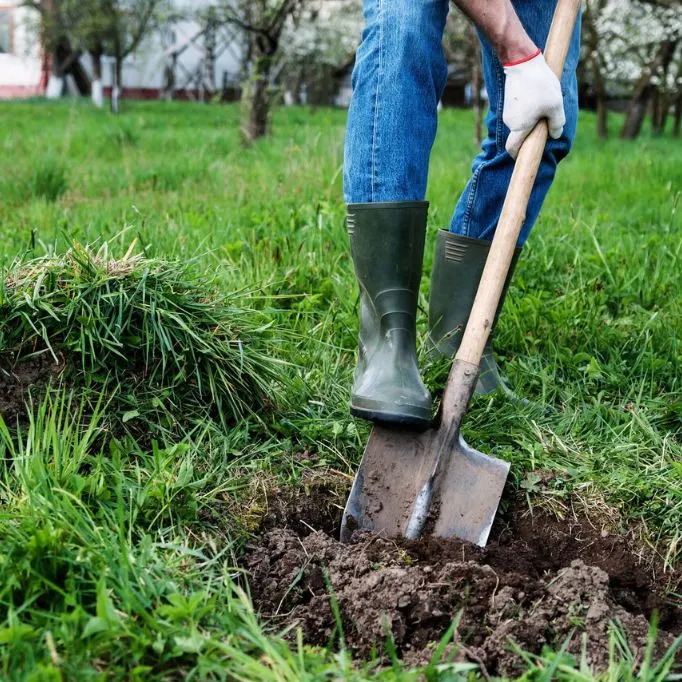
- Calculate Hole Depth: Calculate the required depth by assessing the length of your fence. This measurement will help you determine how deep you should dig into the ground. You can also use a shovel for this task.
- choose the right tools: Selecting the appropriate tools is essential for a pleasant and effortless DIY wood fence construction experience. This choice ensures you can enjoy the process without expending excessive physical effort and becoming exhausted.
- start digging: Now, it’s time to begin digging. I will recommend some digging tools that will assist you in performing your task more efficiently and quickly.
- insert your pence post: Now, you can place your fence in the prepared area you’ve dug. Ensure they are level and free from any issues.
- Backfill with Concrete: Fill the hole around it with concrete to stabilize your fence and prevent it from shifting.
By following these steps, you’ll ensure that your wood fence construction stands securely, maintains the desired height, and remains properly aligned, enhancing both the functionality and visual appeal of your property.
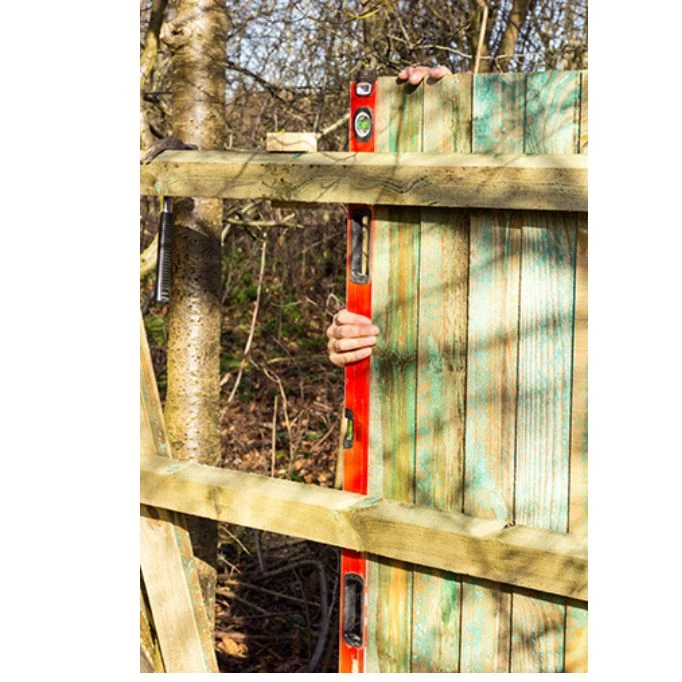
Securing the Fence Rails
- choose your rail placement: Take your time to choose the optimal nail placement, considering the style you intend to achieve and the specific purpose for which you’re installing the nails. This thoughtful selection will lead to better results.
- measure and cut rails: Measure the distance between two adjacent fence posts to determine the length of the rails you’ll need and after that Cut the fence rails to the appropriate length.
- attach the rails: When attaching the rails, be sure to use a spirit level to ensure they are installed evenly, not only for a visually appealing result but also for added security and stability. Additionally, remember to check that the spacing between the rails is consistent and level. This attention to detail will contribute to a well-constructed and aesthetically pleasing fence.
- fasten rails: Now it’s time to fasten the rails. You can use screws, nails, or a screwdriver to secure the rails in place, depending on your preferred method and the requirements of your DIY wood privacy fence project.
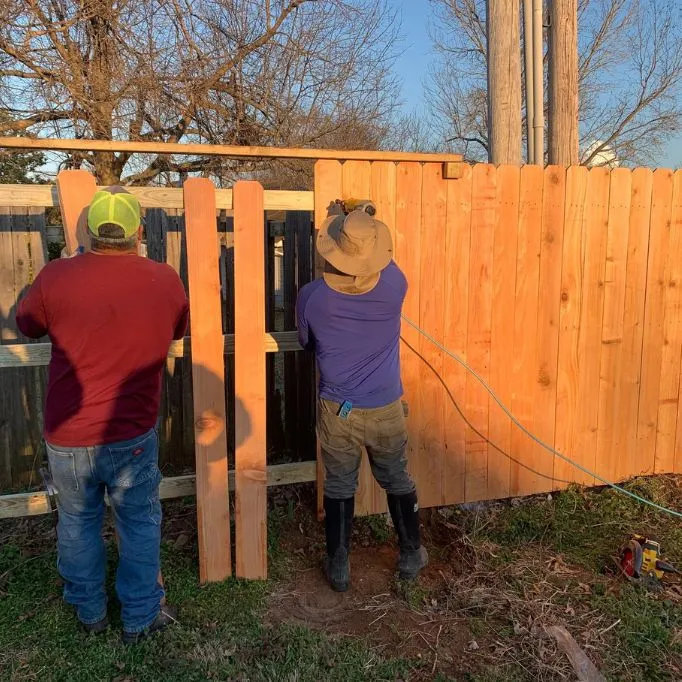
Setting Up Fence Pickets
Fix the first picket firmly in place using screws or nails, ensuring it aligns with your markings and is level. Then, continue attaching the remaining pickets one after the other, while keeping consistent gaps and checking for vertical and horizontal alignment as you go.
Constructing and placing the Fence Gate
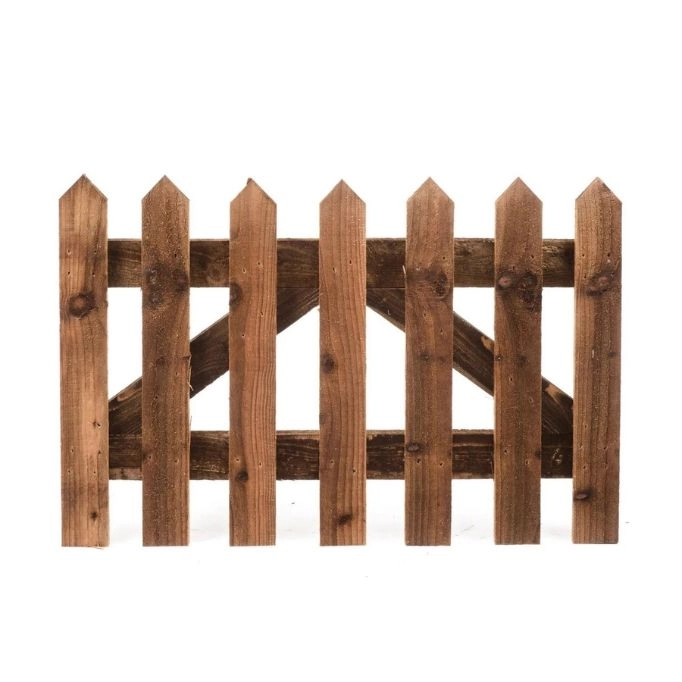
Measure the width of the gate opening between the fence posts. When positioning the gate, don’t forget to assess the placement of the gate’s door opening. Test the gate’s swing, fine-tune hinge adjustments as needed, and install a reliable latch or lock mechanism to guarantee security.
Completing and Caring for Your Fence
To keep your wooden fence for garden in good shape, start by checking it thoroughly for damage, like loose parts or worn-out components. Fix any issues you find right away. Next, clean your fence with mild detergent and water or a pressure washer for tough dirt. For wood fences, consider painting, staining, or sealing to protect them from damage. Regularly inspect and touch up these finishes as needed. Don’t forget to keep an eye on your gate’s hinges, locks, and latches to ensure they work smoothly and securely. Maintain a small gap between the ground and your fence to prevent moisture damage, and clear any debris from the base. These simple steps will help keep your fence looking good and lasting longer.
FAQ:
What is the best wood for fencing?
The best materials for a wood fence depends on factors such as durability, appearance, and cost, with cedar and redwood often favored for their natural resistance to decay, while pressure-treated pine is a popular and cost-effective choice for many applications.
why building a wooden fence is good for a garden?
Building a wooden fence in a garden is good because it provides privacy, security, and a more organized look, making the garden more enjoyable and protected.

Ronix
16 March 2021


I have honestly never read such overwhelmingly good content like this wood fencing.