- 9min
- 42680
- 0
Contents
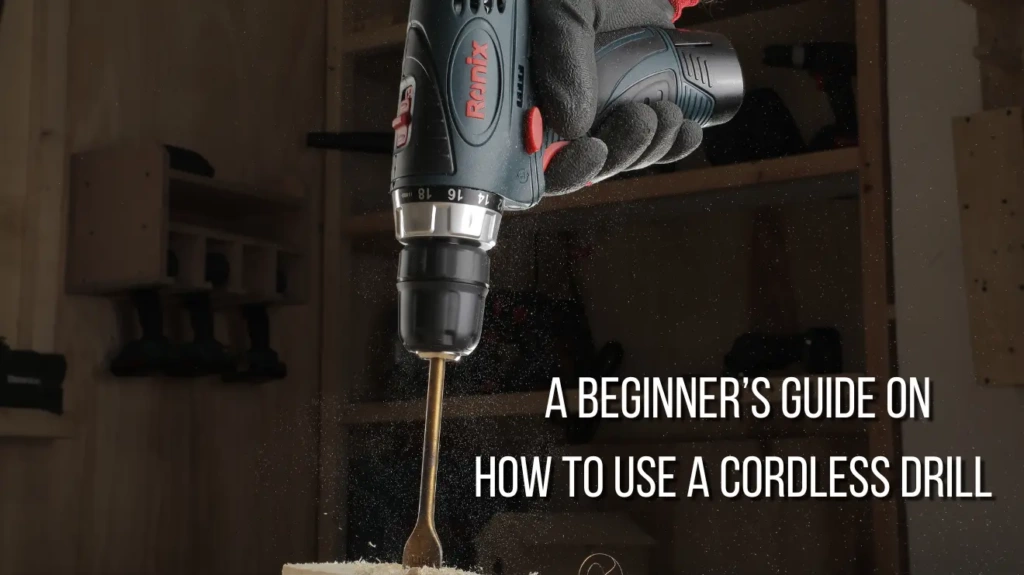
For those new to the world of power tools, the prospect of handling them can be scary. The uncertainty about where to start, the worry about using the tools correctly, and, above all, the concern for safety can be overwhelming. Fear not! This guide will explain how to use a cordless drill, designed to ease your worries and equip you with the necessary knowledge for safe and effective use.
Cordless Drill: A Versatile Companion
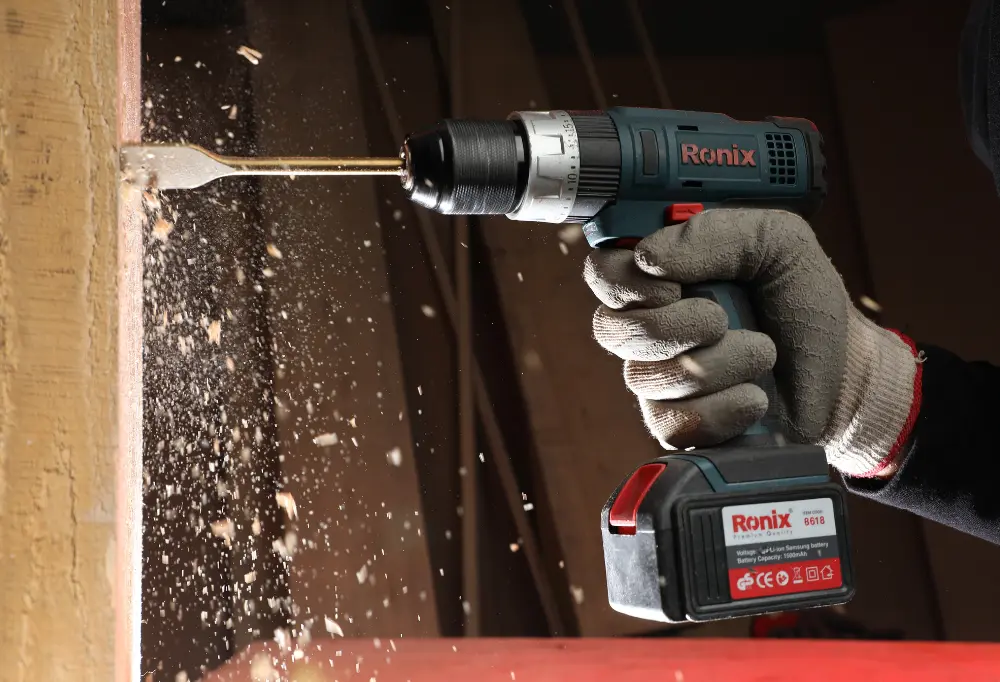
This tool is valuable for a variety of tasks. Whether you’re drilling into metal, plastics, wood, or stone, or engaging in the efficient driving of screws with an electric screwdriver, the cordless drill driver is your versatile companion. One of its standout features is the convenience of running on battery power, eliminating the need for a troublesome cable. No more tripping hazards!

In addition to the freedom from cable entanglements, a cordless drill offers the flexibility to be used in unconventional situations, such as working up ladders or on roofs. Its balanced design and one-handed operation make it particularly user-friendly, a notable advantage over corded drills that tend to be top-heavy and challenging to wield with a single hand.
Understanding Cordless Drill Mechanics
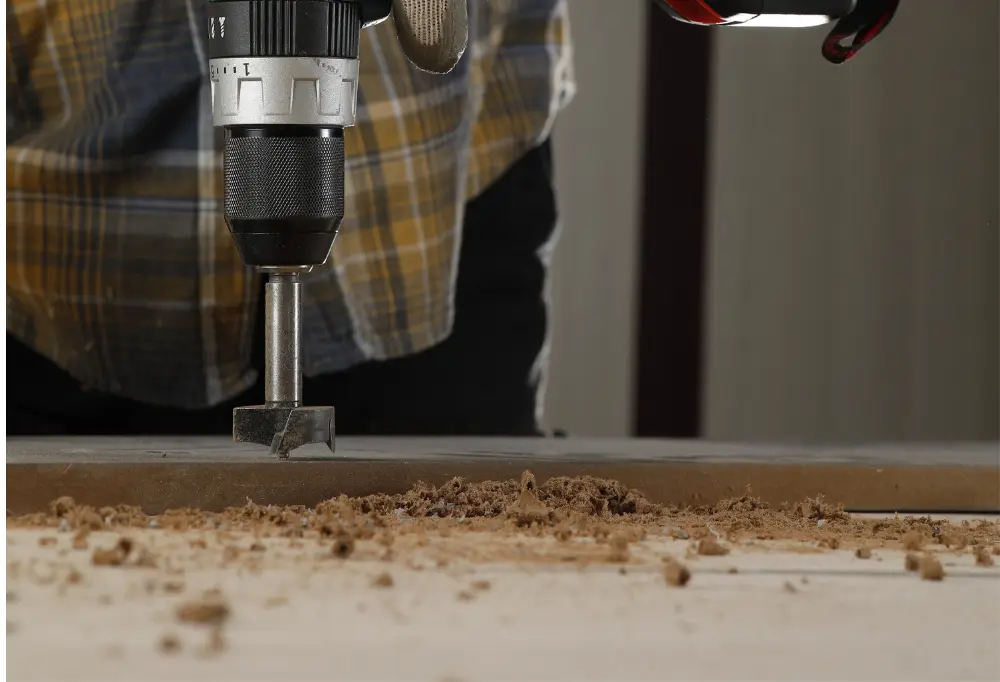
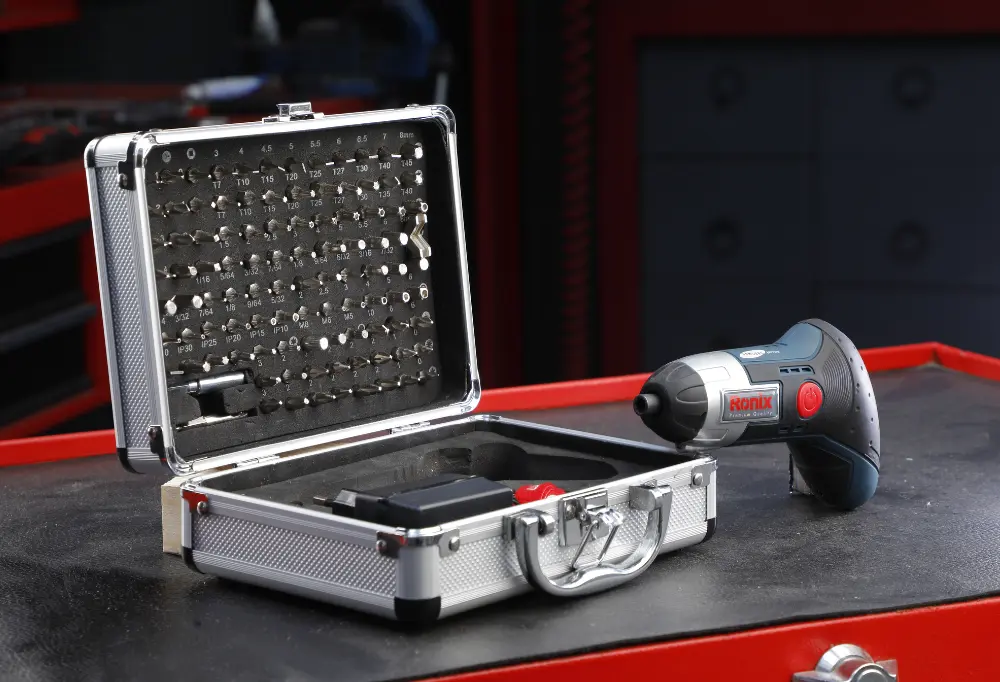
To understand how to use a cordless drill, it’s crucial to understand some fundamental information. Cordless drills typically feature a hand-tightening chuck, usually sized at 3/8 inch (10mm) or 1/2 inch (13mm). For better versatility, combi drills include a hammer motion, simplifying the process of drilling holes in masonry.
Battery voltages for cordless drills range from 10.8 to 36 volts. More voltage equals increased power and torque, ideal for drilling larger diameter holes. However, it’s important to strike a balance, as higher voltages can result in a heavier drill. A practical compromise often lies in the range of 14.4 to 18 volts.
Fine-Tuning with Torque Settings
Cordless drills come equipped with torque settings, a valuable feature for precision work. These settings ensure that when a predetermined twisting force or torque is reached, the chuck will disengage, preventing the screw from being over-driven into the material.
Considerations for Optimal Performance
Similar to corded drills, cordless counterparts may offer low and high-speed settings. The speed is regulated by a gearbox, with lower settings delivering increased torque for drilling larger diameter holes. If your tasks involve driving TEK screws, which are self-drilling screws used for fixing metal cladding to metal or wood, opt for a model with a maximum torque of at least 55 NM for optimal performance.
Navigating the Cordless Drill Landscape: Top Picks for Beginners
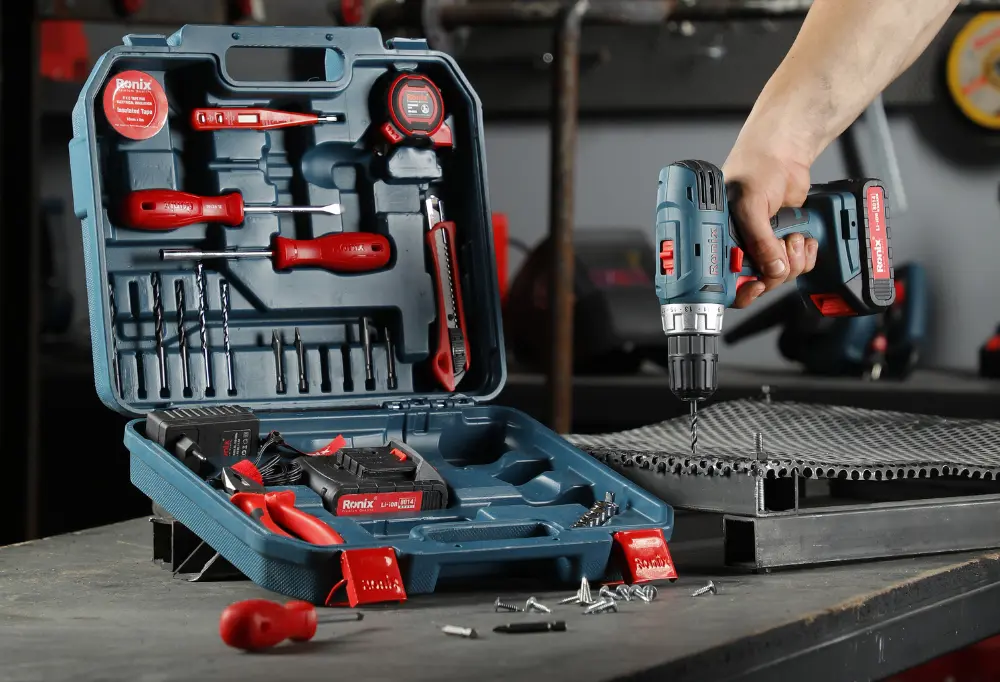
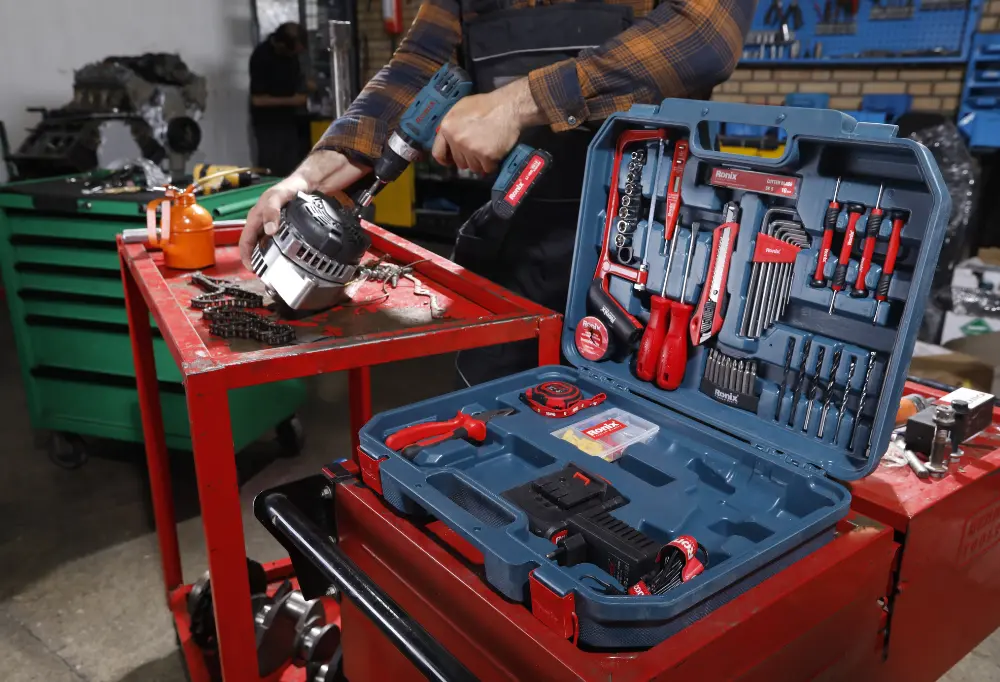
Understanding how to use a cordless drill is only half the battle; owning a reliable tool is equally crucial. With the market flooded with options, choosing the right cordless drill for beginners can be a daunting task. Fear not, as we’ve curated a list of some top-notch cordless drills that cater specifically to those starting their DIY journey.

DeWalt DCD796P1 Cordless Drill: Versatility Redefined
The DeWalt DCD796 is a powerhouse in the 18V cordless drill/driver/hammer drill category, capable of handling any job you throw its way. Equipped with a considerable 5Ah battery offering extended run-time, the tool allows flexibility in battery size to reduce weight without sacrificing power. The battery’s quick 75-minute charge time and optimized power delivery enhance productivity.
Featuring 13 torque settings, this drill effortlessly handles steel, stone, and wood. The high-quality, single-piece, all-metal chuck accommodates drill bits ranging from 1.5mm to 13mm in diameter. With the ability to drill up to 13mm in steel, 13mm in masonry, and 40mm in wood, it offers unparalleled versatility. The three LED work light modes are a boon when working in areas with limited natural light.
Ronix 8612N Cordless Drill, 12V, 1500RPM: Power and Precision
For those seeking a balance of power and precision, the Ronix 8612N Cordless Drill is a standout choice. With a high-resistant waterproof motor, it excels in wet conditions. The 25N.m torque ensures seamless drilling and screwing through various surfaces, including wood (max drilling capacity of 25mm), plastic, and metal (max drilling capacity of 10mm).
Featuring 18 clutch settings, this drill enables efficient and accurate screwing, reducing the risk of fastener damage. The 2-speed function offers both high-speed and high-power applications, with a no-load speed ranging from 0-400RPM for high power and 0-1500RPM for high speed, ensuring optimal motor efficiency. Whether you’re a DIY enthusiast or a professional, the Ronix 8612N delivers a strong and reliable performance.
Cordless Drill: A Step-by-Step Guide
Using a cordless drill may seem intimidating at first, but with a few simple steps, you’ll be handling it like a pro. Here’s a comprehensive guide to help you navigate the controls and make the most of your cordless drill:
- Familiarize Yourself with the Drill’s Controls:
- Locate the drill’s trigger, located on the handle just below the drill body.
- Identify the trigger lock, a small circular button near the trigger.
- Find the directional lever, positioned in front of the trigger on the drill body or on the bottom of the drill handle. Move the lever forward (F) to set the direction.
- Turn the drill upside down and insert the battery into its designated slot.
- Select the Right Drill Bit:
- Choose a suitable drill bit from your drill bit set based on the requirements of your task.
- Insert the Drill Bit:
- Hold the outside of the chuck and gently squeeze the trigger to open the chuck.
- Insert the chosen drill bit and release the trigger to close the chuck securely.
- Lock in the Drill Bit:
- For a keyed chuck, use the chuck key by inserting its alignment pin into one of the three holes on the chuck. Turn the chuck key clockwise to lock in the drill bit.
- For a cordless chuck, grip the outside of the chuck firmly and squeeze the trigger to lock in the drill bit.
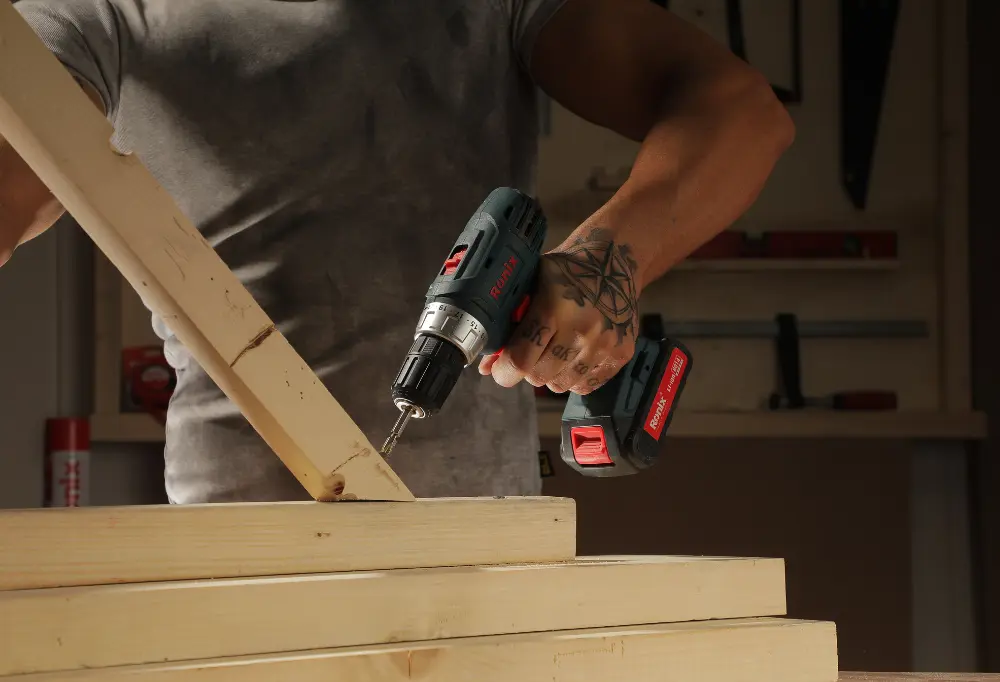
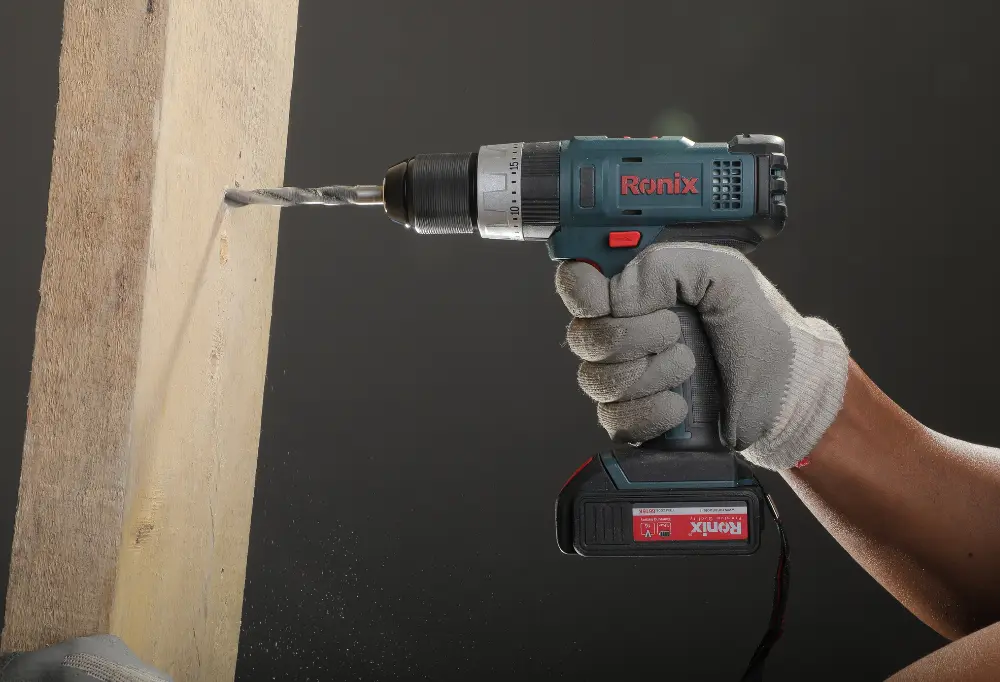
- Prepare Your Work Surface:
- Secure a 2-by-4 lumber in a vise to ensure stability during drilling.
- Begin Drilling:
- While wearing safety glasses, position the drill bit’s tip on the wood surface.
- Slowly compress the drill’s trigger to start the drilling process.
- Reverse and Withdraw the Drill Bit:
- To withdraw the drill bit from the wood, depress the trigger and switch the directional lever to reverse (R).
- Post-Drilling Inspection:
- After each use, inspect the drill to ensure none of the controls or components have been damaged during operation.
By following these steps, you’ll not only become comfortable with your cordless drill but also ensure safe and effective use for all your drilling needs.
Securing Your Drill Bit: Step-by-Step
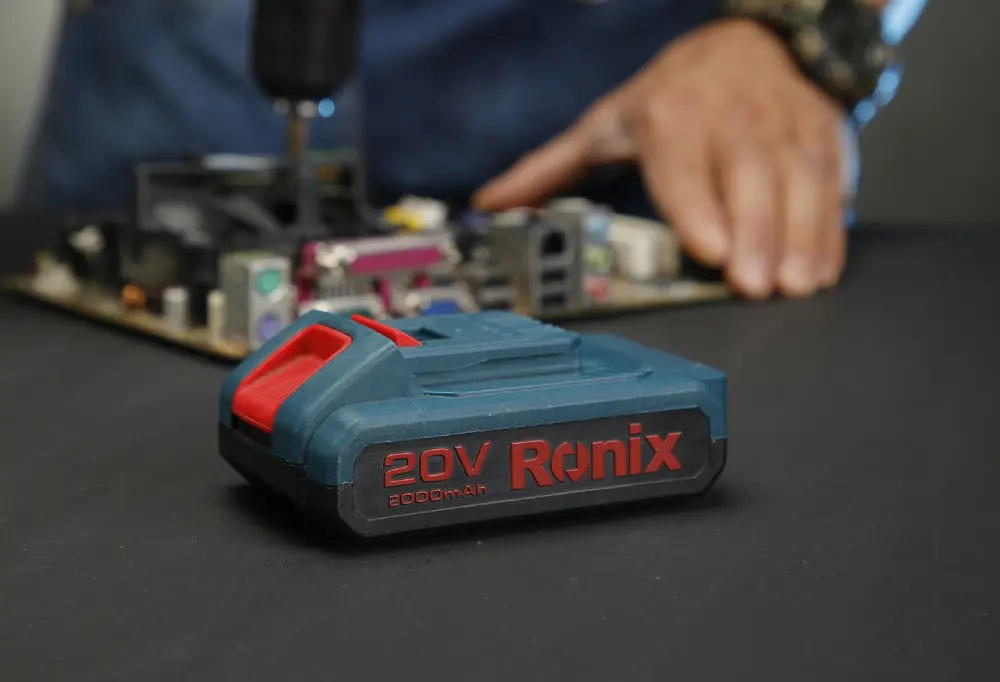
Prolonging the Life of Your Cordless Drill Battery: Practical Tips
Taking care of your cordless drill battery is key to its longevity and optimal performance. Here’s a comprehensive guide on how to extend the life of your cordless drill battery:
- Charge Promptly at 70% Capacity:
- Charge your cordless drill batteries as soon as you notice a drop in power. For optimal battery health, aim to recharge when the battery reaches around 70% capacity. Even Nickel Cadmium (NiCd) batteries with a “memory effect” only need a full discharge every month or so to maintain their charge memory.
- Regular Usage is Key:
- Use your cordless drill and its batteries regularly. Lack of use can lead to a reduction in battery life. If your tools are infrequently used, consider a plug-in model or recharge the cordless tool batteries before starting a job.
- Confirm Full Charge:
- Confirm that the cordless tool battery is fully charged before use. Most chargers have indicators that signal when the battery is fully charged.
- Optimal Storage Conditions:
- Store cordless tool batteries in a dry, climate-controlled environment. While batteries don’t need to be kept in the freezer, a controlled environment enhances their longevity.
- Safe Storage Practices:
- Store your cordless tool battery in its original carrying case or a padded bag. Use the plastic cover that came with the battery to prevent short-circuiting, and protect the terminals from damage or moisture.
- Keep a Backup Battery:
- Have a second battery charged and ready to go as a backup. This guarantees you can easily switch out batteries in the middle of a project.
- Handle with Care:
- Treat cordless tool batteries with care. Damaged or cracked batteries will not operate efficiently.
- Adjust Tool Settings:
- Use the appropriate tool setting for the job at hand. Higher torque settings may deplete the battery faster, so adjust settings according to the task for optimal battery life.
By following these tips, you’ll not only maximize the lifespan of your cordless drill battery but also keep a reliable and efficient tool for all your DIY projects. A cordless drill is a versatile and valuable tool for homeowners, and with proper care, it can make a significant impact on routine household tasks.
FAQ
What is the function of a cordless drill?
This helpful gadget rotates the chuck with the help of a battery situated beneath the grip. The speed is controlled by the trigger, and the amount of pressure applied to the trigger may be adjusted. The motor transfers the battery’s electric power into energy that rotates the tip.
What does a drill’s number mean?
The numbers on a drill, typically ranging from one to ten or twenty, calibrate the clutch to provide a specific torque range. A higher number on the collar indicates greater torque, allowing the drill to drive larger fasteners.

Ronix
13 December 2021