- 7min
- 6855
- 0
Contents
Adding a well-designed wooden shelf to your house provides an essential space to store and organize everyday objects from the kitchen, bedroom, or garage. It is space-saving and improves accessibility.

To build DIY wooden shelve and make the best of your free space, you don’t need to be a professional carpenter or woodworker. All it takes is to put a few minutes into providing the essential tools and materials and follow a few simple steps.
What Do We Need Wooden Shelves For?

Wooden shelves are decorative structures that offer multiple uses. You can use them to:
- Keep dishes and other kitchen utensils neat and organized
- Display plants or decorative objects like collectibles, statues, and picture frames
- Store book collections
- Hide wall defects and imperfections
- Organize dresses and shoes
What Kind of Wood to Use for Building Wooden Shelves?
Using the right materials plays an important role in building wood shelves that are flawless and reliable. Your DIY wooden shelf can be made of different types of wood but the boards you use should correspond to how heavy the load that you plan to place on the shelf is.
Here are all your choices and what you need to know about them:
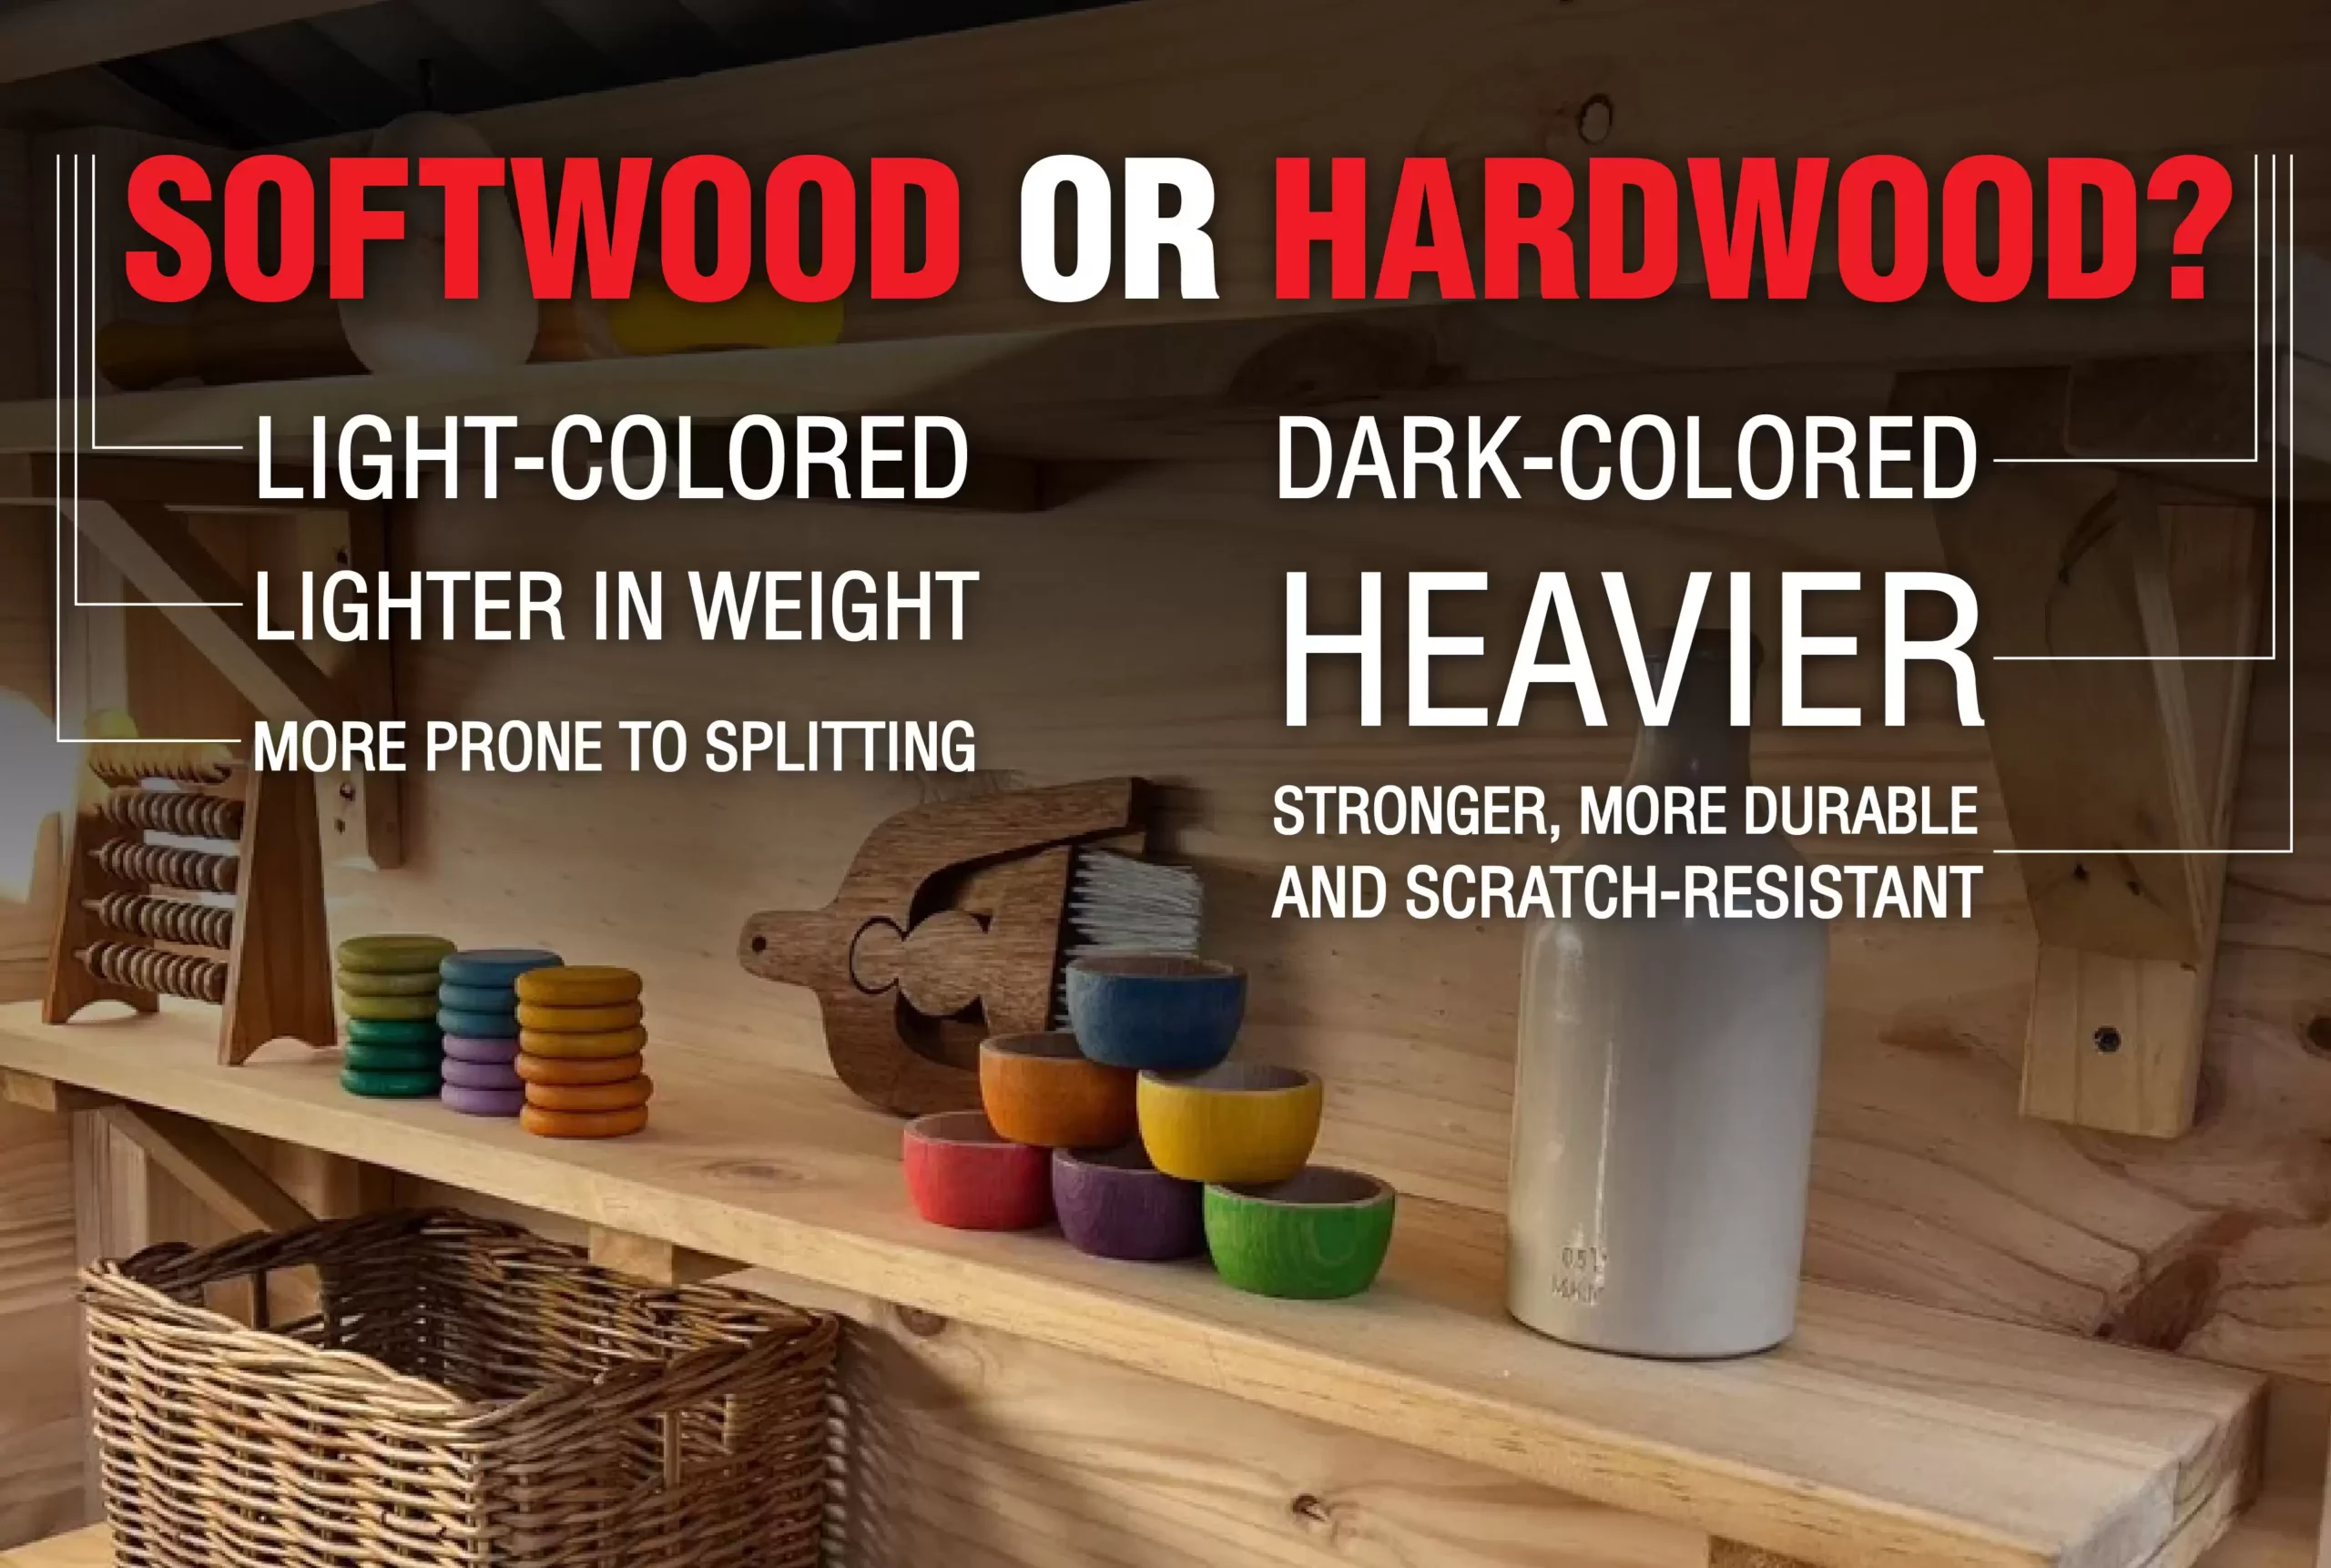
Softwood: softwoods can split easily so they need to be pre-drilled for screws. One of the best softwoods which is strong and fairly inexpensive and can be painted and cut easily, is pine.
Hardwood: Although hardwood lumbers are more durable, harder and denser than their softwood counterparts, they are much more expensive.
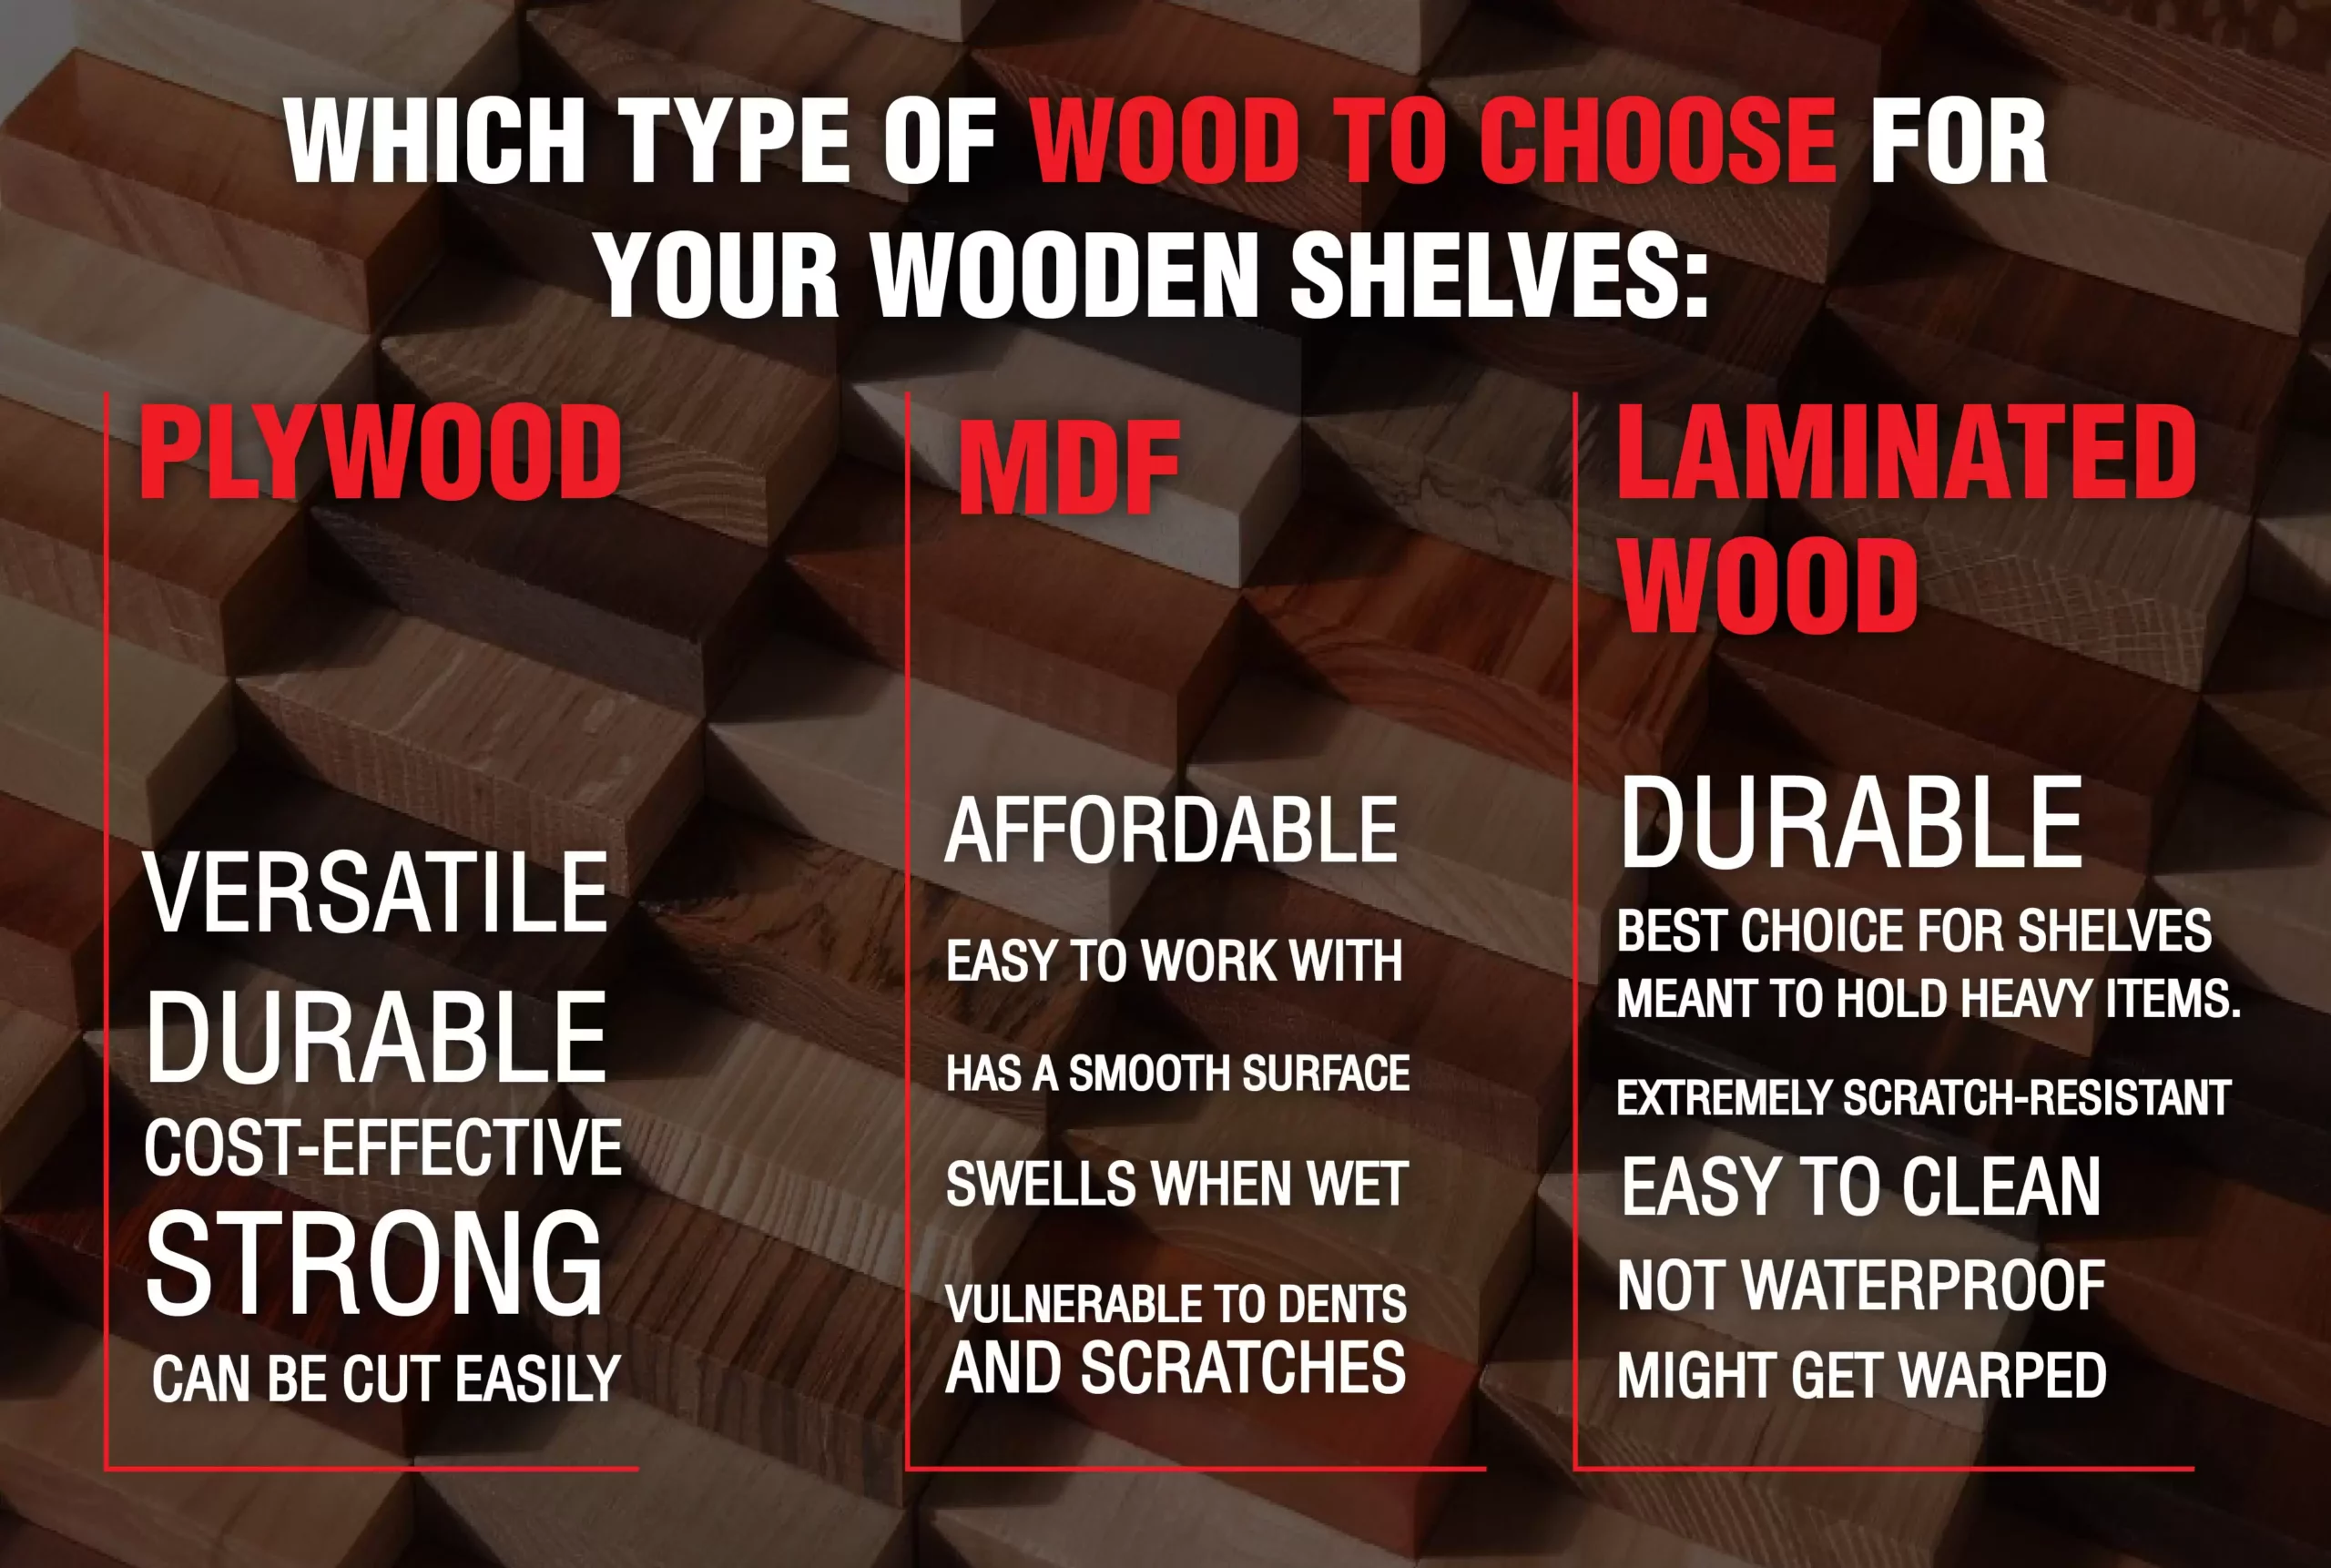
Plywood: Plywood is a versatile, durable, and cost-effective engineered wood that can be quite useful for making DIY wood garage shelves or the ones for a laundry room. Not as expensive as solid wood, this type of wood is strong and can be cut easily.
MDF: This type of wood is made of wood fibers that have been tightly compressed and glued together. While it is affordable and easy to work with and has a smooth surface, MDF will swell when get wet and is vulnerable to dents and scratches.
Laminated wood: Laminated wood is made of thin layers of wood glued together with a moisture-resistant adhesive. As durable as it is, this type of wood is the best choice for building DIY wood closet shelves that are meant to hold heavy items. It is extremely scratch-resistant and easy to clean but is not waterproof and might get warped.
After choosing your preferred pieces of wood to make shelves, it comes to equipping yourself with all the essential tools:
Essential Tools for Making Wooden Shelves
Before starting the journey of making wooden shelves, you need to prepare a bunch of tools to facilitate and accelerate the process:
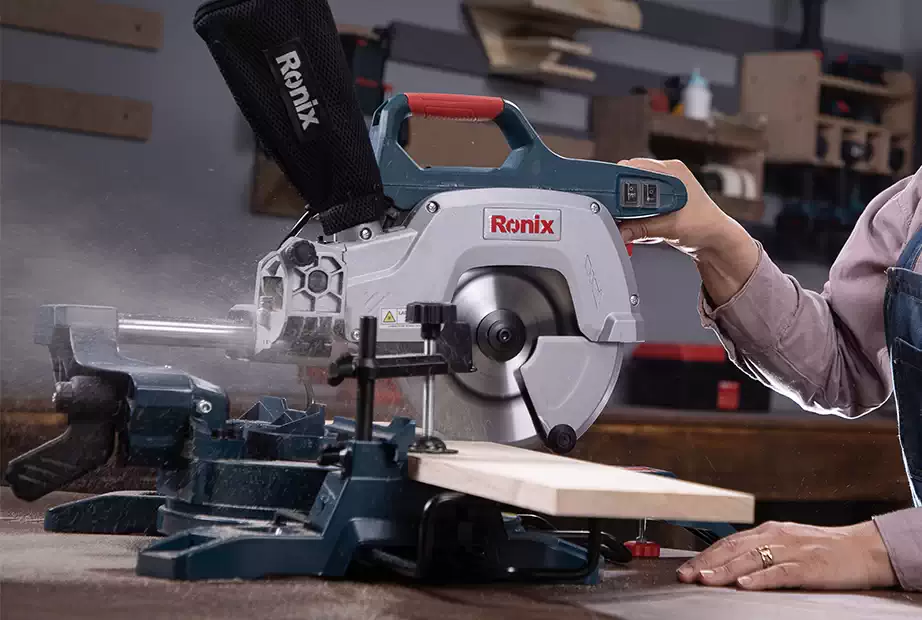
Electric Saw
Electric saws, such as jigsaws, miter saws and table saws, are extremely versatile tools and deserve a place in every tool collection. When it comes to building wooden shelves, these power tools are essential to cut the wood pieces in your desired shape and size which is the initial step of the project.
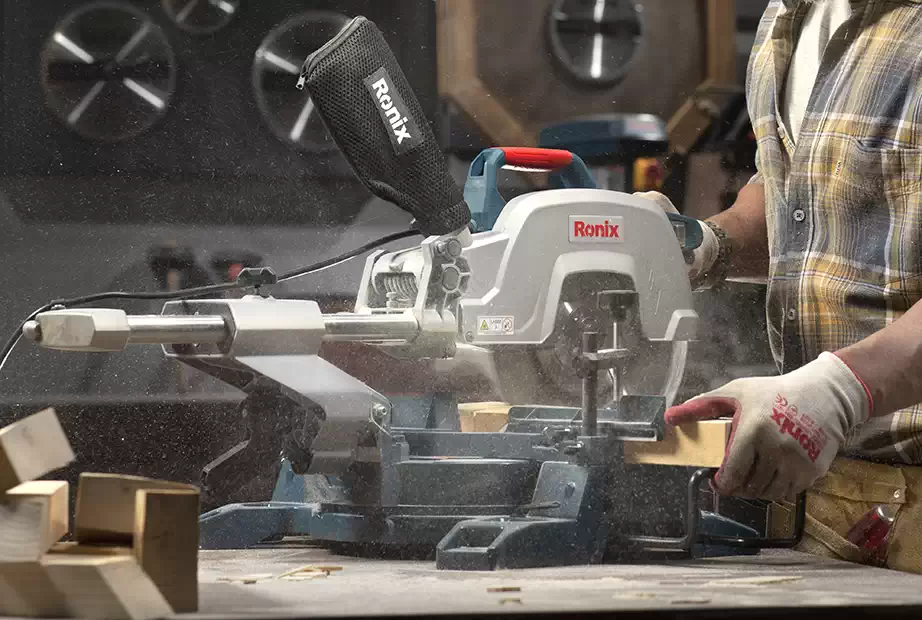
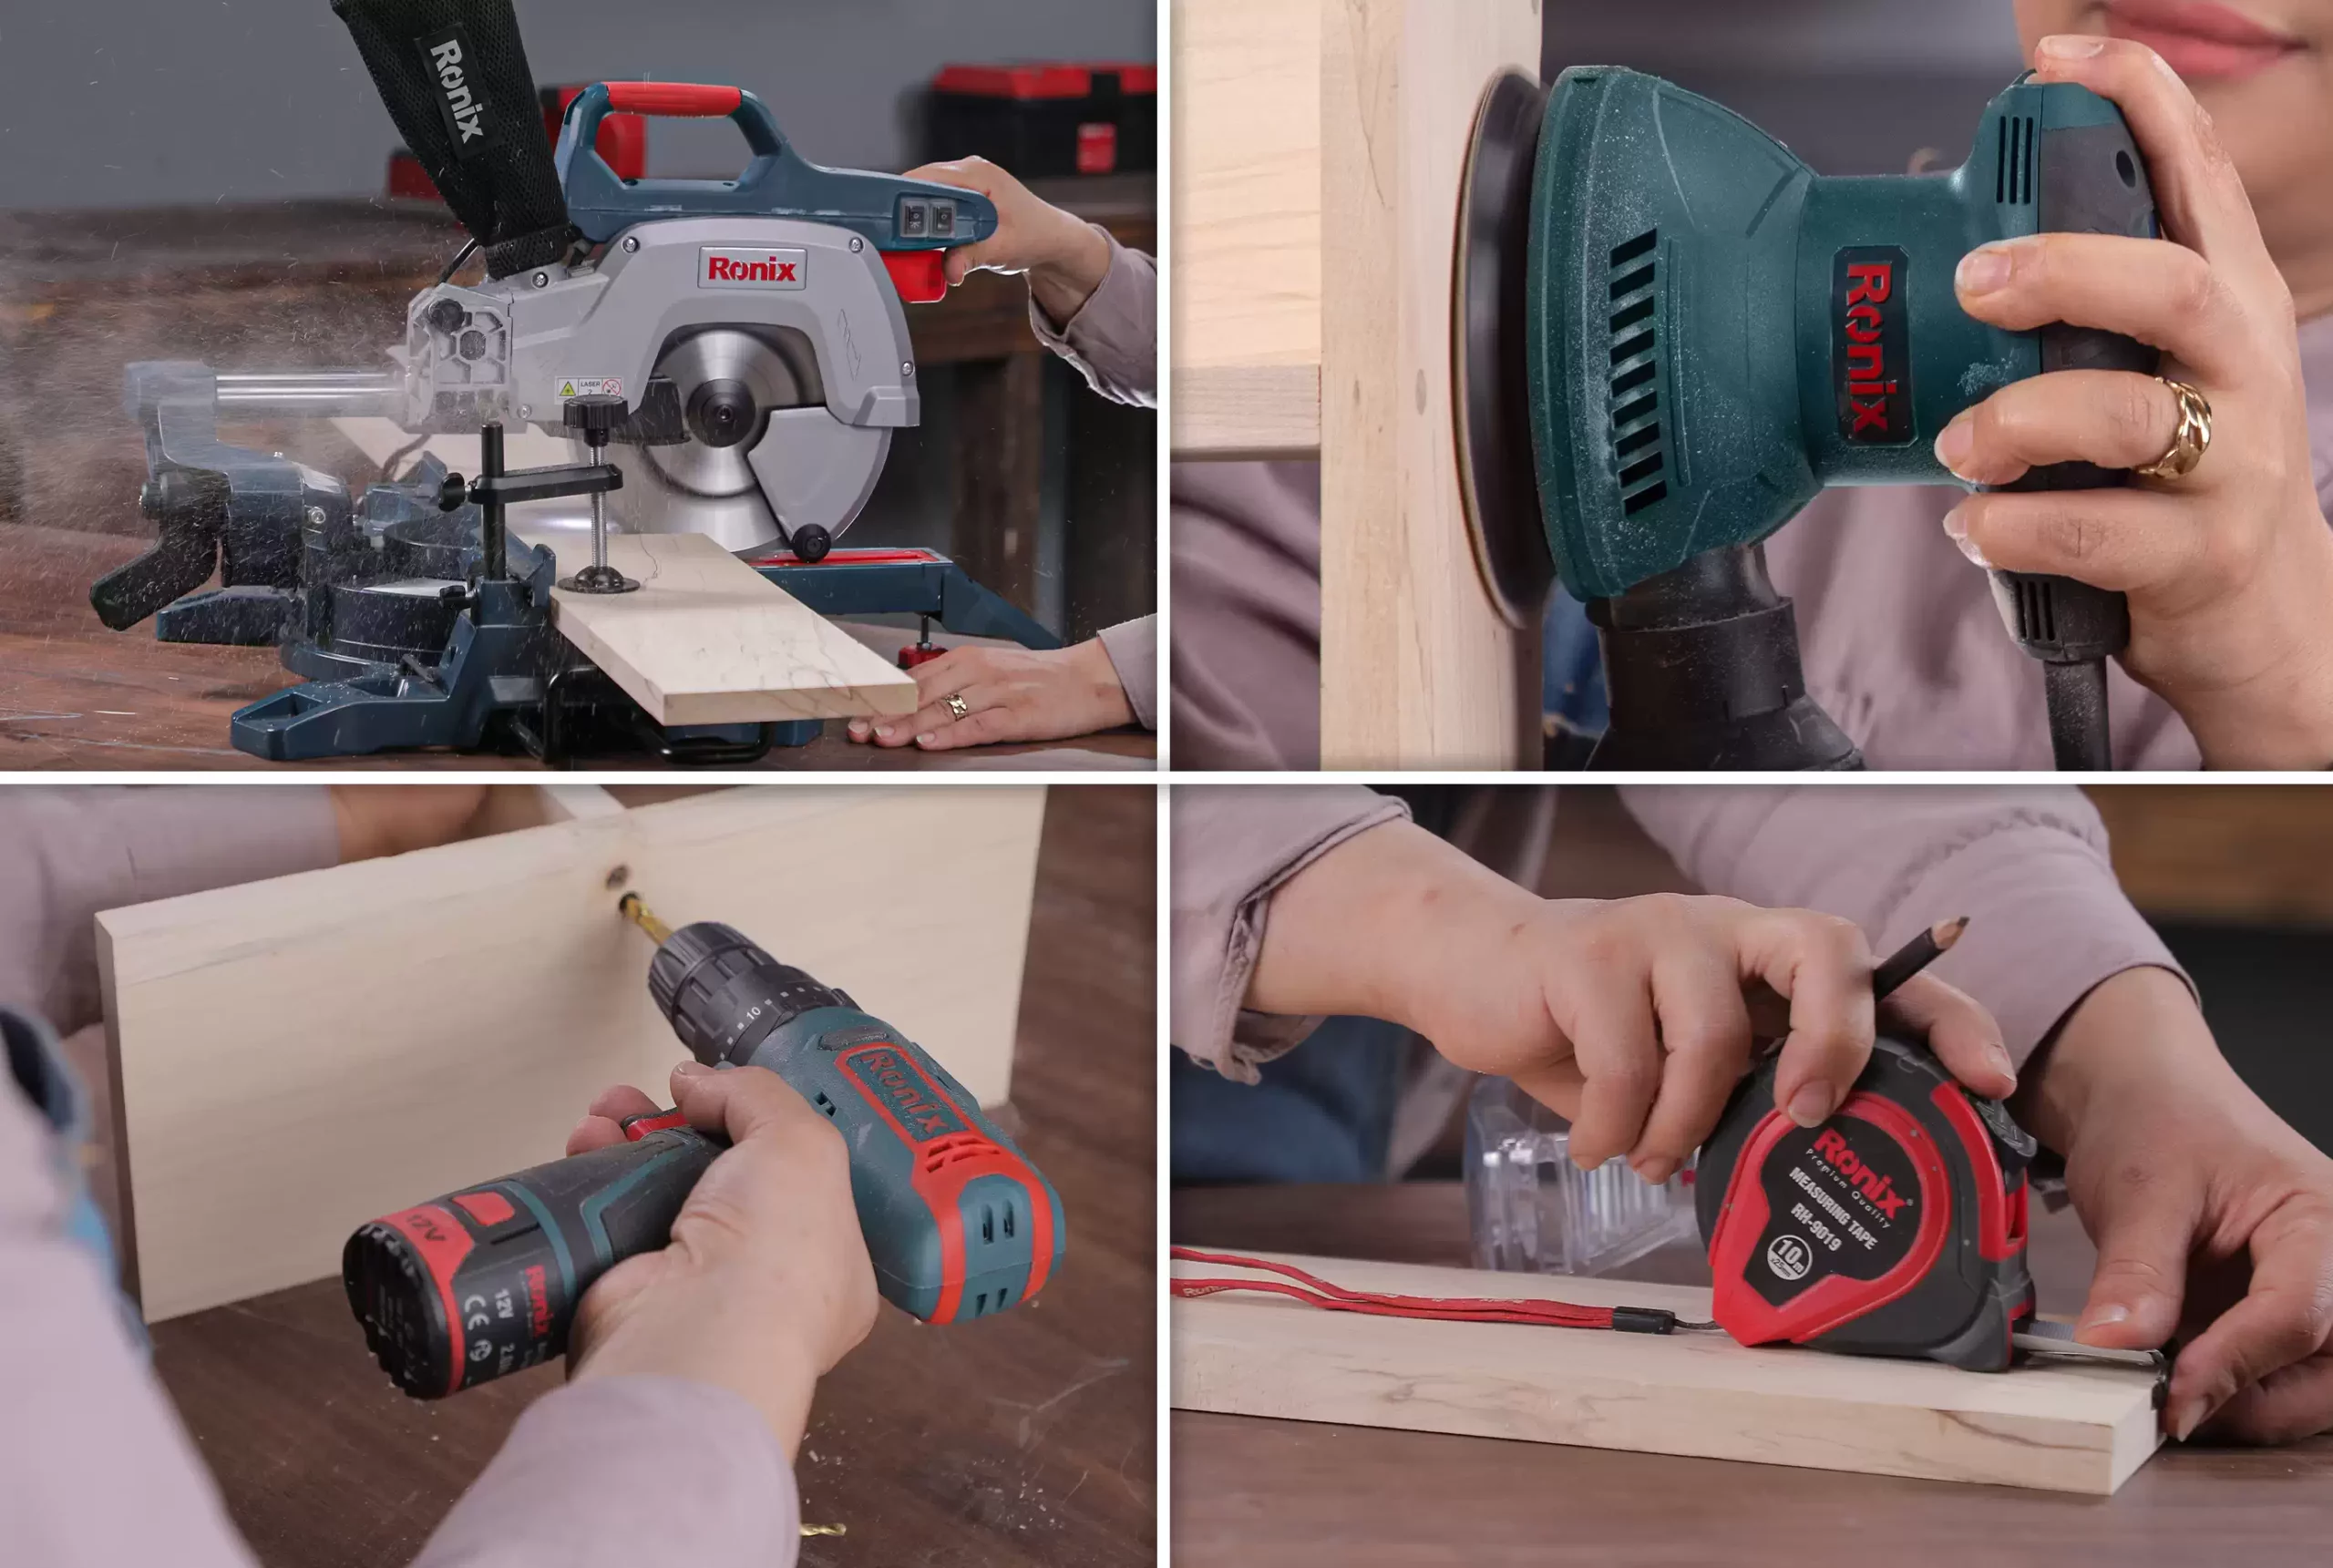
If you want to make precise angled cuts, Ronix 5403 miter saw is your best bet. It has a powerful 2000W motor that delivers 4800 revolutions per minute and is equipped with laser and LED light for an easier use and a dust collection system to create less of a mess.
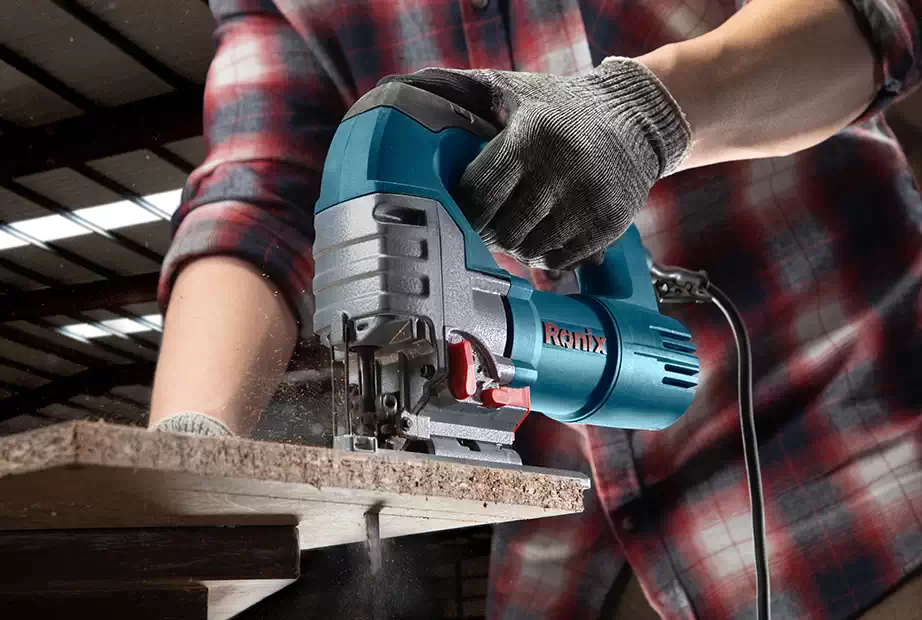
If you prefer jigsaws, you should give Ronix 4120 a shot! with a 650W universal motor, it is one the best jigsaws ever made. This tool is able to make a variety of cuts from straight crosscuts through to intricate curved and scrolling lines. Combination of 31000RPM with a functional blade roller guide ensures fine and fast cutting. Attach the right blade to it and no wood, MDF sheet or even metal sheet has a chance to resist.
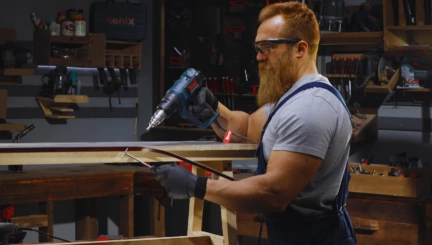
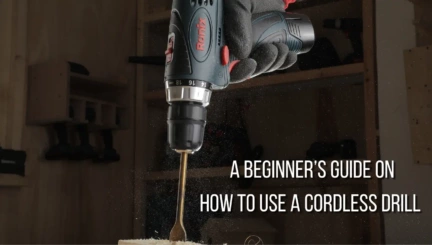
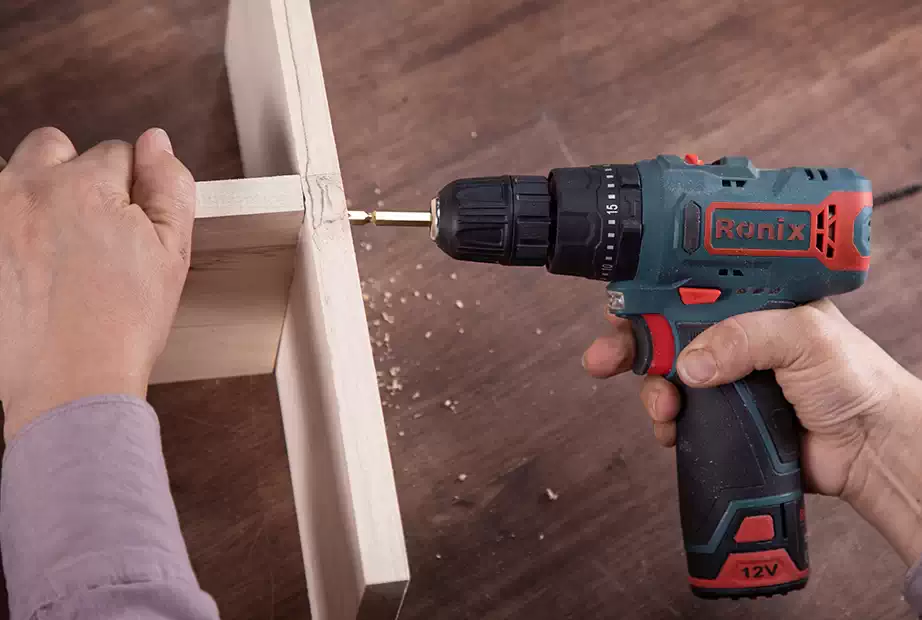
Drill Driver
Drill drivers are one of the most popular tools in any toolbox. They are used to make holes in wood, metal, plastic and other materials. In addition to the basic ones, there are models that come with various accessories to tighten and loosen fasteners, sanding, sharpening and grinding surfaces and even for mixing paint or mortar.
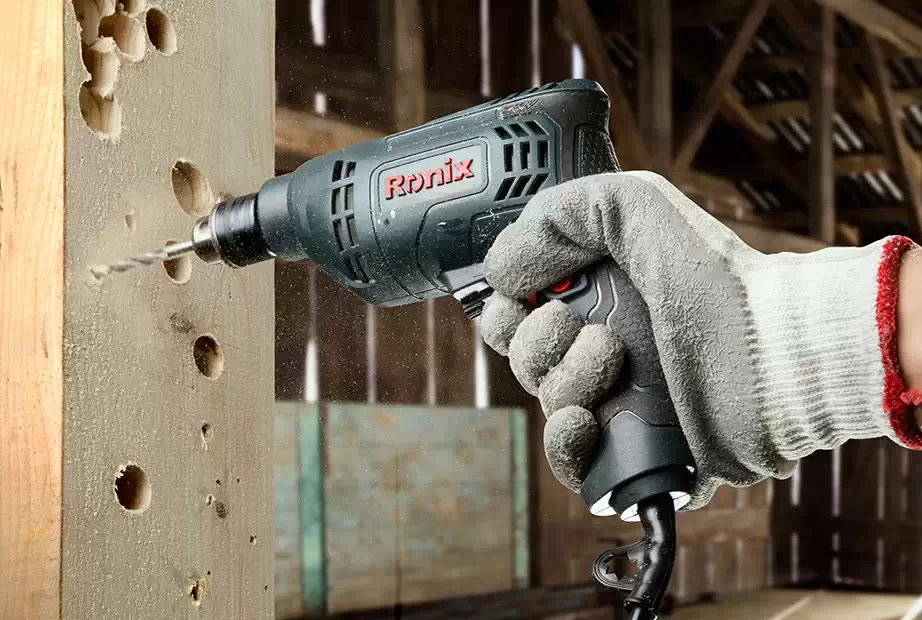
You could not possibly rise to the challenge of building wood shelves, without a proper drill driver.
There are tons of drill drivers available on the market but you cannot possibly do better than Ronix 2107.With a light weight and an efficient 400W motor, it delivers maximum 4300 RPM for great performances in wood. Thus, you can absolutely expect the best functionality in drilling and screwing from it to take care of any woodworking task such as making a DIY wood bookshelf.
Tape Measure
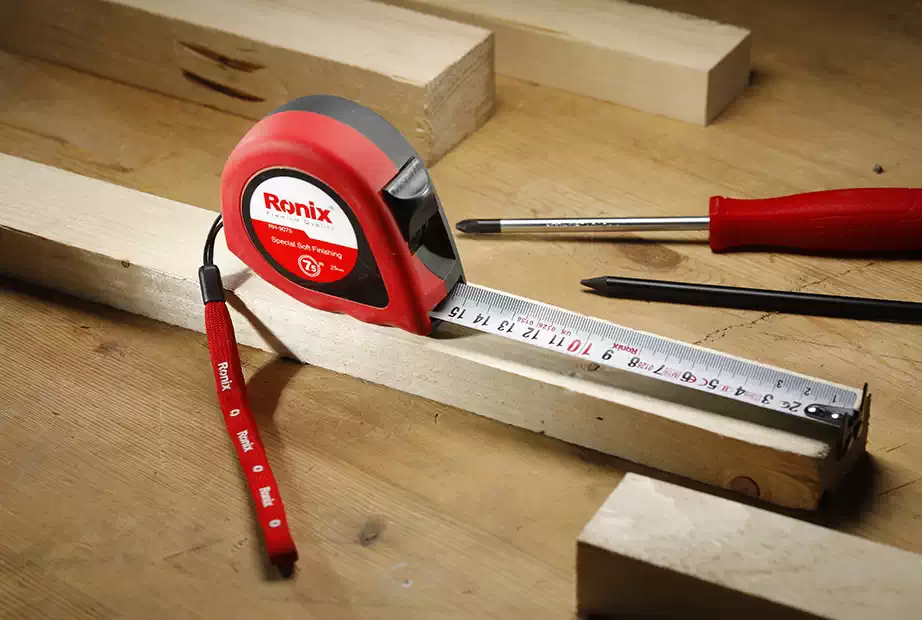
Tape measures are one of the most essential tools for building wood shelves. They let you measure the wood with total precision and fix it in the right place.
Sander
Sanding your DIY wooden shelves is a must to give it a smooth look. This can be done with hand sandpaper, but orbital sanders are a better choice.
Orbital sanders are portable power tool that work in a random direction of rotation and combine speed and power to produce a fine finish.

If you are looking for a well-made and efficient orbital sander, Ronix 6401 is worth checking out. It gives you an opportunity to experience the smoothest sanding operations.
6401 is powered by a 300W motor and generates 13000 OPM which is considered to be as efficient as possible for aggressive stock removal. Dust collector mechanism on 6401 puts it one step ahead of its competitors.
Keep in mind that even with all saws, sanders, tape measures and drill drivers at hand, you cannot still complete the task without simple components like bolts, deck, paint and a screwdriver!
Let’s cut to the chase! Are you ready to make your dream wooden shelves for kitchen? Here’s a step-by-step guide for you:
How To Make Wooden Shelves?
Making wooden shelves is a 8-step process. Before anything, put on your safety glasses and gloves and start the project in a clear, spacious and safe place in order to avoid any possible accidents. Then:
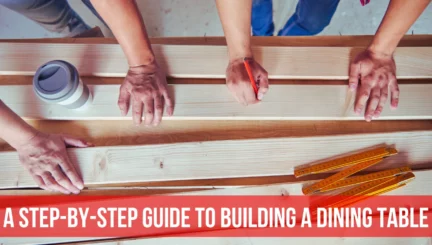
Measure And Cut the Boards
To make DIY wooden shelves you need multiple boards in different sizes and shapes.
Use a tape measure to size them up, mark where you are going to cut and do it by a miter saw.
Make Holes
Glue two boards together and make two holes where they are joined together using the drill driver.
Screw the inner pieces together
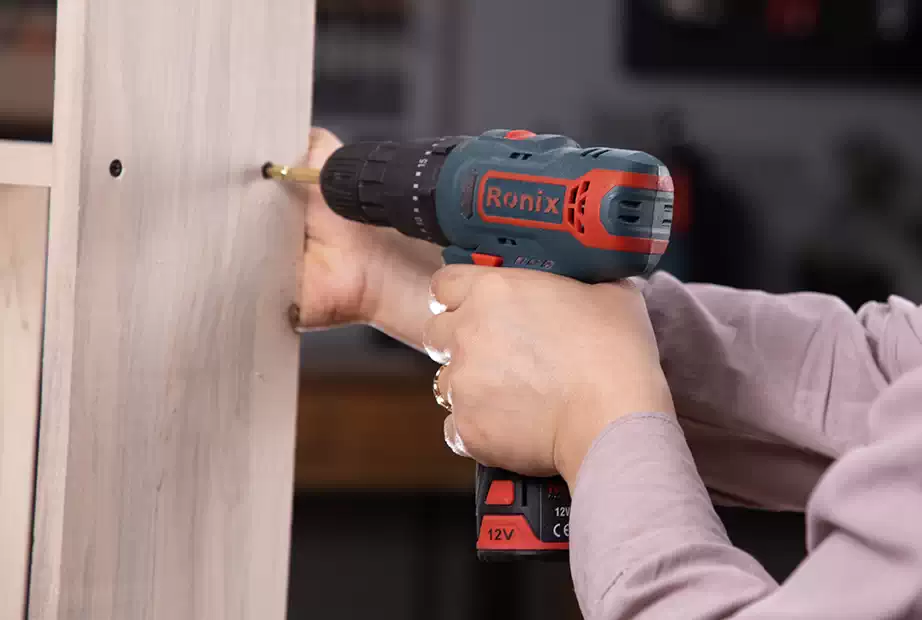
Put screws into the holes and tighten them by the drill driver to make the inner part in a T shape.
Make the main body
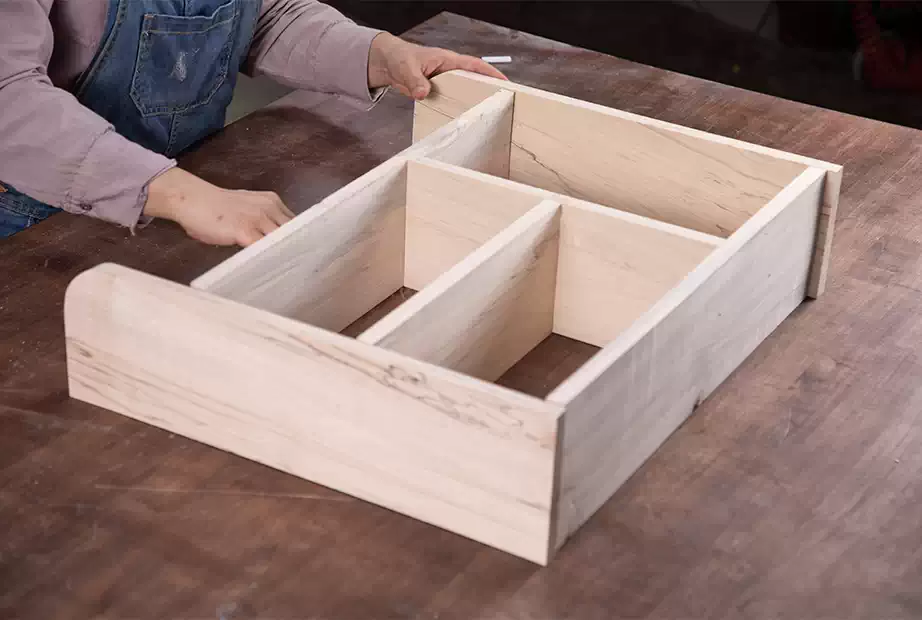
Make crescent cuts on the corners of the side boards and screw all the pieces together as shown in the video. Then fill the staples and seams with putty.
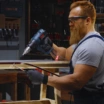
Do the sanding

Use your electric sander to get rid of any defects on the surface of your wooden shelf.
Apply Sealer
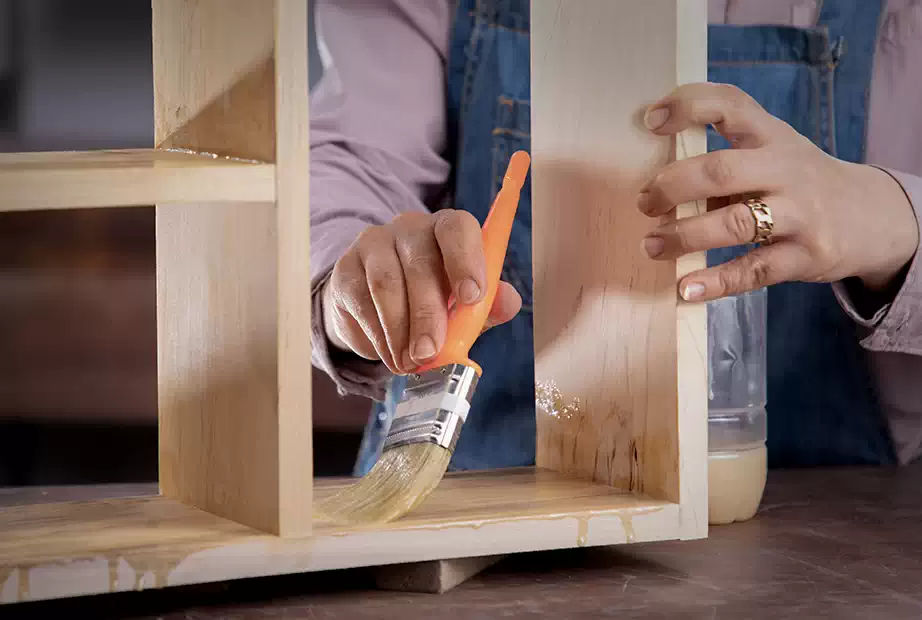
Apply sealer to the body of shelf to add a layer of protection against moisture and dirt.
Sand the surface
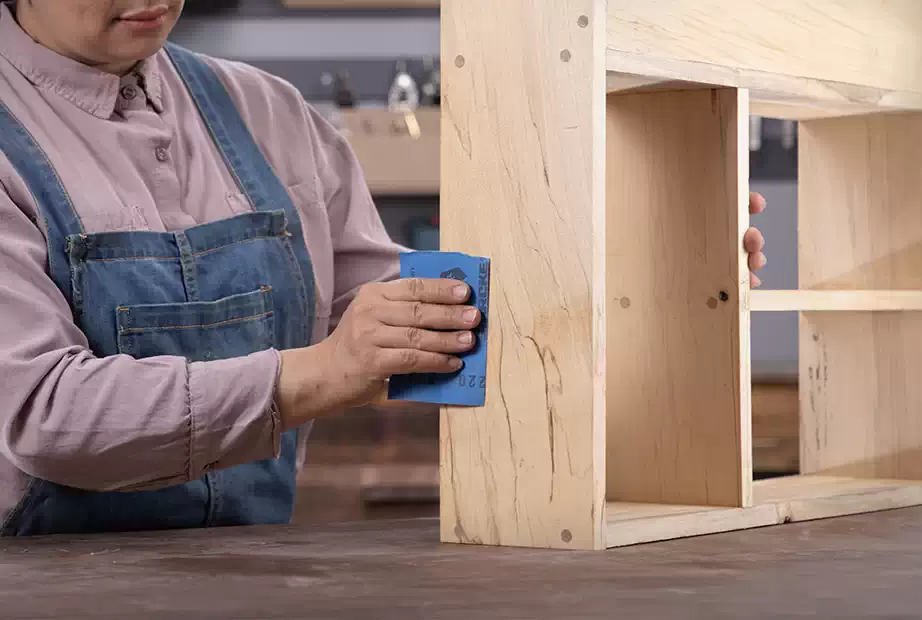
Sand the surface for the second time, this time with a sandpaper.
Add Clear Coat
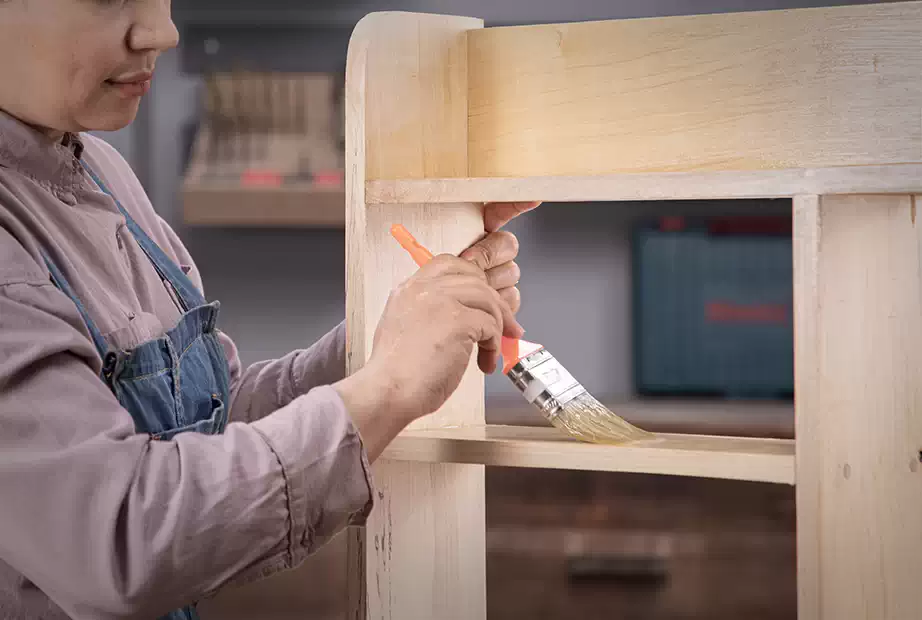
At the end, apply clear coat to your shelf to make it shine and last longer!

There you go. Your DIY wooden shelf is ready to use!
FAQ of Make Wooden Shelves at Home
How do you make homemade shelves?
To make homemade shelves, you should cut wooden boards in different sizes and use drill drivers to screw the right ones together. After attaching the boards, it comes to do the sanding, and applying the sealer and clear coat. As easy as that!

Ronix
29 October 2020