- 13min
- 9501
- 0
All of us, every once in a while, feel like we need to do a DIY project. Some are big and some are tiny. But if have ever wondered about how to build a dining table, you’re probably very ambitious and you’ve come to the right place! Any type of dining table including wooden, farmhouse, counter-height, and many more, is about to be unveiled in this article. So, stay tuned, and let’s shape a rather big corner of our house the way we like.
Step 1: Buy the Materials You Need
It’s fun to have a list before starting any task such as when you want to build a dining table. This way all you need to do is take the list and a pen and just cross things off your list one by one. If that’s what you desire, check out this list:
- Wood: this one is ‘duh’ but there are different types of wood that can accommodate to your requirements. Such as oak, maple, cherry, or reclaimed wood.

- Wood Glue: this is the bread and butter when it comes to projects dealing with wood.
- Dowels, Biscuits, Screws: pretty self-explanatory. You’ll need these buddies to fasten your wood pieces together. It’s best to buy screws in different sizes.
- Wood Finish: It depends on your preference. You can use polyurethane, wood oil, varnish, or other finishes.
- Extension Leaves: you can either buy these premade or make them yourself which we’ll teach you.

- Weather-Resistant Wood and Finishes: in case your table is going to be installed outdoors
- Specialized Hardware: if your outdoor tables are too outdoor-ish and need heavy-duty machinery
- Decorative Elements: in case you’re wondering about how to make a centerpiece for a dining room table, you need to buy flowers, candles, vases, or other items you might want to use.
- Veneer or Segmented Wood: as a substitute for wood
- Counter-Height Table Base: if you want to build a counter-height table and you want to buy the base premade.
- Pedestal Base Components: if you want to make a pedestal table and you want the base premade.
- Live Edge Slabs: in case you have a live edge dining table in mind

Step 2: Equip Yourself with Necessary Tools
Now that you have a list of all the materials that are going to be used when you want to build a dining room table, it’s time for another exciting list! As these tools are going to be used for more than just your table-making project, you should opt for high-quality tools and equipment so you can use them in the long run. But which types of tools need to be on your list?
- Measuring Tape and Square: you need measuring tools so your table doesn’t fall and crumble! For instance, Ronix RH-9074 is a top choice for you in this case.
- Saw (of different kinds): to make a dining room table you need saws and there’s no way around it. Saws such as circular, miter, table, …
- Sander or Sandpaper: to smooth the edges and the surface of the table and give it a nice finish.
- Clamps: moving wood pieces can be so annoying. Use clamps to hold them in place while the glue dries up.
- Biscuit Joiner or Doweling Jig: if you’re searching for how to build a wood dining table you probably care about things being as neat as possible in the final product. This tool helps you create more precise joinery in your table.

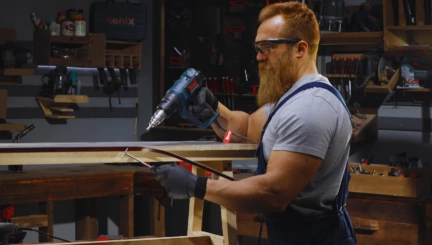
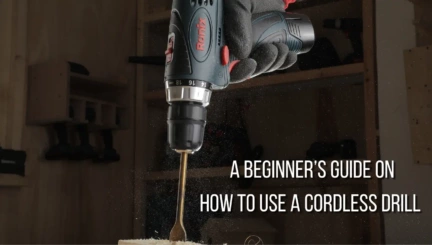
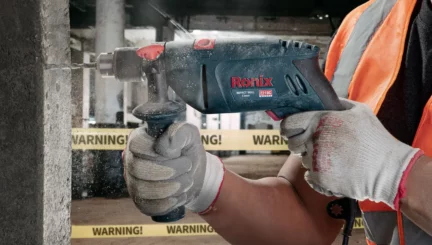
- Drill and Fitting Bits: to keep table pieces together, you need to be making holes and put your screws and joints through those holes. So, a drill is a must.
- Screwdriver or Drill Driver: to drive screws into your working pieces and fasten them together.
- Workbench or Sawhorses: to cut up your wood pieces you need to put them on a stable working surface. A workbench or a sawhorse provides this for you.
- Safety Equipment: don’t neglect being safe while working. Use safety glasses, ear protection, and a dust mask to be safe from any harm that may come your way while you make a dining table.

Step 3: Make a Design Plan
Step 4: Cut the Wood
Step 5: Build the Tabletop
Step 6: Create the Table Base
Step 7: Add the Aprons
Step 8: Attach the Legs
Step 9: Sand and Stain
Step 10: Quality Control
Step 11: Installation
How to Make a Wooden Dining Table
There are several steps if you wonder about how to make a wooden dining table. You might use new wood or a reclaimed one. In the first case, consider these steps:
Step 1: Make a Design Plan
The world of tables is quite vast and you can build them in different shapes and forms. So first you need to choose what plan you’re going to be working on. Create a detailed plan that includes dimensions, style, and the material you’re going to be using. A standard dining table is 30 inches (76 cm) tall, 30 inches (76 cm) wide, and 72 inches (183 cm) long. You can adjust these numbers according to your space and specific needs.
Step 2: Prepare the Wood

After you’ve chosen the wood you desire, you need to cut them into appropriate sizes and shapes. During the process, make sure to stay safe by wearing gloves, a mask, and goggles. If you want a 72-inch-long table, cut your planks to 72 inches in length and 36 inches in width to achieve a rectangular shape.
You can also buy your wood pre-cut for more convenience.
Step 3: Build the Tabletop
The next episode is knowing how to build a dining tabletop. After preparing your wood, you can choose different ways to ready your to be connected to the legs. Such as:
- Butt Joints: cut the ends of the plank into a square and join the pieces together. Use screws to achieve a firmer hold.

- Dowels: these rods are inserted into holes drilled into the edges of the wood plank. You need to put glue into the hole to keep the dowel in place.
- Biscuit Joinery: for this, you need to create slots in the edges of the planks and then insert your biscuits into the slots to have a secure joint.
- Tongue and Groove Joints: to have these types of joints you need to shape the edges of one plank into a groove and create the corresponding tongue on the other edge.
- Pocket Hole Joinery: for this, you need to create angle holes in your plank using a specialized jig. Afterward, screws should be driven into the holes and connect two planks together. These joints can be quite strong if done right.
- Bowtie or Butterfly Joints: these joints are both functional and decorative. You can use them to stabilize or prevent the wood cracks from spreading. Using a contrasting color of wood for these butterflies gives your table a nice and cute look.
Step 4: Create the Table Base
Next, you’re probably wondering about how to build a dining table base. The base or legs are the pillars of your dining table. The standard size for your table legs is about 30 inches (76cm).
Step 5: Add the Aprons
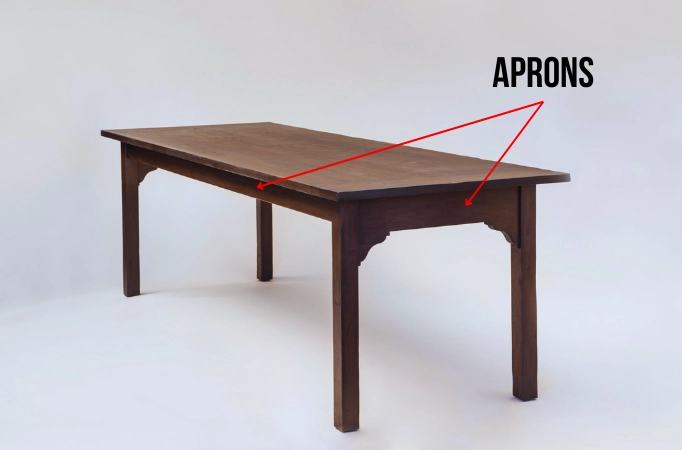
This is in case you want your table to have aprons. If not, just skip this step.
You need to cut four 2*4 pieces according to the size of your table. You can connect these pieces with pocket holes and screws. To have an easier fastening, you can glue the wood pieces together and use a clamp to keep them in place. Then get into making holes and screwing the aprons in place.
Step 6: Attach the Legs
In the next step of how to build a dining room table, you need to give legs to your table. Glue table legs in place and then secure them with screws. But before you make the fastenings permanent, make sure the legs are at the correct angle so you don’t end up with a wobbly table.
Step 7: Sand and Stain

The next thing you want to do when you build a dining table is to give it a smooth and eye-pleasing finish. To achieve this, sand down your tabletop and legs using a sander. As you’re dealing with a vast working piece, it’s only sensible to use an electric sander. What we recommend is the Ronix 6401 Electric Sander to get your job done in a matter of minutes.
After sanding your entire table, you can use a wood-staining finish with a brush and coat the whole table. Apply a second coat after the first one dries and wipe off the excess stainer using a rag. If your table is going to be placed outside, it’s preferred to use a water-proof polyurethane to protect your creation.
Step 8: Quality Control
After you’ve gone through all the steps of making your table, you need to make sure it’s at the best shape possible and it’s safe to use. Inspect your table to see if there are any imperfections and make changes if necessary.
Step 9: Installation
The last stage of your project is putting it in the desired spot so you can enjoy using it!
These are the general steps you need to take to make a dining table. But if you want to be more specific, we have a whole longer list prepared for you.
How to Build a Reclaimed Wood Dining Table
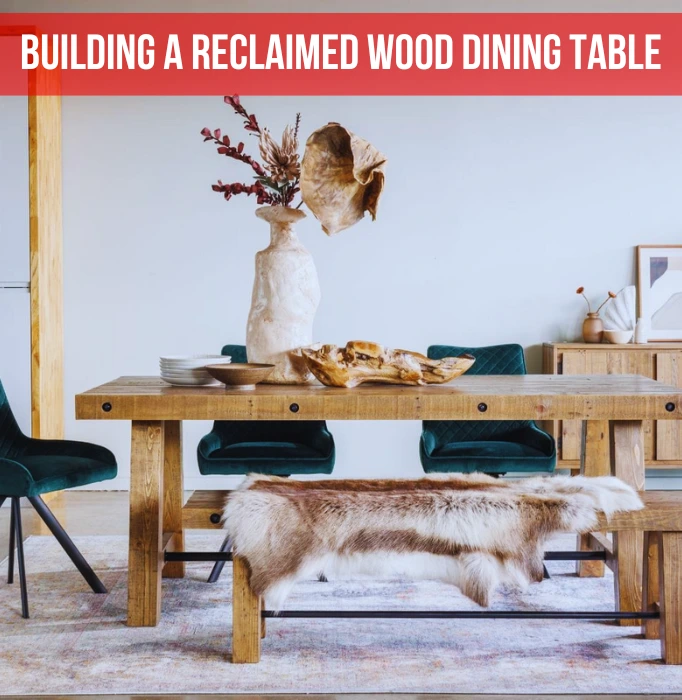
You might have an already used wood that’s been a part of something else and now you want to repurpose it as a dining table. In this case, you’re looking to know how to build a reclaimed wood dining table.
The steps to do so are pretty much the same as we already described. The only difference is that you’ll need to choose your materials a little bit differently. Also, your reclaimed wood needs to be wiped and cleaned, and prepared for the next use.
How to Build a Farmhouse Dining Table
If you want to know how to build a farmhouse dining table, you have somewhat the same process to go through. The key difference is that the look of your product will be more rustic, simple and with trestle or turned-leg base.
How to Build a Bench for a Dining Table
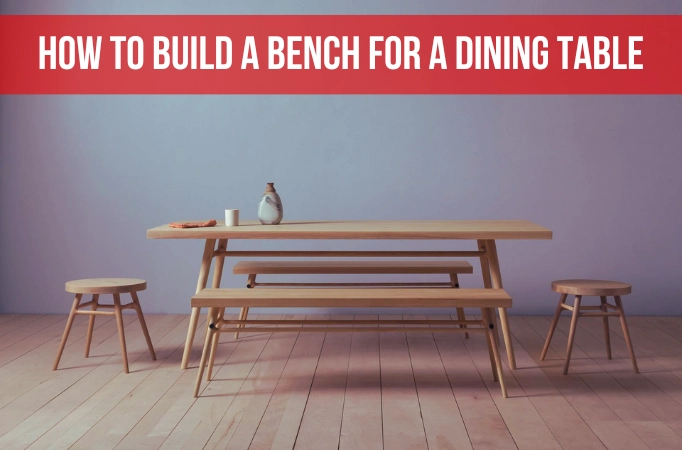
Looking to know how to build a bench for a dining table? The steps are somewhat similar to building a dining table. You need to have a design plan for your bench at first and prepare the wood the same way as a table. After that, do the assembly, sanding, staining, quality control, and installation. And there you go: you know how to build a dining table bench.
How to Build a Dining Room Table with Leaves
If you wonder about how to build a dining room table with leaves, you don’t need to wonder much. Just go through the same steps of making a table with the addition of extension leaves. You can buy or make the extension leaves yourself. First, measure the space you’re allocating to the extension leaves to make sure you have enough space to pull out chairs. There should be at least 36-48 inches of space for comfortable movement around the table. Use slides, brackets, hinges, or pivoting legs so you can install the leaves on the table.
At the end, check the extension fit and function to make sure everything is perfect and comfortable.
How to Build a Rustic Outdoor Dining Table

If “how to make a rustic outdoor dining table” is your question, just go through the same steps as making a normal dining table. Just make it more water-resistant by using the right type of wood and outdoor finishes as we mentioned.
How to Make a Centerpiece for a Dining Room Table
The making of a centerpiece for a dining room table can be a tad bit different than making the table itself:
- Design and Plan: choose a style for your centerpiece; a floral arrangement, a decorative bowl or a seasonal display.
- Choose the Components: for each of these centerpieces you’ll need different elements. Like flowers, candles, vases, or decorative components.
- Assembly: arrange your components in a pleasing way and of course in the center of you table.
- Maintenance: some components need more caring like live flowers or fruits. You don’t want to have moldy fruit or dead flowers at the center of your living room.
How to Make a Long Dining Table

Of course, if you want to know how to build a long dining table, the steps you go through the same steps as we’ve mentioned. You just need to choose a longer piece of wood for your tabletop and maybe add extra legs to support your long table.
How to Make a Large Round Dining Room Table
Hope you’re not looking for something so special if you want to know how to make a large round dining table. You just need to choose a large round tabletop! preferably veneer segmented techniques. You can also use a pedestal which we’ll discuss.
How to Build a Counter-Height Dining Table
If you want to know how to build a counter-height dining table just make a higher table base and also buy/ make height-appropriate seats to place around it.
How to Build a Pedestal Dining Table

In the process of how to build a pedestal dining table, alongside the aforementioned steps, you need to design and make a central pedestal to support your tabletop. a pedestal is best for a round tabletop.
How to Build a Live Edge Dining Table

A live edge dining table is one that has one or two sides of untouched wood with its natural pattern. If you want to know how to build a live edge dining table, consider these steps:
- Choose a slab with a live edge: this one seems obvious when you want to make a live edge table.
- Prepare the slabs: although it’s supposedly untouched wood, you still need to process the wood to some extent. Cut, shape and sand the slab so you can use it as a tabletop. But of course, remember to preserve the natural edge of the wood.
- Build the base: the base can be as legs or a pedestal
- Assemble: attach the slab to the base and make sure it’s stable
- Sand and finish: of course, sand the table to achieve a smooth finish and apply stain if desired.
We tried to cover everything you need to know about how to build a dining table so you can now go ahead and make yourself a DIY table and enjoy your meals around a creation of your own!
FAQs
What do you need to build a dining table?
- Wood
- Wood Glue
- Dowels, Biscuits, Screws
- Wood Finish
- Extension Leaves
- Weather-Resistant Wood and Finishes
- Specialized Hardware
- Decorative Elements
- Veneer or Segmented Wood
- Counter-Height Table Base
- Pedestal Base Components
- Live Edge Slabs
- Measuring Tape and Square
- Saw (of different kinds)
- Sander or Sandpaper
- Biscuit Joiner or Doweling Jig
- Drill and Fitting Bits
- Screwdriver or Drill Driver
- Workbench or Sawhorses
- Safety Equipment
How many hours does it take to build a dining table?
Depending on the design, making a dining table can take between 10 to 40 hours and more.

Sarah
3 March 2024
