- 9min
- 41736
- 0
Contents
While you can simply go to IKEA and buy a lovely wooden table, you can change it into a creative, lively experience: by making it with your hands! Seems difficult? Just take a few minutes, and scroll through the article. It will definitely change your opinion!
You see… There are different types of tables out there: Dining tables, simple tables, console tables, nightstands, and so on. Right, for making each you need to use different materials but a wooden table is one of the most popular ones.
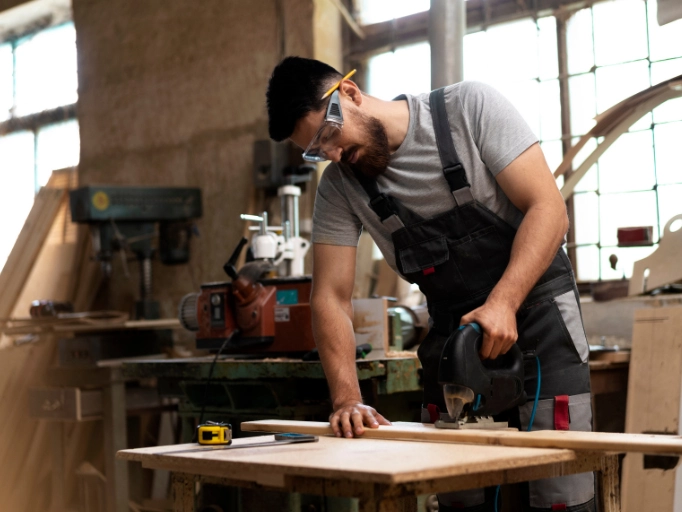
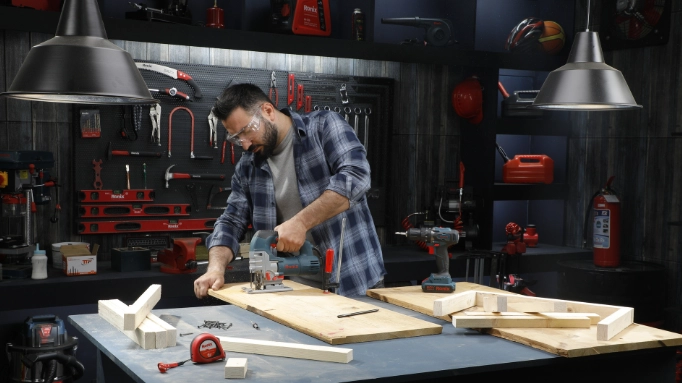
Making a wooden table is one of the projects that can be interesting for beginners and professionals. We have done it in Ronix using our own power tools, hand tools, and other woodworking tools. You can follow the instructions, and make your own table. But first, let’s read about the necessary tools for making a wooden table.
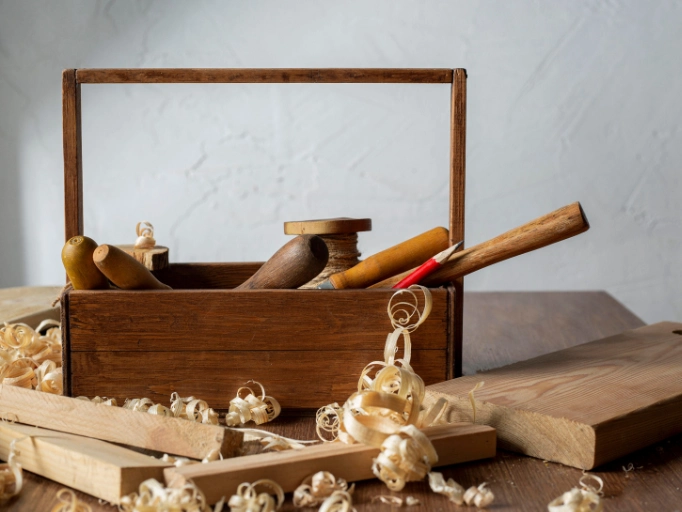
Tools and Materials Used in Making Table
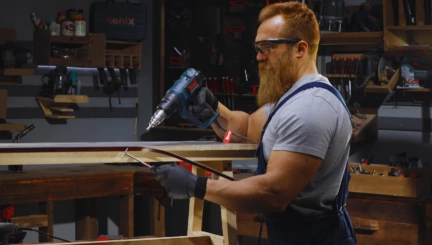
There are specific equipment and materials for making a wooden table including power tools, and hand tools as the vital woodworking tools needed to make the best out of it; they include:
- Saws; Circular saw, …
- Drills
- Drill bits
- Clamps
- Sanders
- Nails
- Hammers
- Brush
- Tape Meter
- Pencil
- Glue stick
- Paint
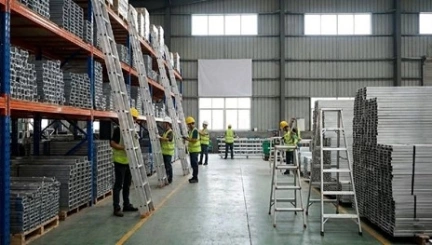
Alongside the tools for making a wooden table, you should consider choosing the wood type you are going to use as a priority. It often depends on your preferences for appearance, durability, and budget. Here are some popular wood options for DIY table making:
- Hardwoods
Among the hardwoods, you can choose Oak because of its strength and durability, Maple, because of its light color and smooth grain, Cherry for its fine grain pattern and unique reddish-brown color, and Walnut for being easy to work with, and attractive and luxurious look.
- Softwoods
As for softwoods, Pines are affordable and easy to work with but you should notice that they will get easily scratched or dented. Cedars bring a pleasant aroma and as they are decay and insect-resistant, you can use them for outdoor tables.
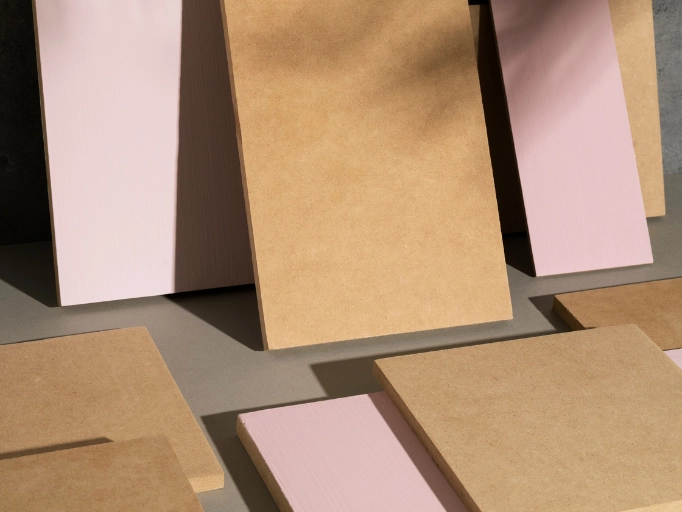
- Plywood
Plywood is a cost-effective option for tabletops. You can choose high-quality veneered ones and edge band them for a clean finish.
- Composite Woods
Medium-density fiberboard (MDF) and particleboard are engineered wood products that are smooth and affordable. They are often used for painted furniture but are not as durable as solid wood.
- Bamboo
Bamboo is a sustainable option that’s known for its strength and light color. It’s an eco-friendly choice for tabletops.
After grasping what to have at hand, let’s go to answer the question of “How to Make A Table Step-By-Step”.
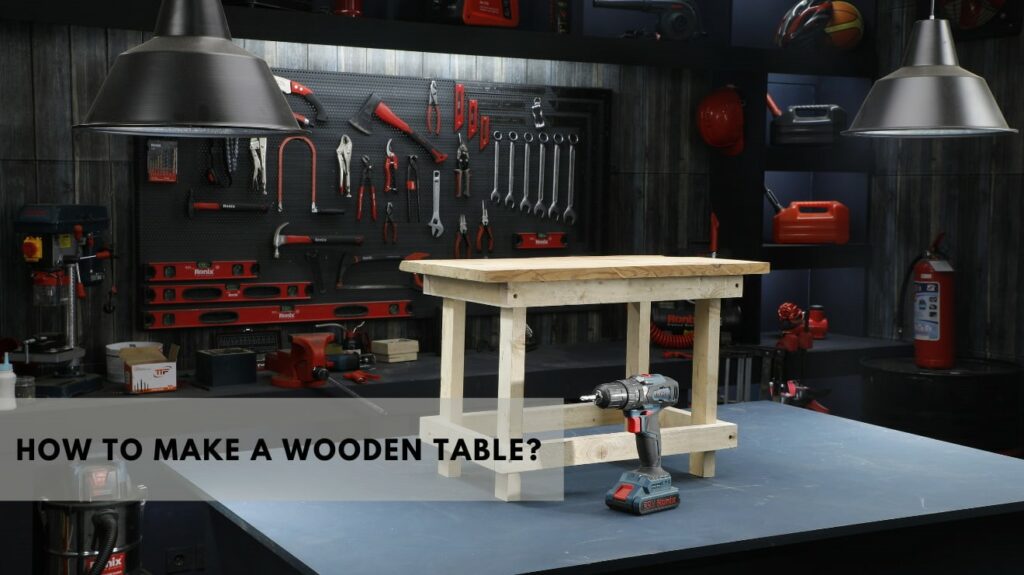
How to Make A Wooden Table?
How to build a wooden table? First, don’t rush. It is a progressive process. Just take the following steps and go on.
1st Step: Determine the Dimensions of the Table
The first step is to draw your table’s map. To design the table, you should consider your table’s use and sketch according to its use. At this stage, we need to determine the table’s dimensions; this will help you know how much wood is required in order to make a wooden table. Along with all the customized sizes, you should consider some standards. For example, if you are building a dining table, you should consider that the standard height should be around 76 cm and the minimum legroom should be 61 cm.
2nd Step: Make the Table Top
Edge-join the chosen wood boards with wood glue and clamps, ensuring a flat, smooth surface. After drying, trim the tabletop to the desired dimensions, sand it to perfection, and apply your chosen finish, whether it’s a stain, paint, or clear sealant. These steps will result in a beautiful and functional tabletop that complements your furniture or DIY project.
3rd Step: Build the Bottom framework of the Table
By the bottom of the table, we mean the lower structure that supports the tabletop. To build it, you need to mark a few centimeters from the edge of the table and put four pieces of wood the marked lines’ size, put them together, and attach them under the table using wood glue and screws to construct a sturdy framework.

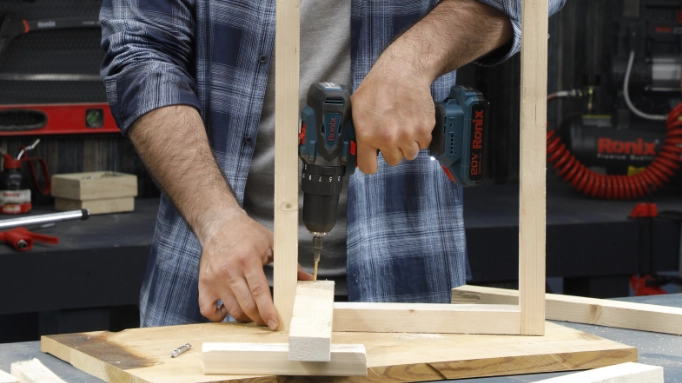
4th Step: Attach the legs
Then, attach the legs to the corners of the apron (also called skirting), forming a rectangular or square frame. Ensure that the frame is level and square. The design and style of the table will dictate the specifics of this step, whether it’s a simple frame for a coffee table or a more intricate base for a dining table. Once completed, you can connect the tabletop to the legs to assemble the full table.
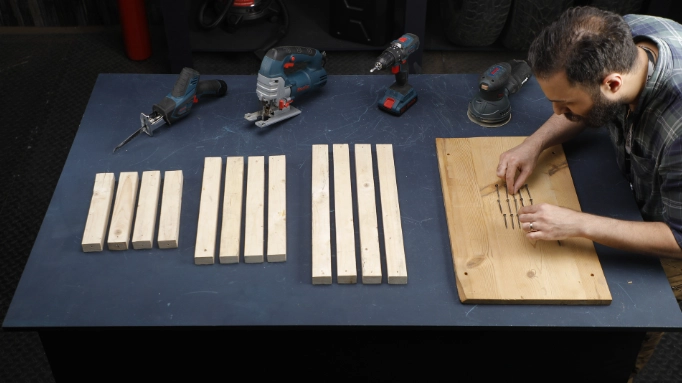
Note: When preparing the legs, consider that all the legs are of the same length. Cut one of the sticks to the desired size, then cut the rest of the bases to the first base’s size. In the next part, put all the bases together with a particular clip and cut the bottoms evenly so that one is not short and the other is not long.
Finally, sand the legs so that their surface is smooth and their sharp edge is removed. Ensure that the base and the table are well positioned so that the corners of the legs are in the corner of the table.
Then place the table on a flat surface to make sure the bases are even, and the table is balanced.
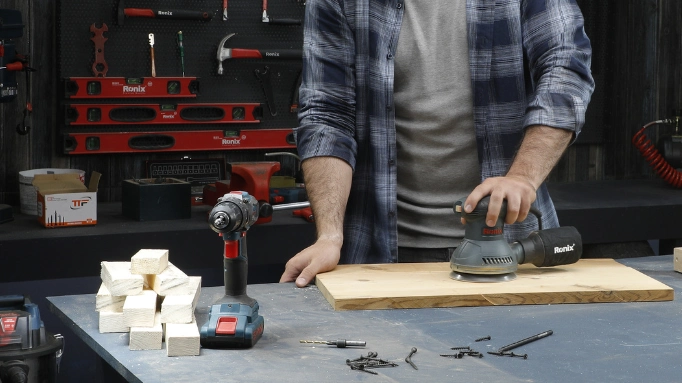
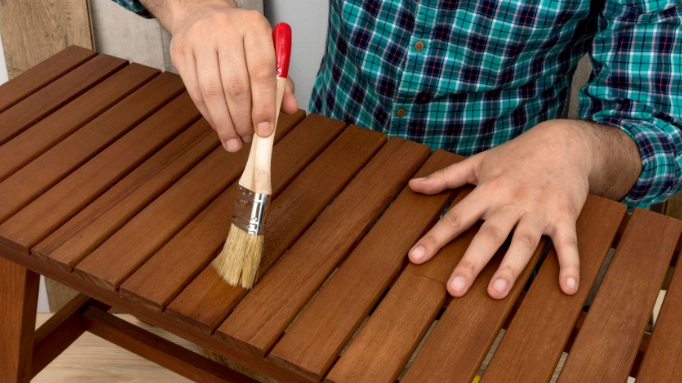
5th Step: Polishing and Painting Wooden Tables
At this stage, the wooden table is ready and you can paint the table to your liking or even create your own design on it after sanding the surface.
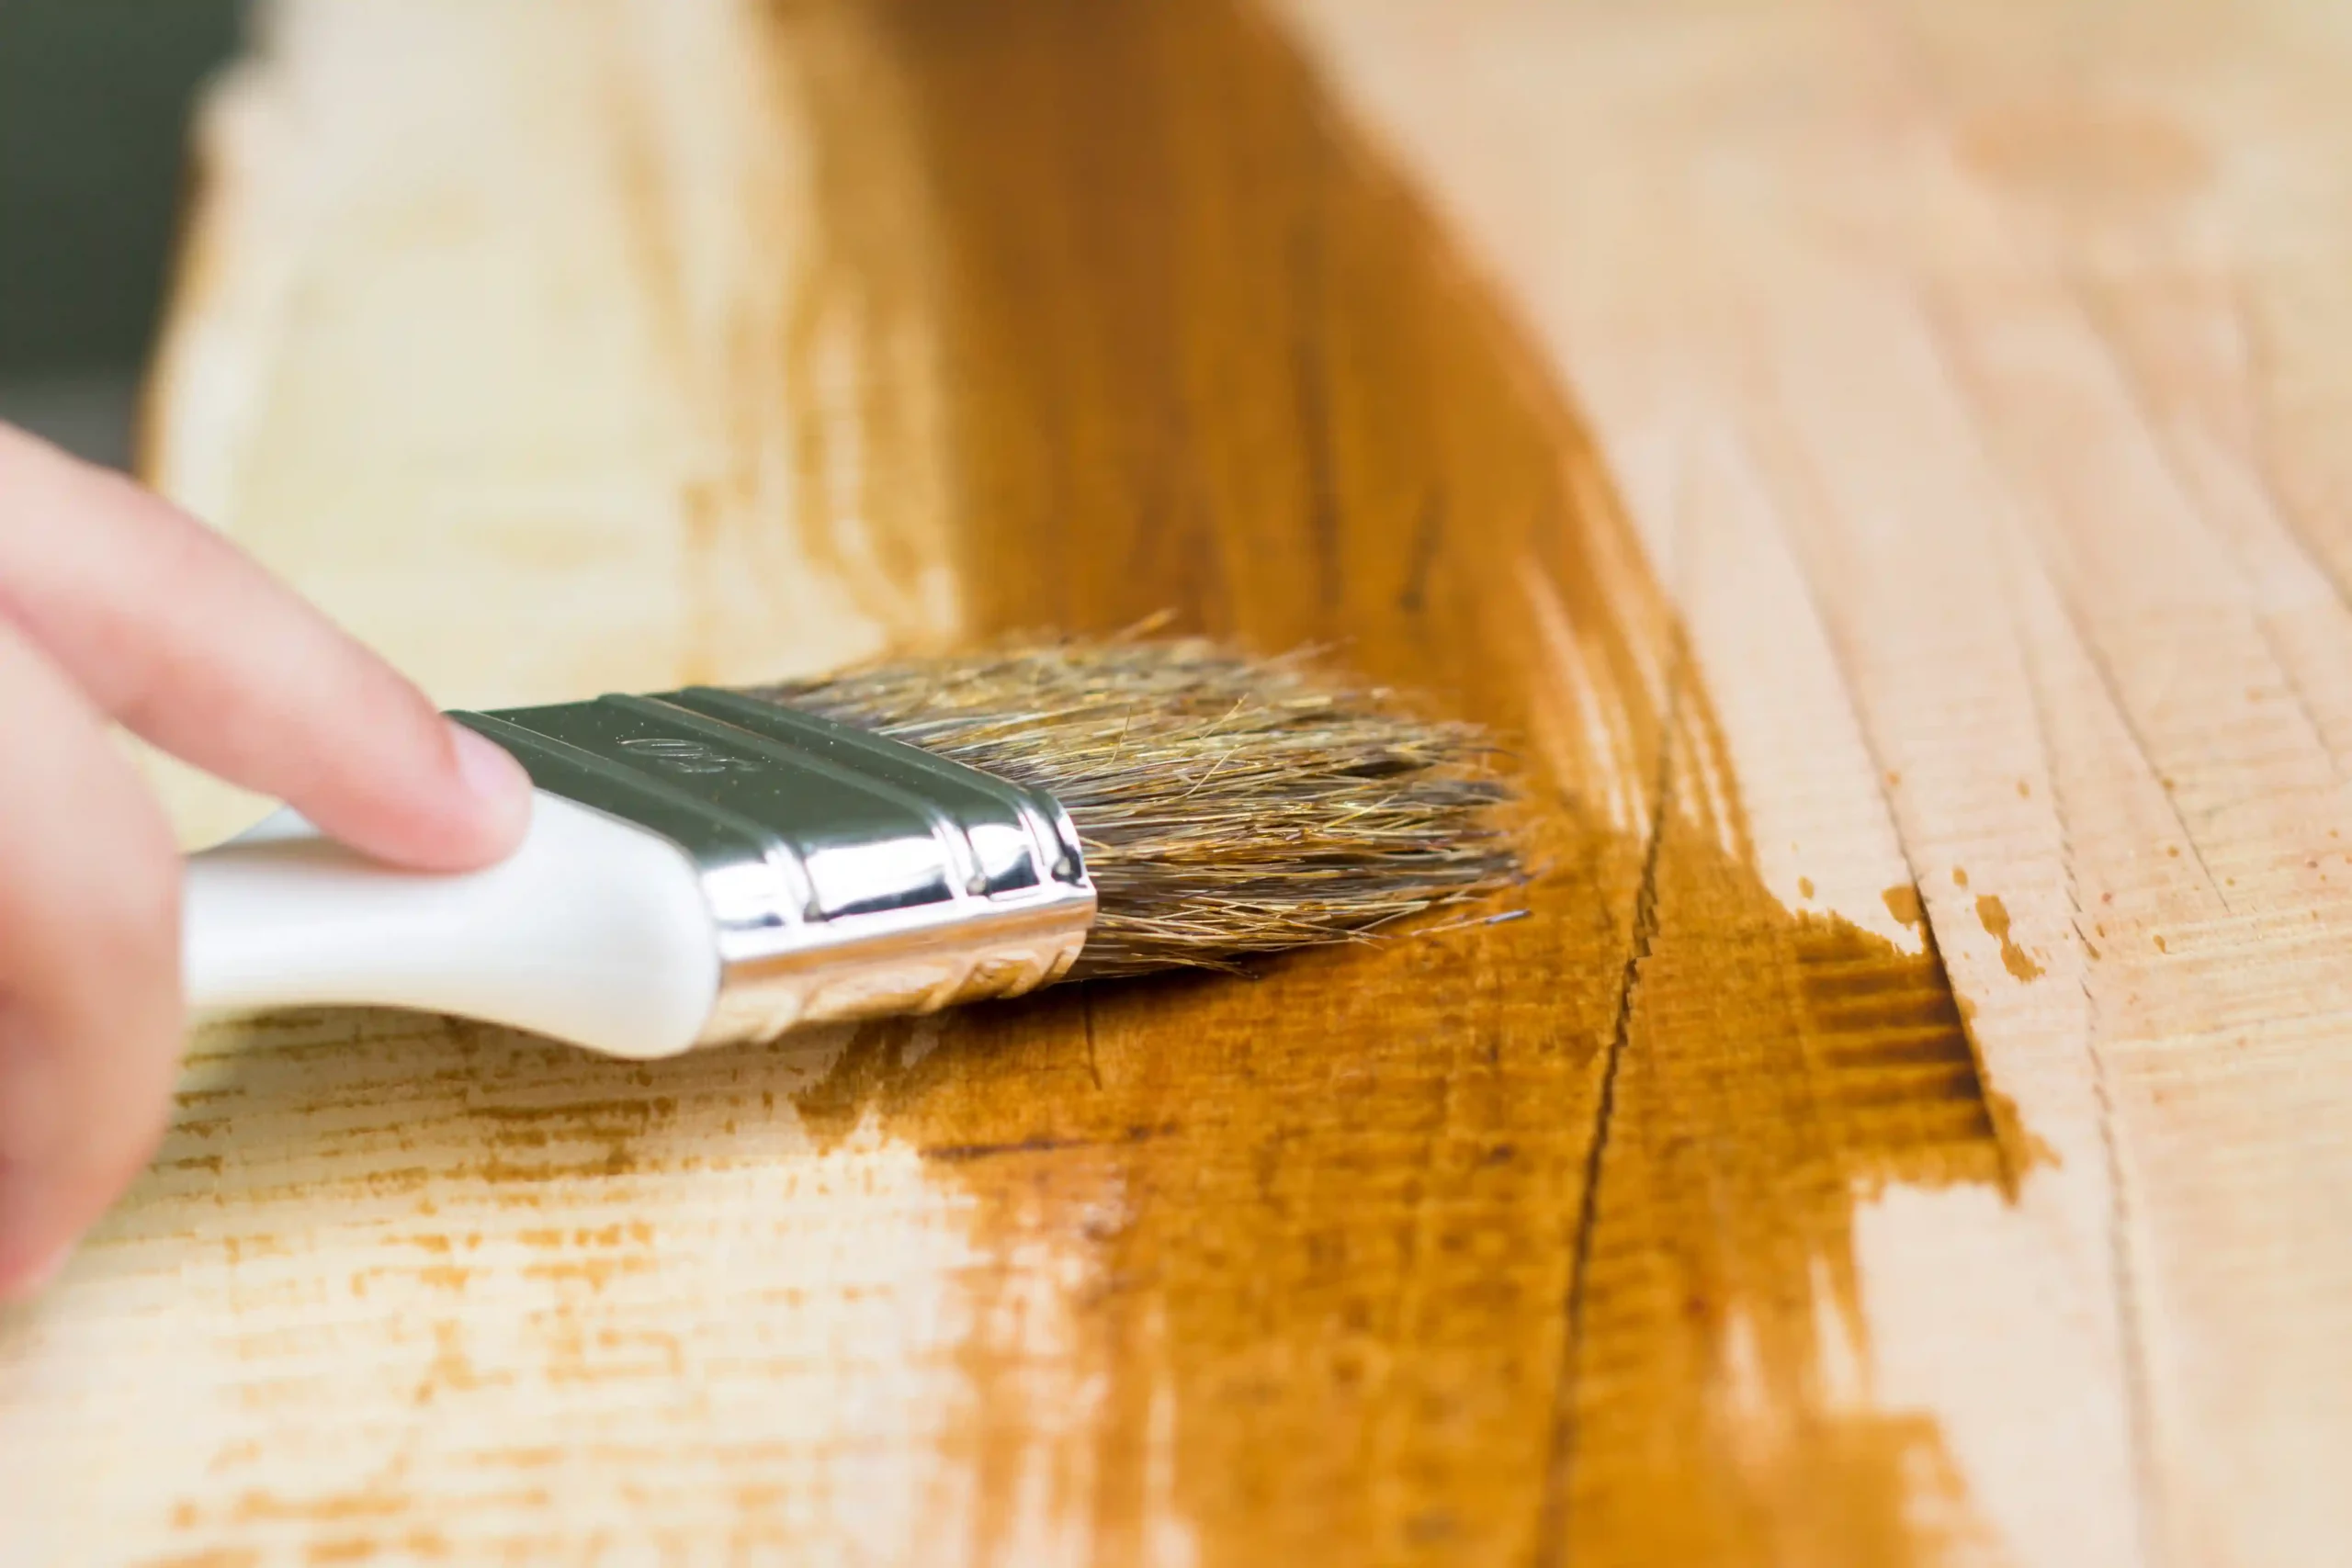
Before polishing and painting, sand the surface to remove any finish. Clean the table completely to remove dust and dirt. Apply a wood primer to ensure you can paint smoothly. Once dry, use sandpaper or electric sanders to smooth any rough spots. Next, apply your chosen paint and allow each coat to dry completely before adding the next. To add a polished look, after the final coat of paint has dried, apply a clear polyurethane or varnish finish to protect the paint and give the table a glossy appearance. Sand lightly between coats of finish, and let the table dry thoroughly before using.
Now let’s get more specific and talk about How to Make a Wooden Table of different types.
How to Make A Wooden Coffee Table
To make a coffee table, all you need is to follow the instructions above. But for this type, you should consider specific standards. Here are some standard sizes (for rectangular coffee tables) you should take notice of.
| Coffee Table Standard Sizes | |
| Hight Range | 40 to 46 cm |
| Length | 91 to 122 cm |
| Width | 46 to 61 cm |
| Clearance Space | 30 to 46 cm |
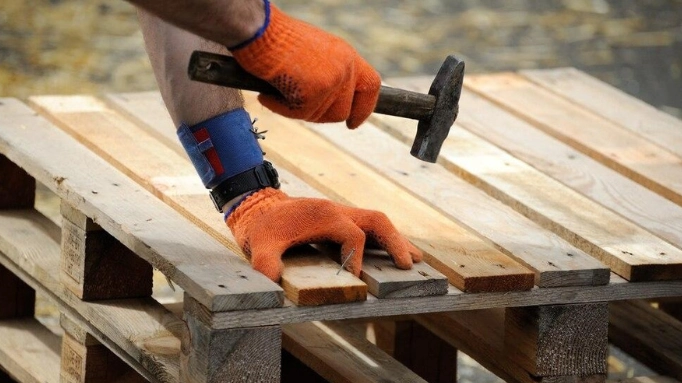
How to Make A Wooden Pallet Coffee Table
To make a wooden pallet coffee table, choose sound pallets that are in good condition, then dismantle them and get wooden planks. Sand, clean, and arrange the planks in the desired tabletop pattern, typically using a piece of plywood or additional planks as a base. Attach the planks securely to the base with screws or nails, ensuring they are level.
You can create legs or a base for the table with more pallet wood or other materials. Sand the entire table to smooth the surface, then finish with paint or a clear sealant for protection and aesthetics.
How to Make a Wooden Table Waterproof
If you are wondering how to make a wooden table waterproof, and resistant to moisture you should know about the proper coating material of different types, such as:
- Varnishes such as Polyurethane and marine
- Wood sealers with waterproof or water-resistant labels
- Silicon-based products
- Oils such as Tung oil, linseed oil, lemon oil
How to Make A Wooden Picnic Table
To make a wooden picnic table, cut treated lumber into pieces for the tabletop, bench seats, and frame. Assemble the tabletop and seats using wood glue and screws. Create rectangular frames for the top and bottom, attaching legs at the corners. Secure the tabletop and seats to the frames. Sand rough edges, apply a protective water-proof finish, and let it dry.

How to Make A Wooden Folding Table
After designing and choosing the wood type, create two identical tabletop halves and attach them with a piano hinge along the seam. Design the legs which are suitable for folding. After attaching the legs, add additional support braces if needed. Then, you can sand and finish it, as you do for other types of wooden tables.
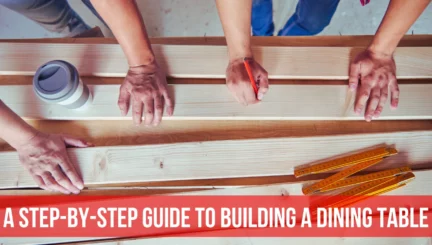
How to Make A Wooden Dining Table
For making a dining table, you should follow the general instructions, other than you should consider the standard sizes as a priority to get the best results out of it.
| Dining Table Type | Standard Width (cm) | Standard Length (cm) |
| Rectangular table for 4 | 91 | 122 |
| Rectangular table for 6 | 91 | 183 |
| Square table for 4 | 91 | 91 |
Along with the types above, a circular table for 4-6 should have diameters of 91 cm to 122 cm. But you should mind that these dimensions are.
How to Make A Wooden Table Outdoor-Proof
To make a wooden table outdoor-proof, start by selecting a durable wood like cedar, redwood, or teak, as they are naturally resistant to decay and insects. Next, apply a weatherproof sealant or outdoor wood finish to protect against moisture and UV rays. Make sure to seal all surfaces, including the underside.
FAQ
How do I choose the right type of wood for my table?
To choose the right type of wood for your table, consider factors like durability, appearance, and budget. Hardwoods like oak and maple are popular for their sturdiness, while softwoods like pine may offer a more affordable option.
Can I make a table without advanced woodworking skills?
Yes, you can make a table without advanced woodworking skills by opting for simpler designs and using pre-cut lumber. There are various DIY-friendly plans and kits available that cater to beginners, allowing you to create a functional table with basic tools and techniques

Amanda
17 March 2021