- 8min
- 3864
- 0
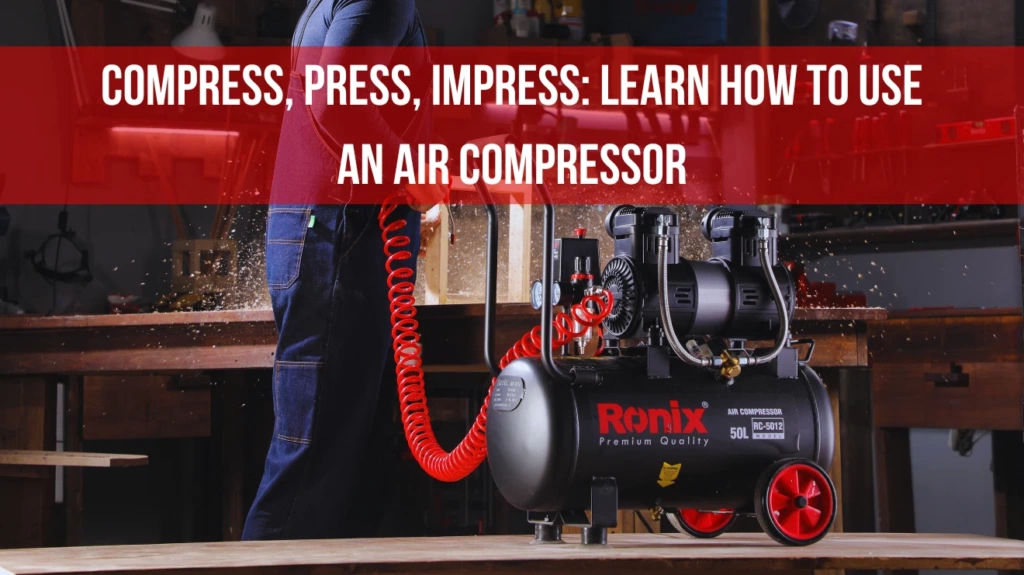
It might seem complicated but if you’re looking to know how to use an air compressor, we should inform you that it’s actually very simple. You just need to keep in mind some easy steps to set up the compressor, operate it, and then shut it off, and then we’ll give you some tips to maintain the compressor in the long run. Are you ready to be an expert in using air compressors? Let’s go then!
How to Use an Air Compressor
In 12 easy steps, we’re going to tell you how to use air compressors.
Step1. Safety First: Use the Right Equipment
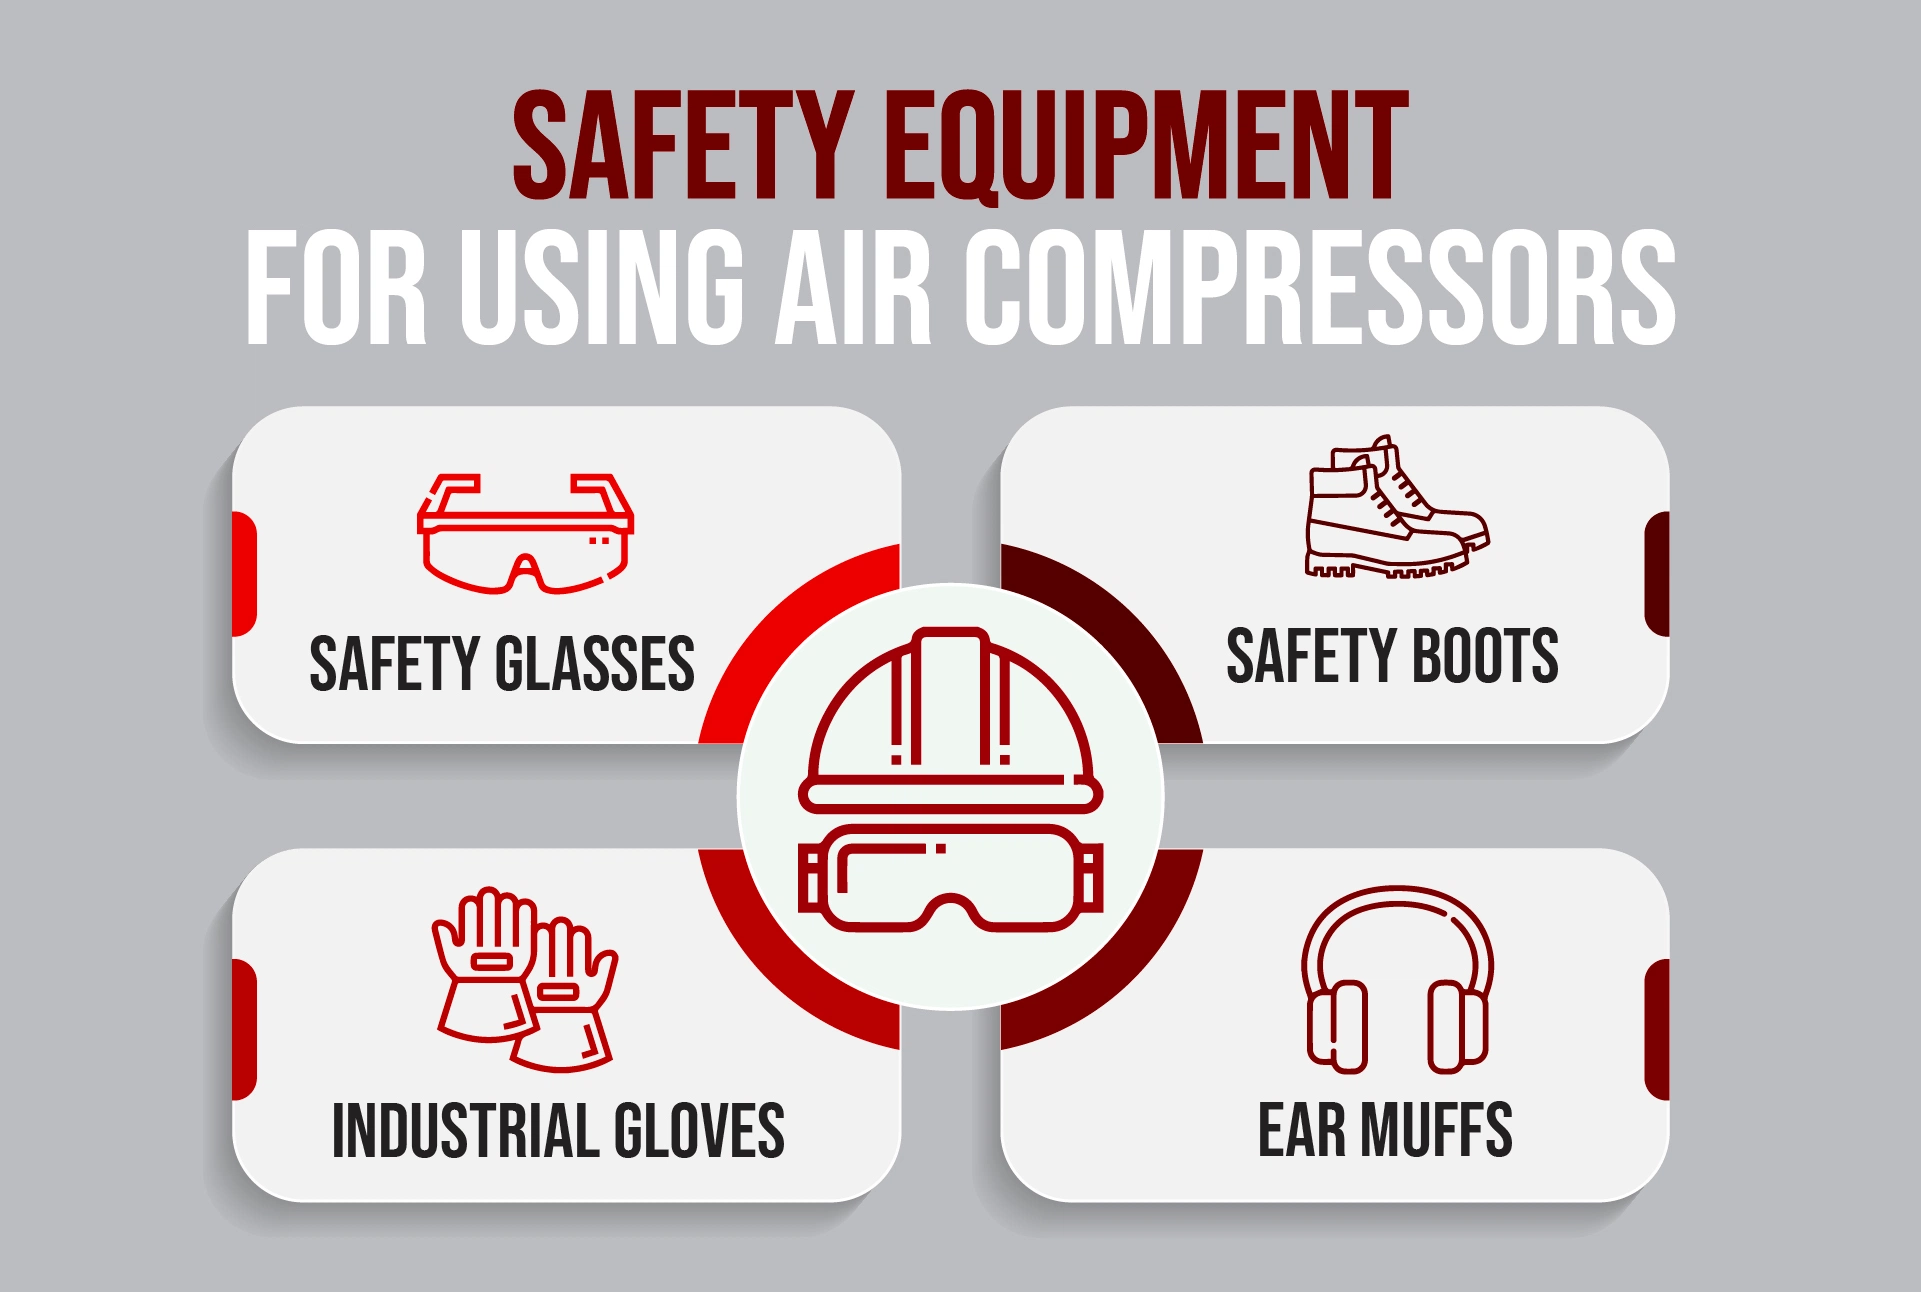
The first thing to remember is, yes you guessed it, safety tips. A pair of polycarbonate goggles will keep your eyes safe and a pair of shoes or boots will have your toes protected from any heavy tool that might fall on it.
Experience Soaring Sales with Top-Notch Wholesale Air Compressor
This is pretty much what you need when you want to know how to use an air compressor. But if you want to be safer, you can go for a pair of ear muffs so that your ears would be safe from the loud noises the machine might produce.
But if you want to spare the energy, you can just opt for a silent air compressor like Ronix’s RX-5013 which gives you the power you want but in a quiet performance.
Also, make sure you’re working in a ventilated area with enough space for the air compressor airflow.
Step 2. Inspect for Leaks: Is the Machine Safe?
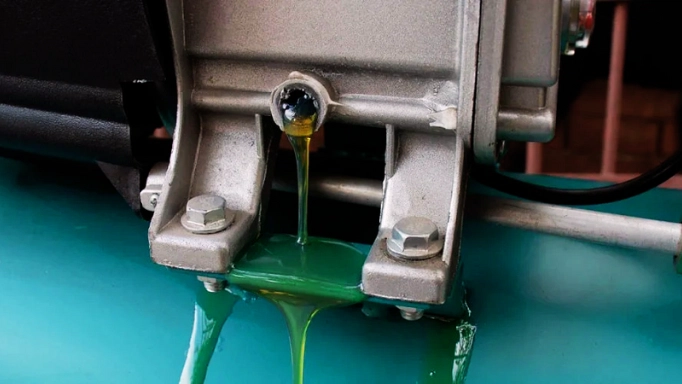
Before starting to work and getting deep into knowing how to work with air compressors, check it completely in case there are any leaks or damage. Don’t miss any spots on the hoses, fittings, and the compressor itself. If there are any, you need to take care of them before operating the device.
Step 3: The Importance of Balance: Air Compressor Position
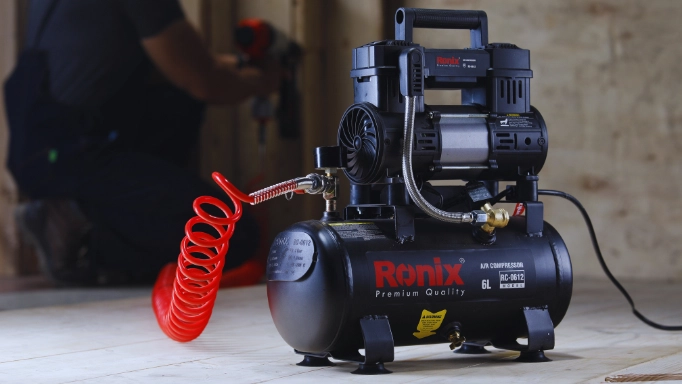
Before starting to tell you how to use air compressors, there’s one thing you should keep in mind: positioning. The air compressor should be placed on a flat, stable surface and stay away from unstable surfaces in this case.
If your device is corded, connect it to a grounded outlet nearby. The outlet must be grounded because if, by any chance, there are problems with the outlet causing it to spark or initiate fire, it will spread along the walls and into the furniture. An ungrounded outlet also increases the risk of people being electrocuted.
Now we’re finally done with the safety tips but the inspection is not yet over.
Step 4: Check the Oil Level, if Any!
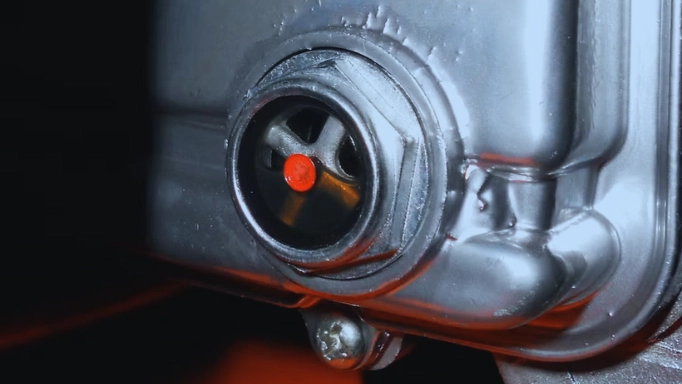
Your compressor might be oil-free but if it’s not, you need to check the pump oil before operating it. Use the dipstick and check if the oil level reaches about 2/3 of the way up the stick. If it doesn’t, the tank needs to be filled.
Note: to make sure if your compressor is oil-free or works with oil, check the manual.
But wait! The checking process is still going on.
Step 5: Check the Drain Valve
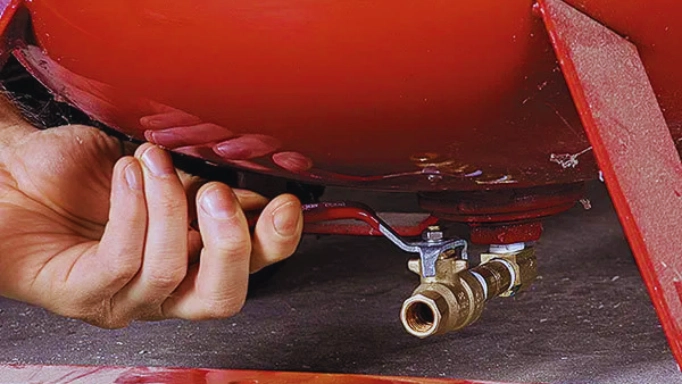
Another step before reaching the point of knowing how to use an air compressor is checking the valve. The valve should be completely closed and if it’s slightly open, you can tighten it with an adjustable wrench. The drain valve is usually located at the bottom of the air tank.
Step 6: Prepare the Air Tank to Take Off!
Flip the power switch to ‘on’ and let the compressor run for one minute. Observe the air compressor gauge and make sure the device switches off when the pressure reaches the capacity.
Step 7: Set PSI to The Desired Flow
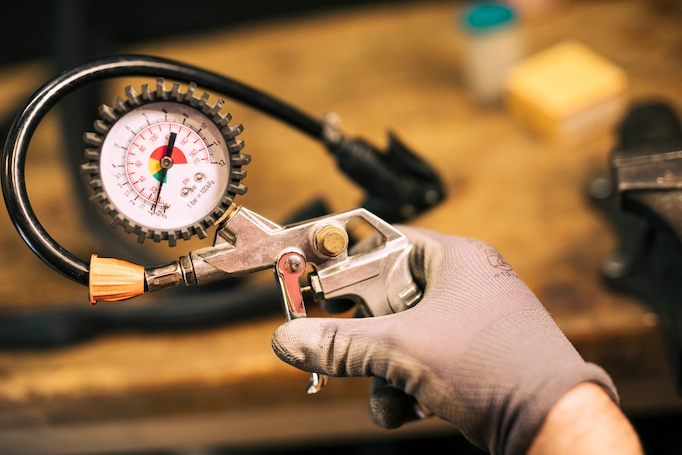
The next step is checking your tool to see how much pressure it needs. You can also find this information on the tool or in the manual. Then, adjust the pressure until the said air pressure for a specific tool is reached.
Step 8: Connect Air Hose, Reach the Source
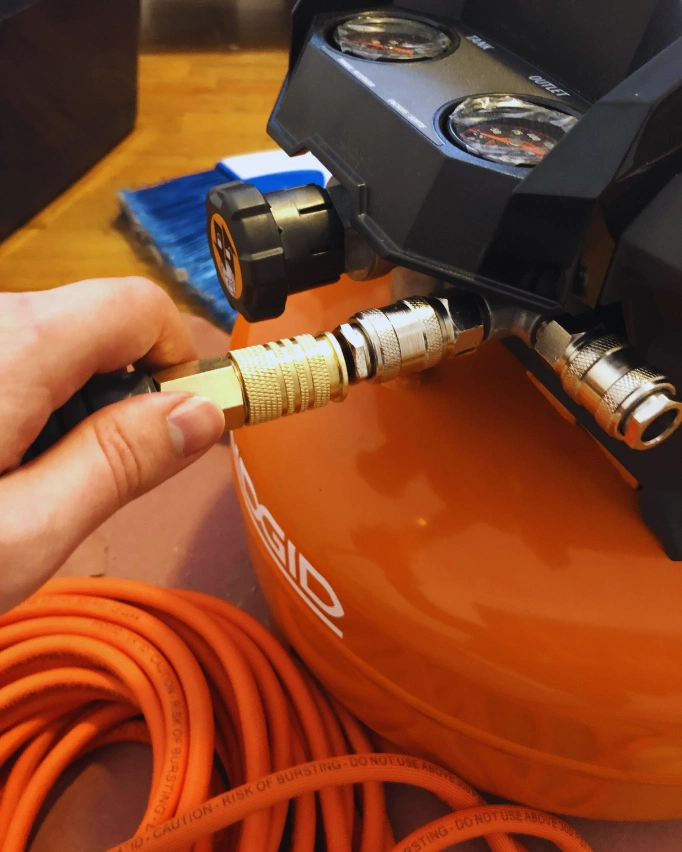
Attach the air hose to the compressor outlet valve with the needed fittings and a tight seal so that no air leaks out. You can use an adjustable wrench to lock the hose in place. Ronix’s Libra series offers a wide range of adjustable wrenches that are fit for this job. Exhibit A: RH-2402.
If it’s required, you need to wrap the threaded end of the hose with PTFE tape if the specific model you’re working with is compatible with it.
Step 9: Connect the Desired Tool and Get to Work
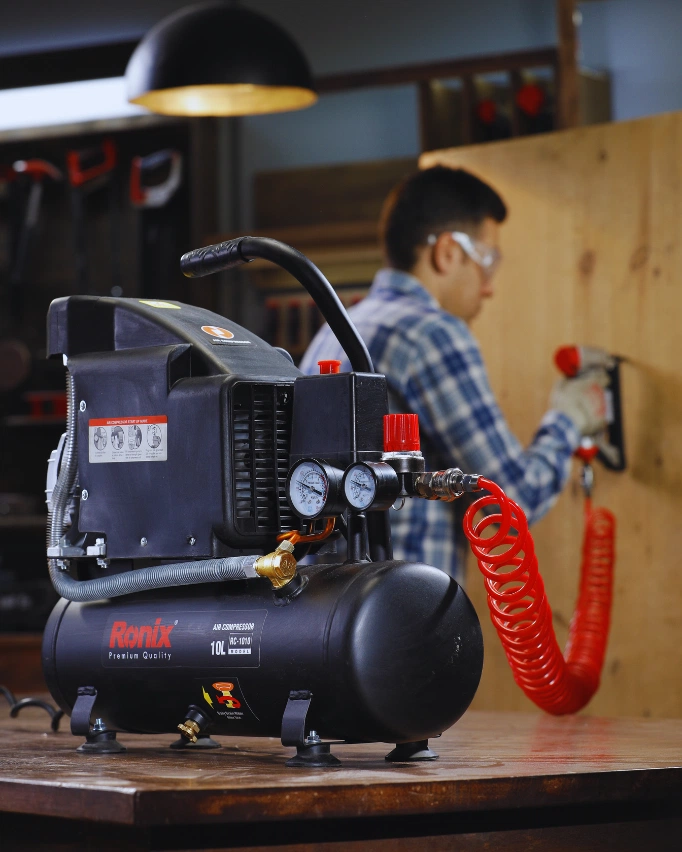
You can use an air compressor for numerous tasks such as inflating tires, blowing debris, operating pneumatic tools, etc. If you want to operate pneumatic tools, connect them to the other end of the air hose with compatible fittings.
Now it’s finally time to operate the machine and move on to the next step of knowing how to use an air compressor.
Step 10: Operate the Power Tool While Air Is in the Tank
Turn on the electrical switch on the tank and turn it on. You will then witness the pressure gauge moving on the tank’s side. Once the needle stops moving, you will know that the air inside has reached the highest pressure. Watch the gauge to make sure it reaches the level you desire.
Once the compressor reaches that level, the machine is ready to be used for different applications that we’ve already mentioned.
Note: be careful to take the necessary precautions written in the manual.
Step 11: Turn Off the Compressor to Drain the Pressure
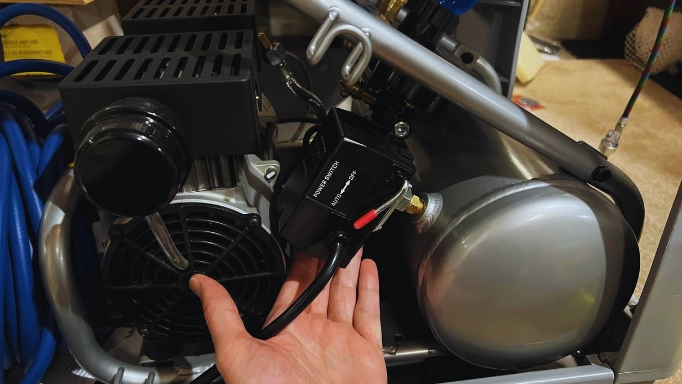
Now you’re done and you know how to use an air compressor. It’s time to turn it off and do the post-steps you need to take. After turning off the power switch or trigger, you need to release the pressure in the tank by opening the drain valve or triggering the pressure release valve. This keeps the tank from holding pressure when it’s not in use.
After you’re done letting out the pressure in the tank, you need to disconnect the air hose and other accessories that have been attached to the compressor.
Apart from the steps you need to take in the process of knowing how to use air compressors, there are some maintenance tasks you need to take care of periodically.
Step 12: Maintain the Compressor
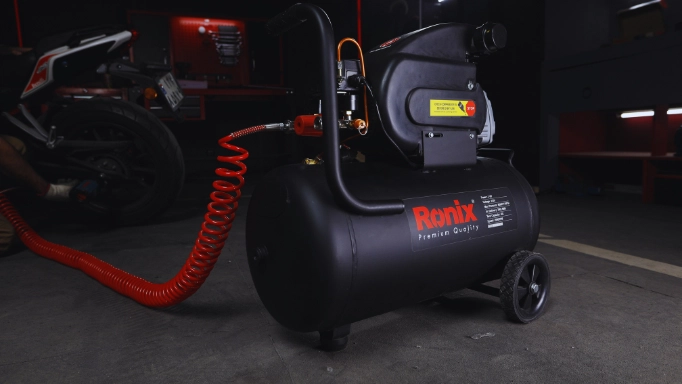
It’s basic to take care of any machinery. An air compressor also needs clean oil to operate better. To change it, you can use a socket wrench, remove the plugs, and add new compressor oil using a funnel.
The air filter on the air compressor also needs to be cleaned every once in a while, so it can provide you with a better performance.
You also need to drain the moisture from the air tank regularly so the compressor doesn’t corrupt and lives longer.
How to Use a Corded vs Cordless Air Compressor
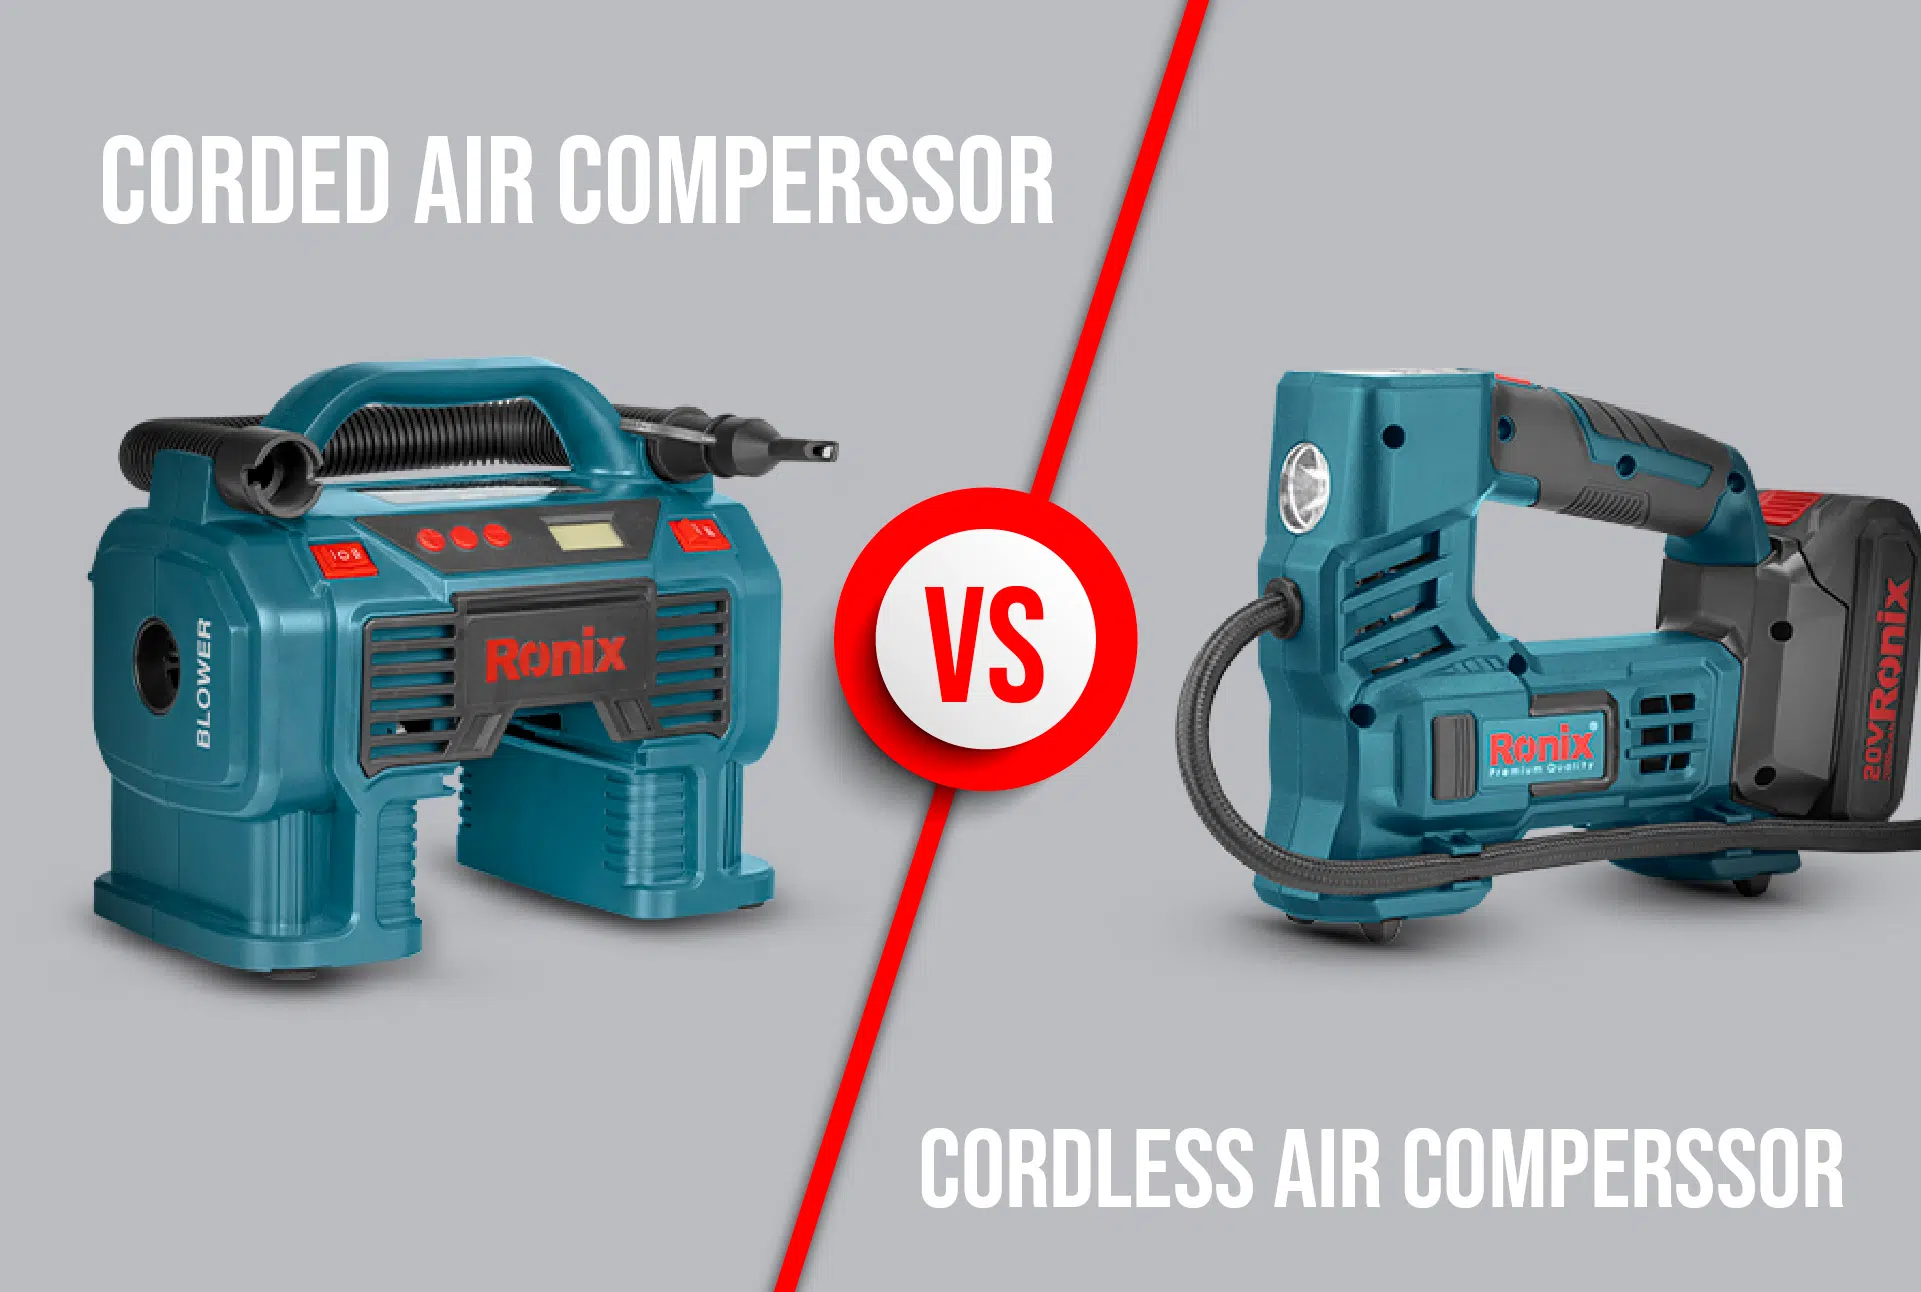
The whole process of using an air compressor is somewhat the same in both corded and cordless forms. The only thing you need to keep in mind is if you are using a corded air compressor, make sure there’s an electric outlet nearby. And if a cordless compressor is what you’re working with, before the working session make sure the battery is fully charged and ready to go.
Hope you’ve successfully added this information to the necessary things you should know before using air compressors. As you have seen, it’s a rather easy process and you can do everything by yourself. Good luck!
FAQs:
How do I properly set up and assemble my air compressor for use?
To do this, go through these steps:
- Safety First: Use the Right Equipment
- Step 2. Inspect for Leaks: Is the Machine Safe?
- Step 3: The Importance of Balance: Air Compressor Position
- Step 4: Check the Oil Level, if Any!
- Step 5: Check the Drain Valve
- Step 6: Prepare the Air Tank to Take Off!
- Step 7: Set PSI to The Desired Flow
- Step 8: Connect Air Hose, Reach the Source
- Step 9: Connect the Desired Tool and Get to Work
- Step 10: Operate the Power Tool While Air Is in the Tank
- Step 11: Turn Off the Compressor to Drain the Pressure
- Step 12: Maintain the Compressor
What safety precautions should I follow when operating an air compressor?
For a safe air compressor operation, keep these in mind:
- Read the manual
- Wear personal protective equipment
- Inspect equipment
- Proper ventilation
- Secure connections
- Right positioning
- Regulating the pressure
- Releasing the pressure
- Shut down correctly

Sarah
2 April 2024
