- 10min
- 152
- 0

Contents
Have you ever tried loosening a tight bolt and felt like you were getting nowhere? Whether you’re assembling furniture, fixing your car, or handling everyday repairs around the house, having the right tools can make all the difference. And that’s exactly where a socket wrench comes in! This handy tool is designed to make your work easier, faster, and more comfortable. Now, you might wonder how to use socket wrench, right?
Even if you’ve never used a socket wrench before, there’s no need to worry. It’s much simpler than it looks! With a basic understanding of how it works and how to choose the right socket, you’ll be able to handle a wide range of tasks with confidence. In this article, we’ll guide you step by step on how to use a socket wrench properly, along with a few practical tips to help you get the best results.
What is a socket wrench?
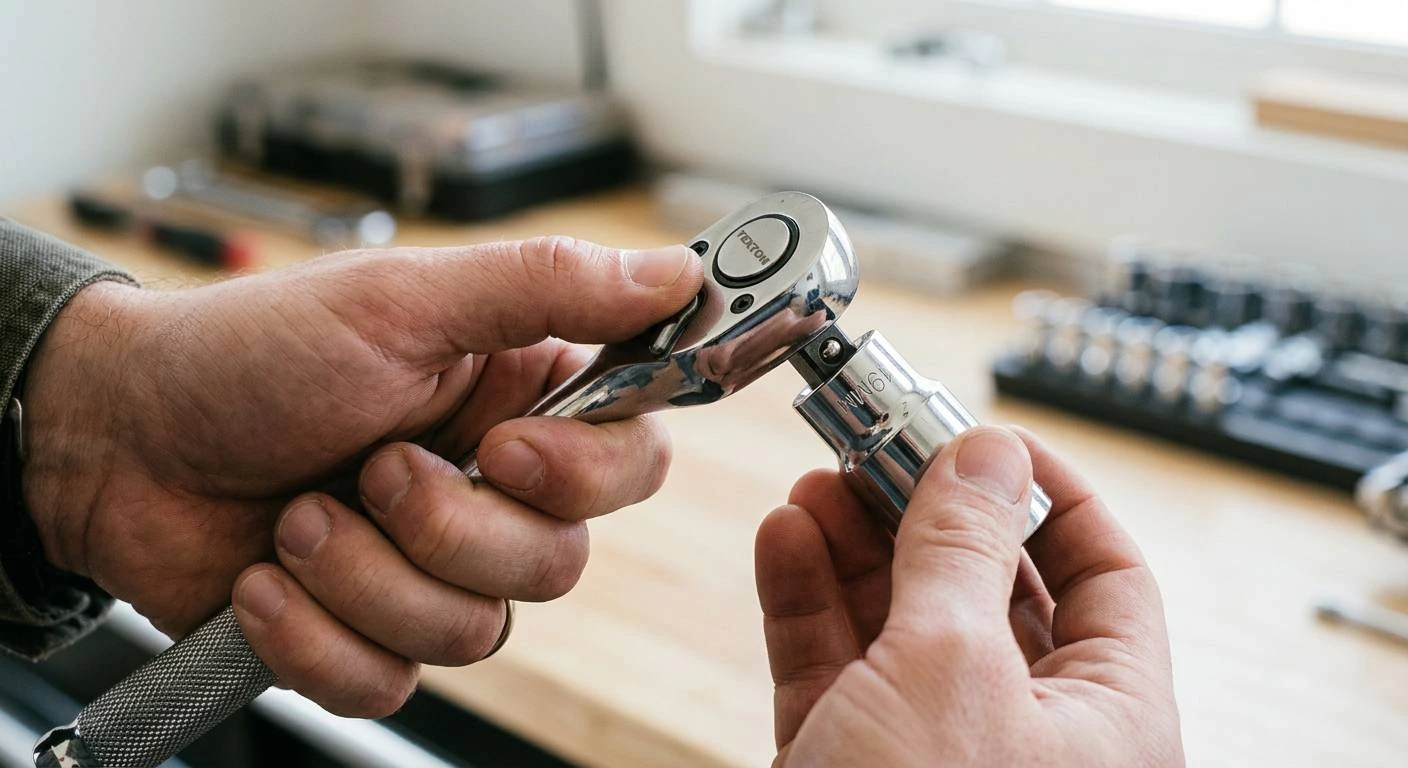
When it comes to how to use socket spanner, we should start with the basics. A socket wrench, also known as a socket spanner, is a versatile hand tool used to tighten or loosen nuts and bolts quickly and with less effort. It consists of a handle, usually with a ratcheting mechanism, and interchangeable sockets that fit over fasteners. Thanks to its design, you can turn the handle continuously without removing the tool, making it faster and more comfortable than traditional wrenches.
Socket Wrench Terms You Should Know
Before discussing how to use a socket wrench, there are a few concepts need to be clarified briefly, including:
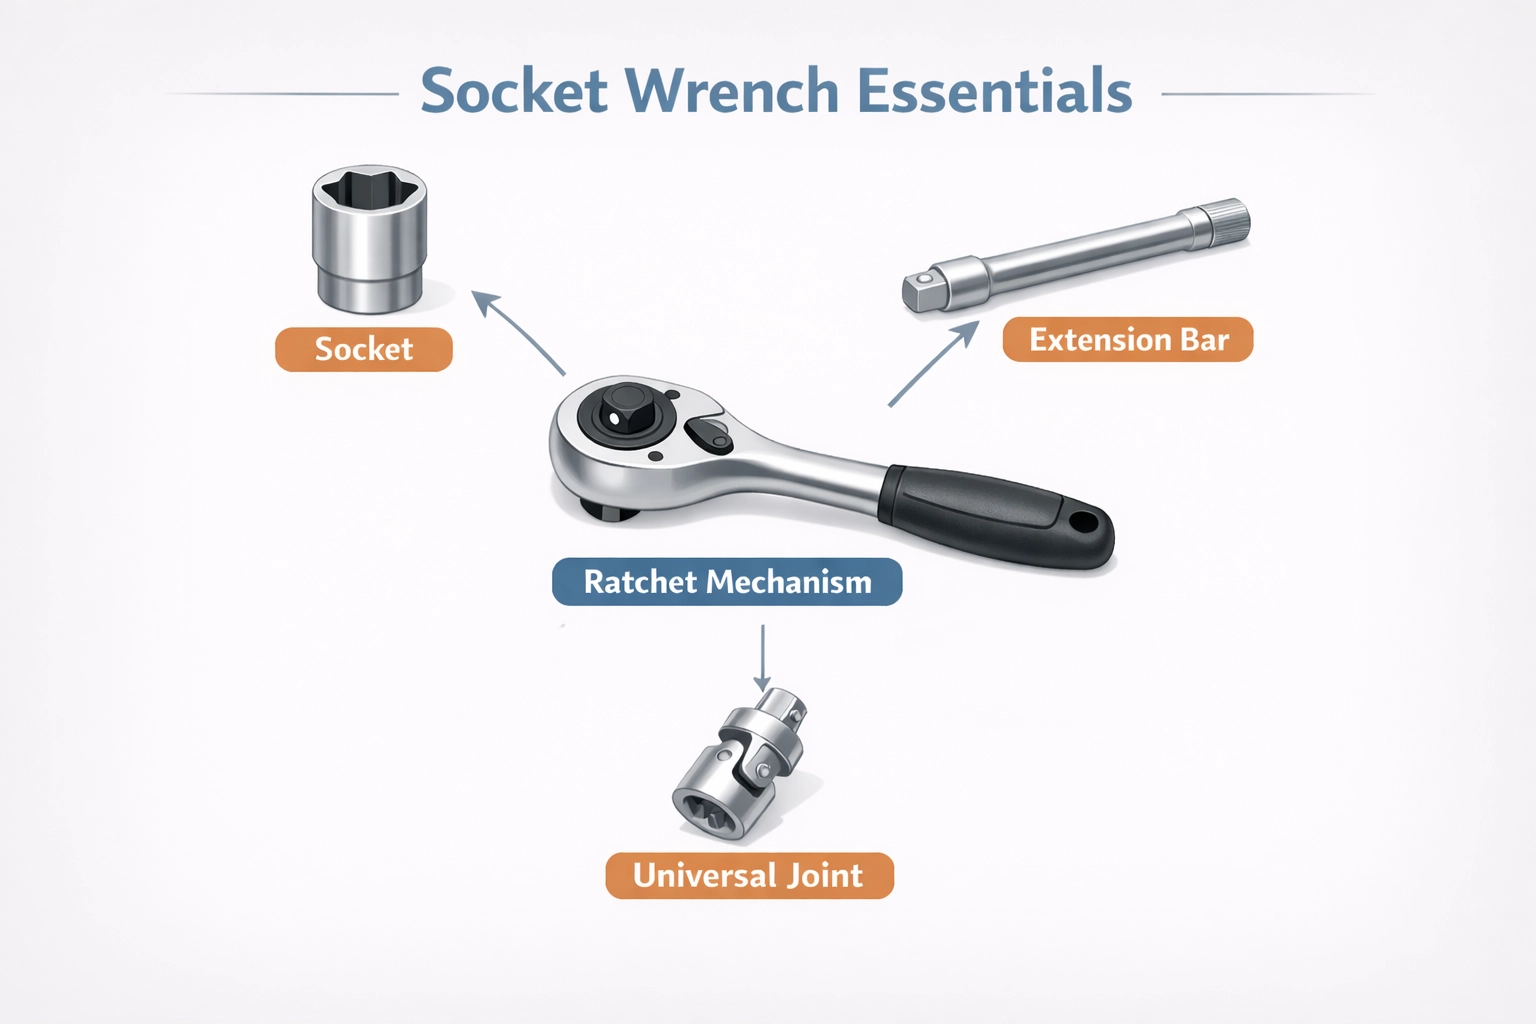
- Sockets & Socket Sets: Sockets are cylindrical attachments that come in different sizes to fit various nuts and bolts. They’re usually sold in sets for better flexibility.
- Metric vs. SAE Sizes: Socket sets typically include metric (mm) or SAE (inch) sizes to match different standards.
- Drive Sizes: Common drive sizes like 1/4″, 3/8″, and 1/2″ refer to the square connection between the socket and the handle.
- Extension Bar: Used to extend the reach.
- Universal Joint: Allows for angled access.
- Torque Wrench: A wrench that measures the amount of torque applied.
- Ratchet Mechanism: The ratcheting handle allows movement in one direction while keeping the socket in place.
Understanding these basic terms makes it much easier to follow instructions, talk about tools with confidence, and get the right tool without confusion. It also helps you avoid mistakes with socket wrench use, such as using the wrong socket size, which can damage both the fastener and the tool.
Types of Socket Wrench
Not every project needs the same tool. Each type of socket wrench is designed for specific applications. Knowing the differences help you choose the best type for your projects. Here is a quick guide for socket wrench types:
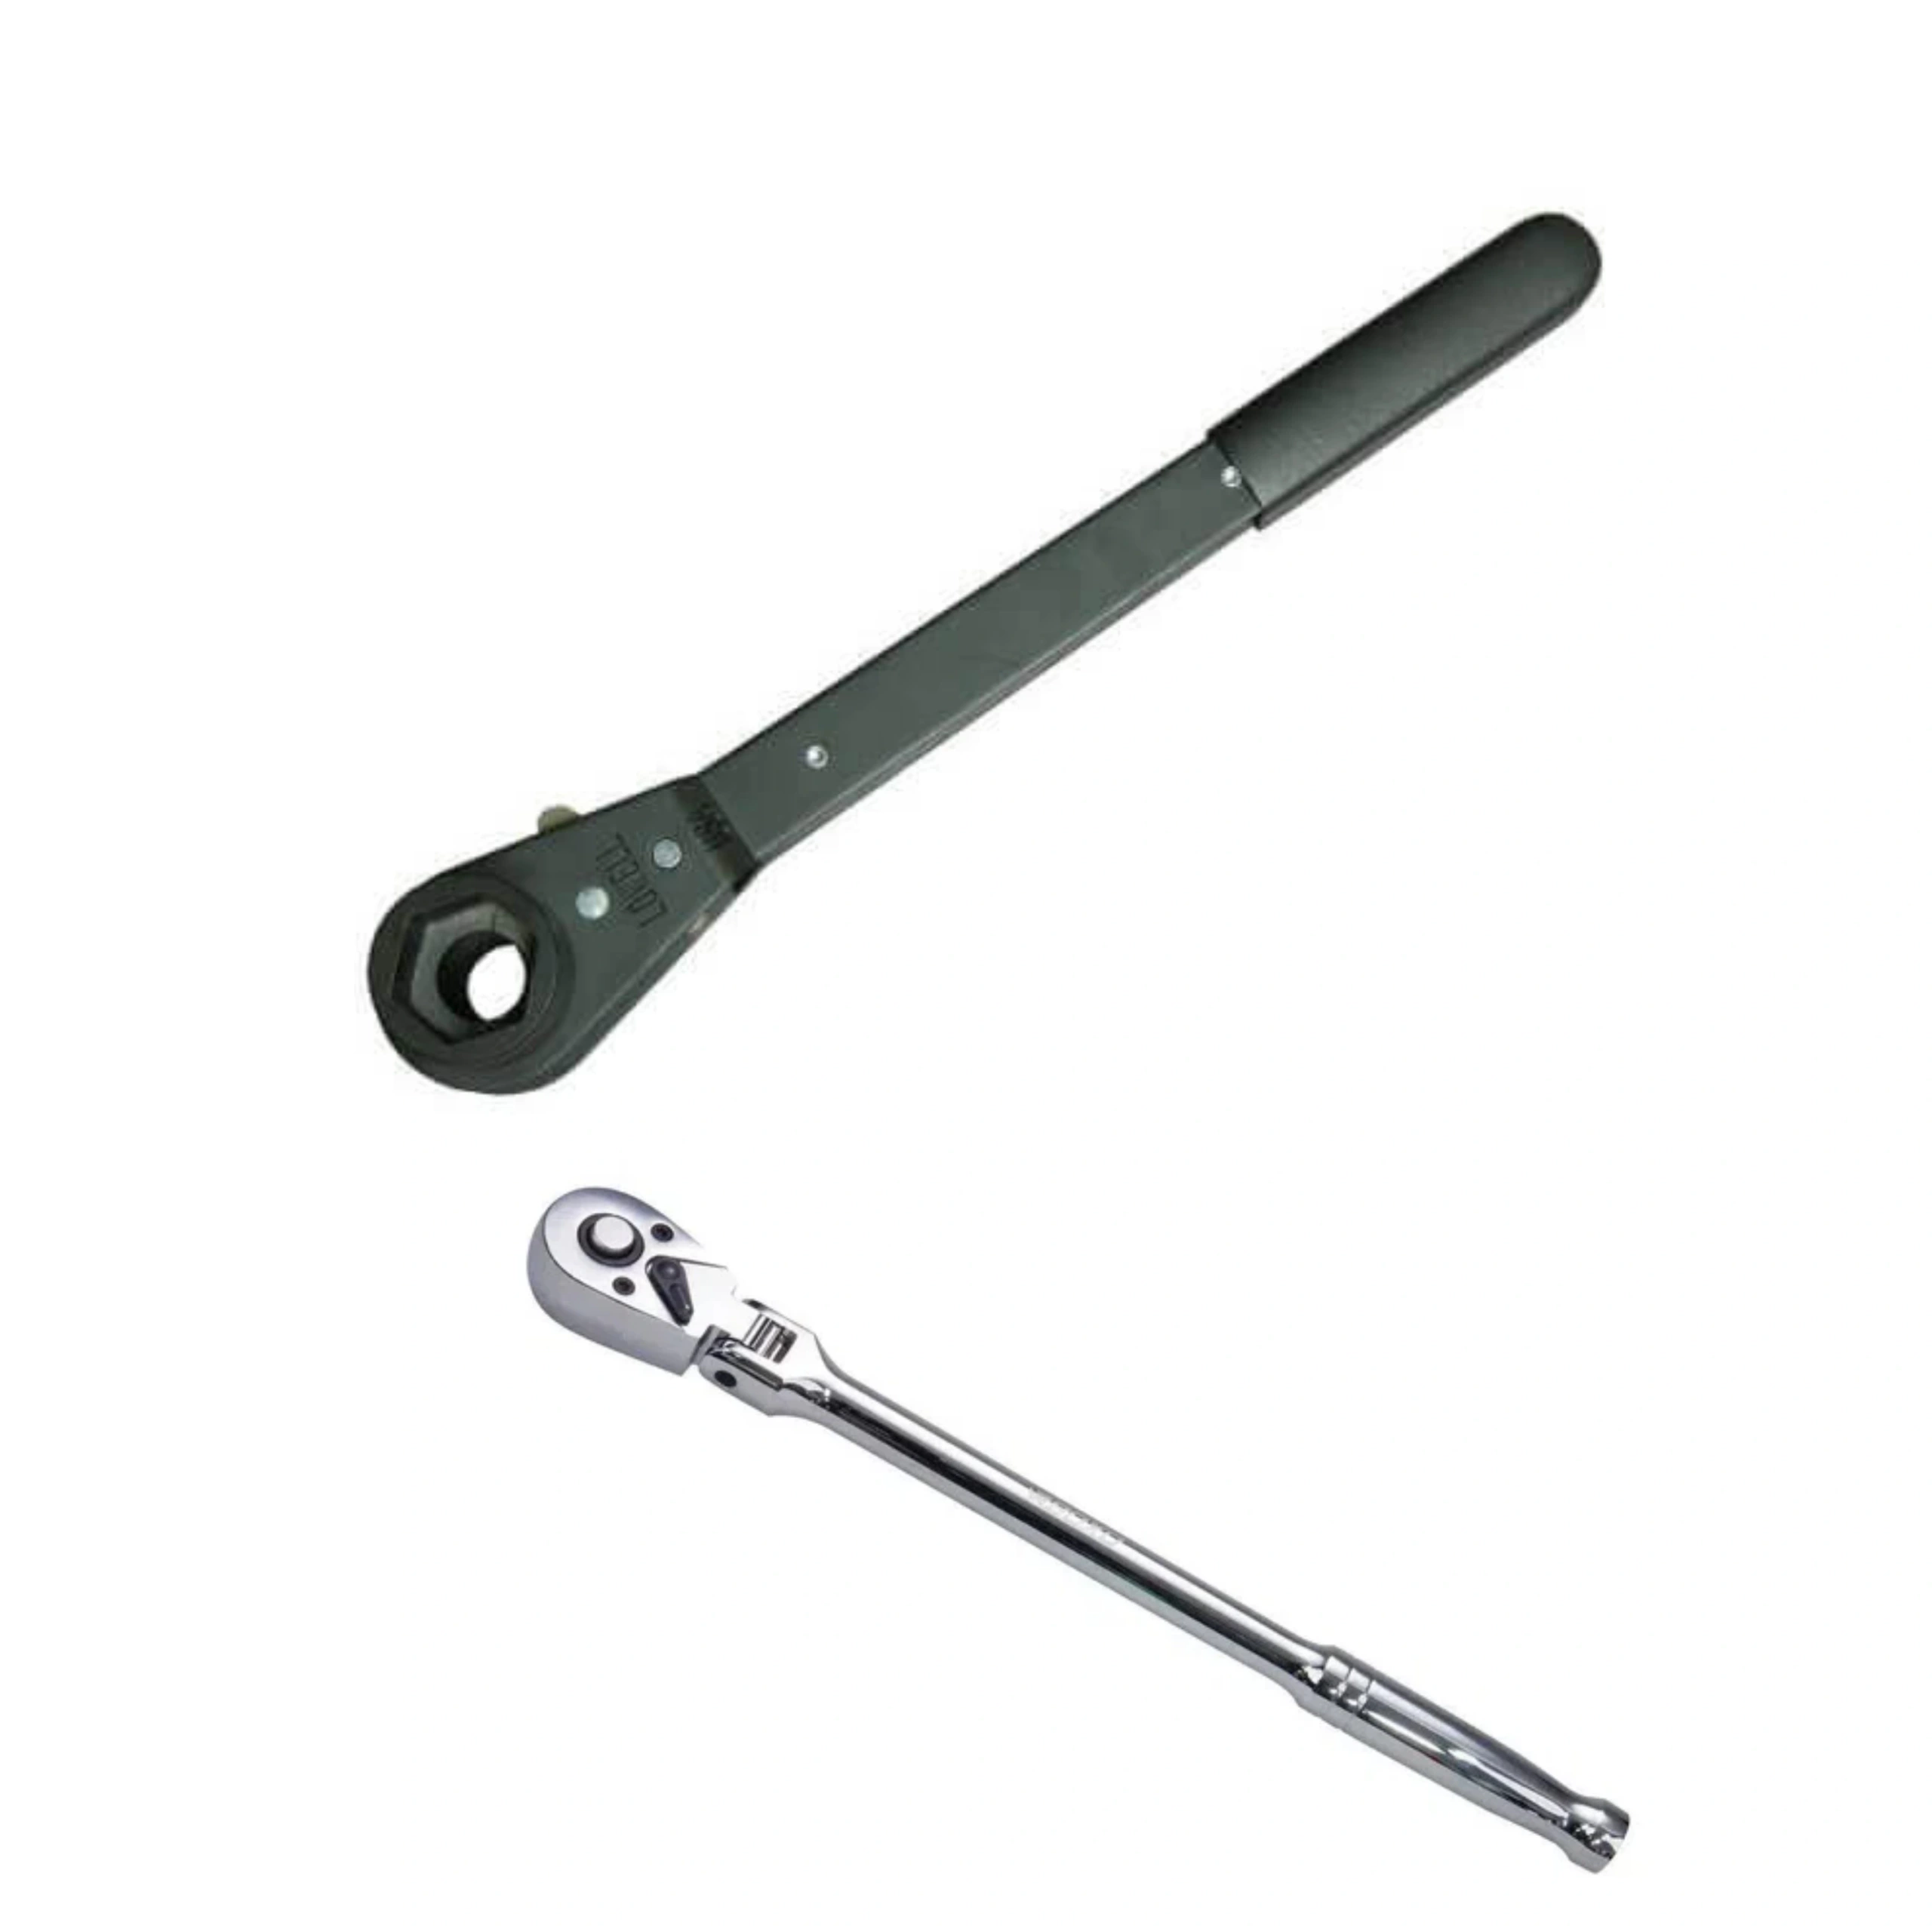
- Ratchet Wrench: The standard, all-purpose option for everyday tasks.
- Flex-Head Ratchet: Features a pivoting head, making it easier to reach bolts in tight or awkward spaces.
- Torque Wrench: Designed to tighten fasteners to a precise torque level for accuracy and safety.
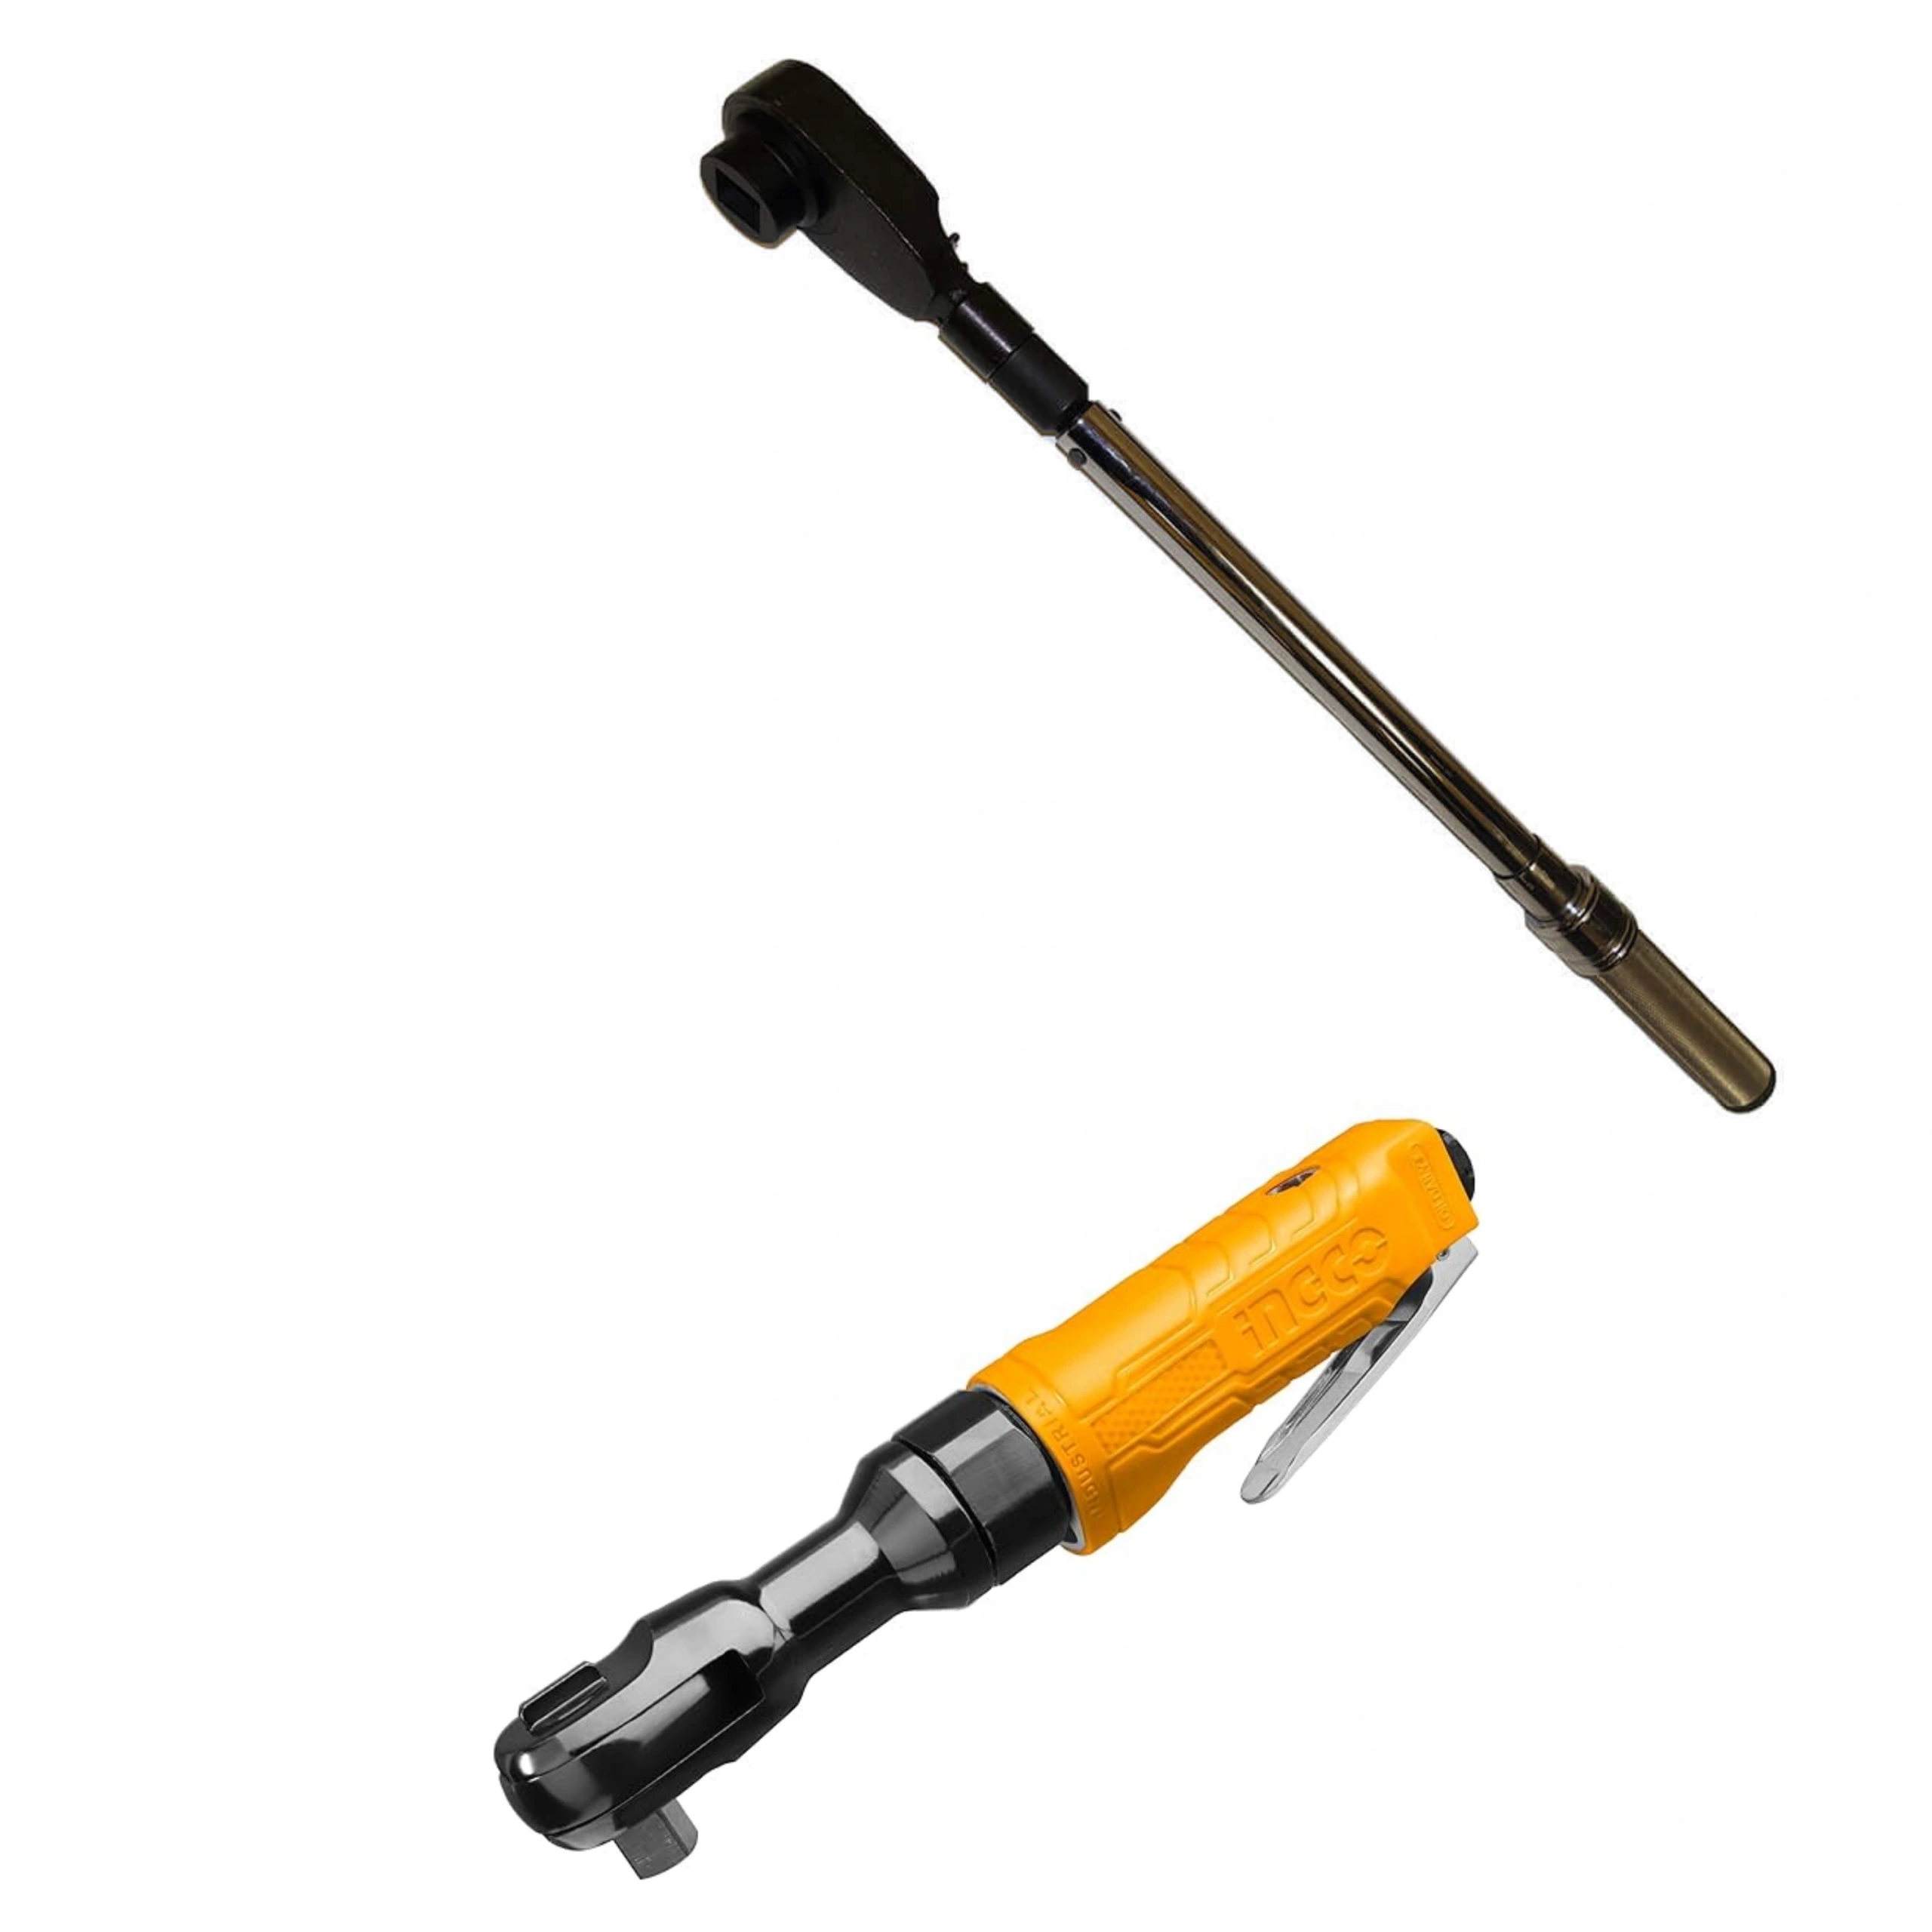
- Air Ratchet Wrench: Powered by compressed air, ideal for fast and repetitive work, commonly used in workshops.
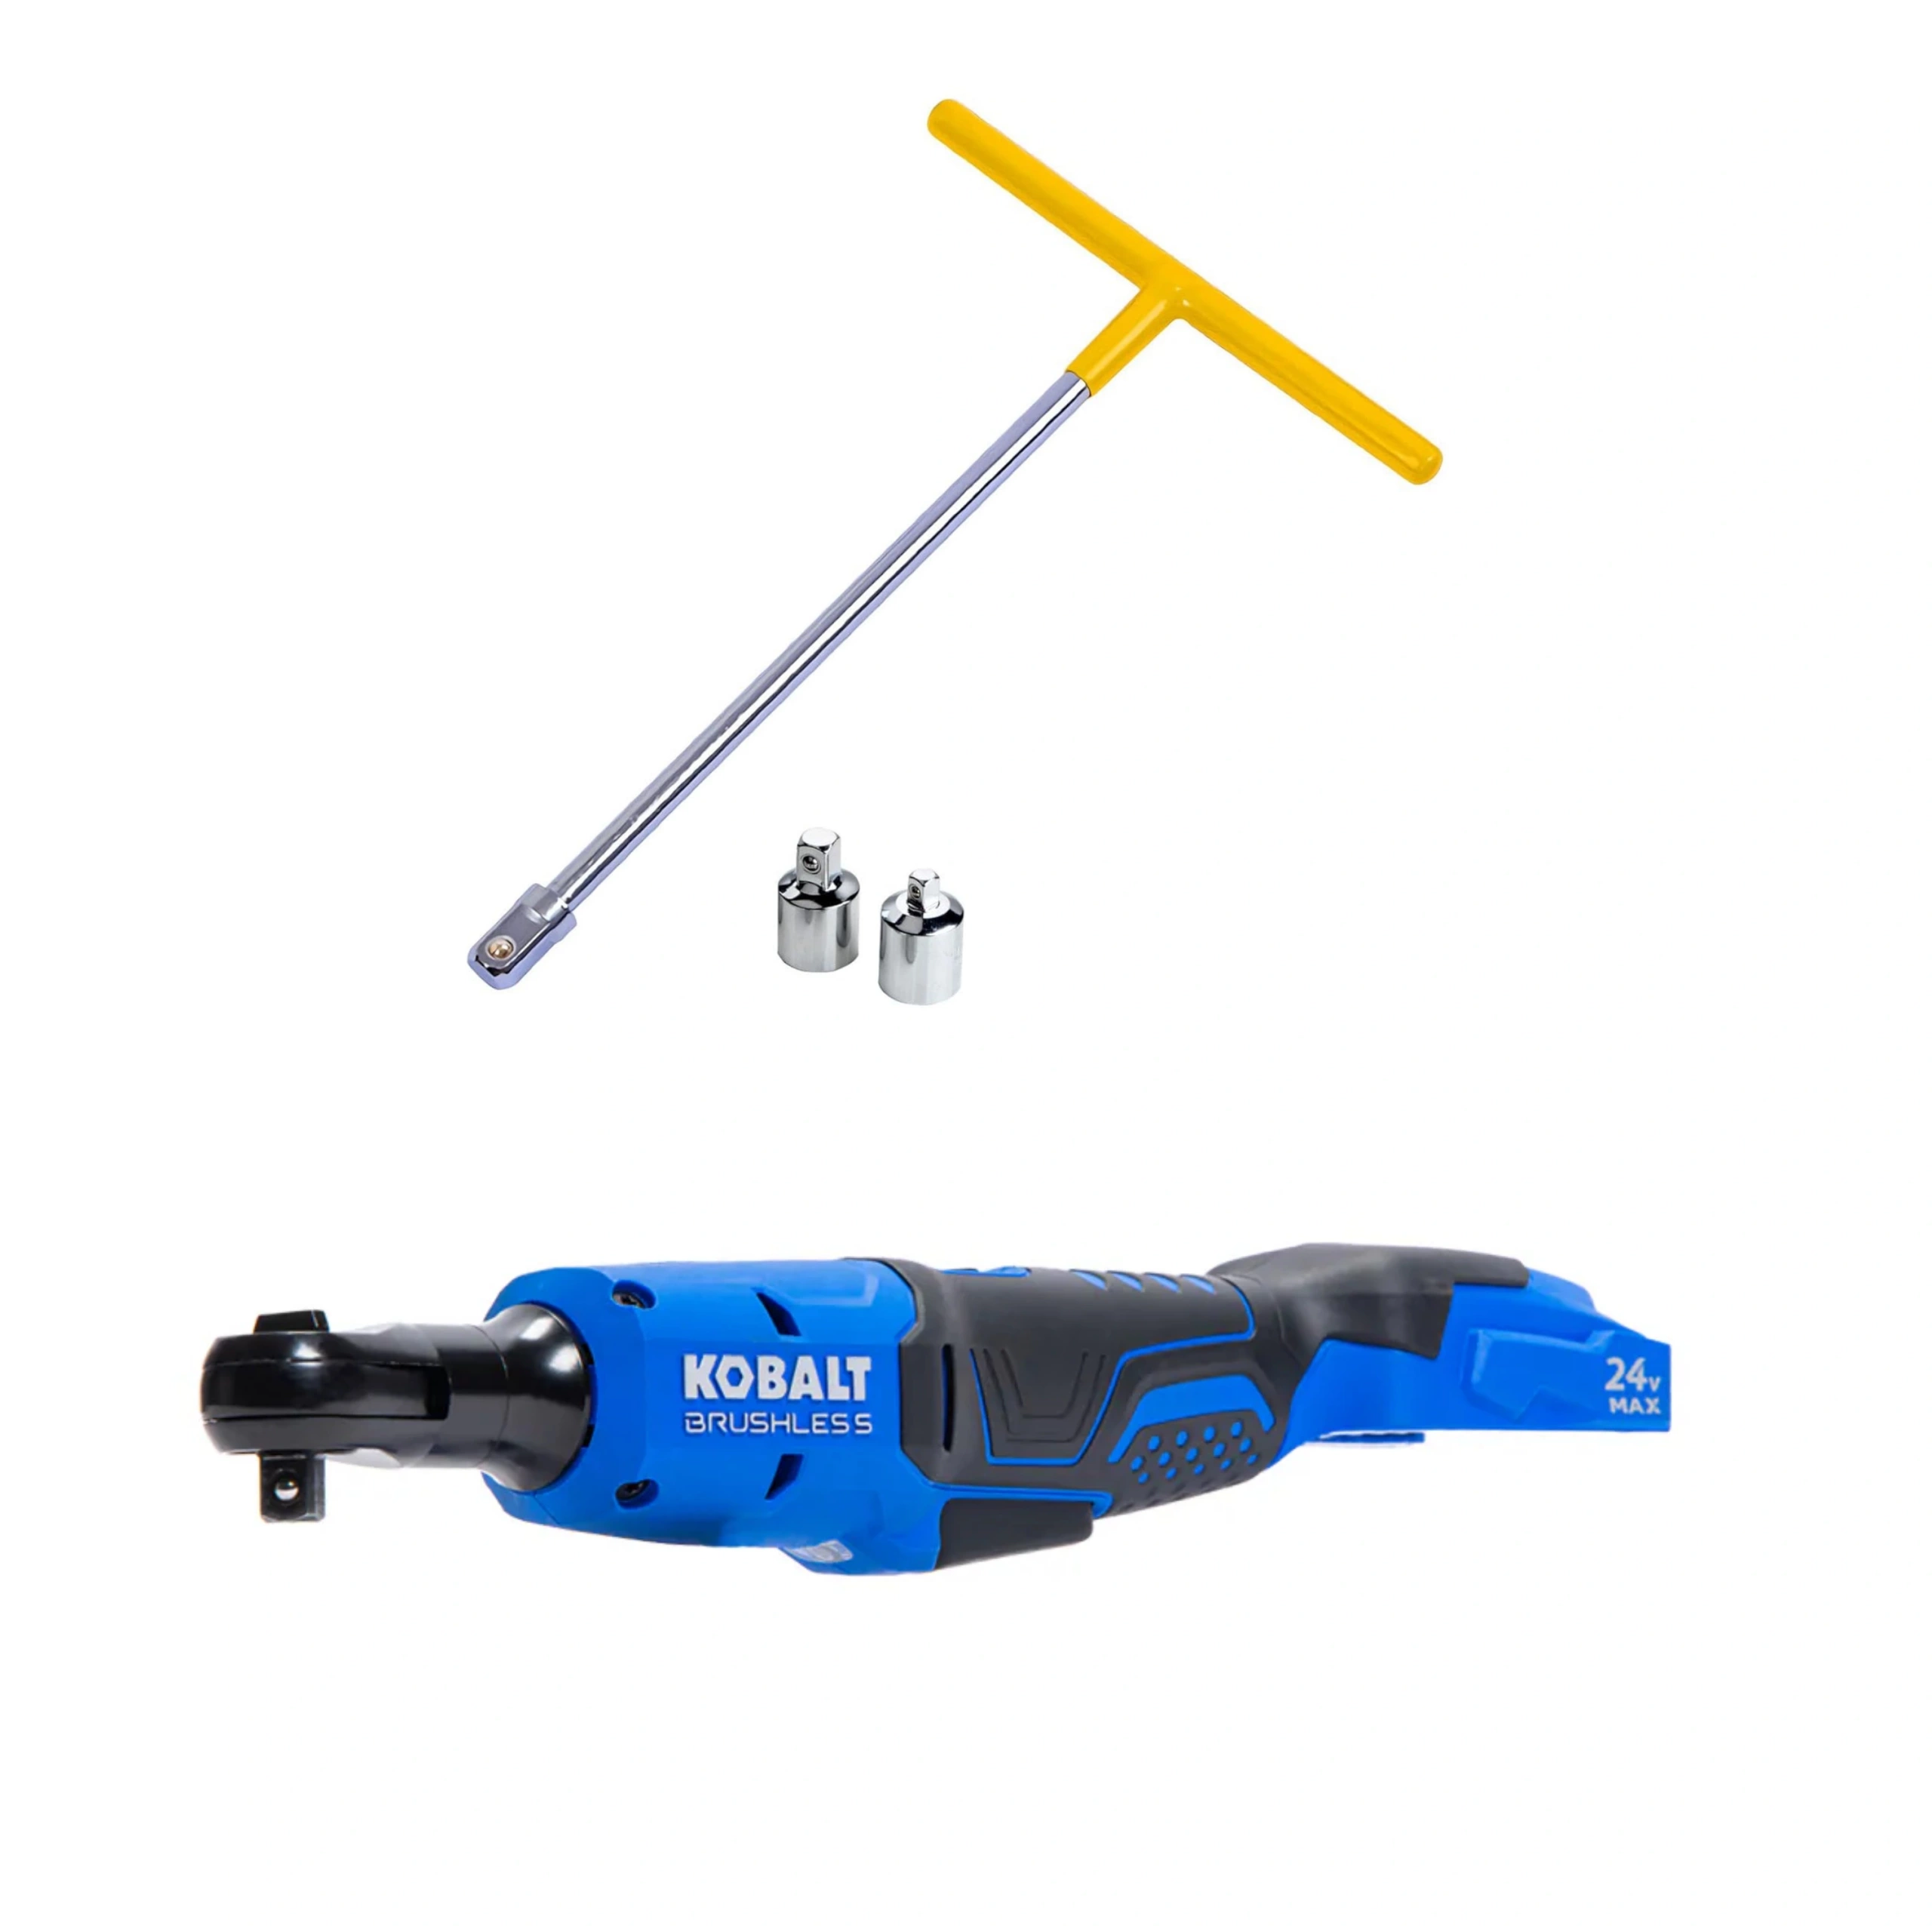
- T-Handle Wrench: Offers better grip and extra leverage, useful for loosening tight fasteners.
- Electric (Cordless) Ratchet: Battery-powered for quicker work with less manual effort.
How to Use a Socket Wrench Step by Step
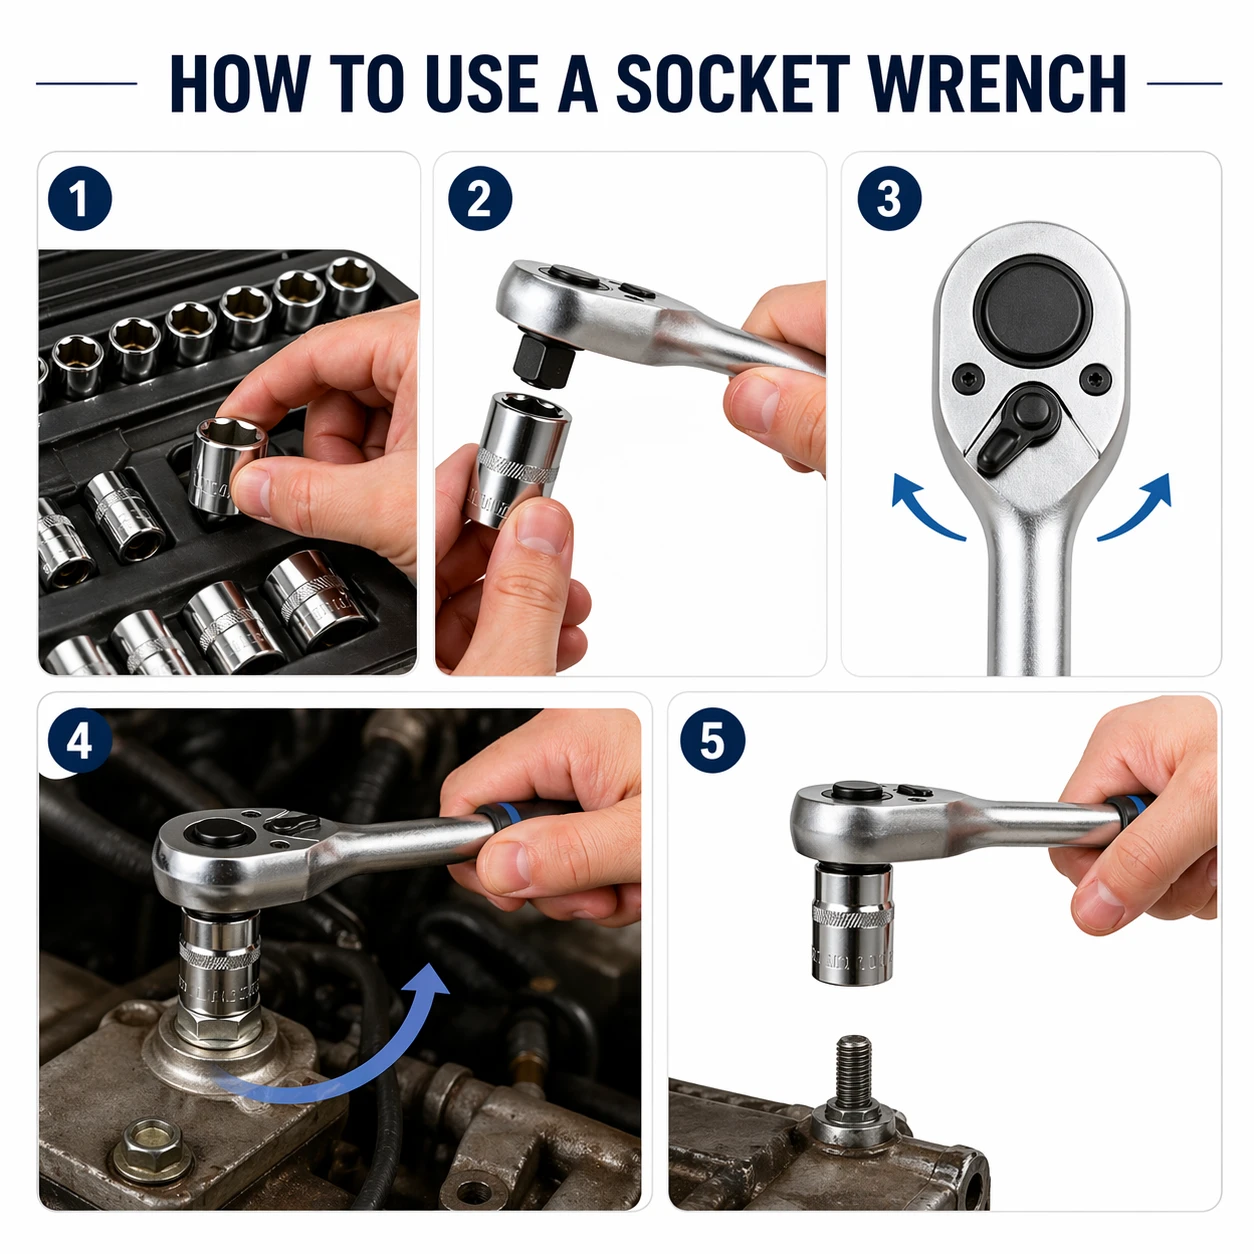
Step 1: Choose the Right Socket
Simply the most important step when considering how to use a socket wrench! It should fit snugly on the bolt or nut, too loose can damage the fastener.
A shallow socket can get the job done but when your bolt is in hard-to-reach areas, you can use a deeper socket. You probably need a socket set with a wider range of sizes if you cannot find the right size for the job.
This applies to both ratcheting and non-ratcheting socket wrenches, since the socket itself is the same.
Step 2: Attach the Socket to the Ratchet
There’s a square hole on one end of the socket. Simply line it up with the drive on the end of the wrench. You just need to push it until it clicks into place.
For non-ratcheting tools, the process is exactly the same, although some may not have a “click” and instead fit more tightly onto the drive.
Step 3: Set the Direction
If you are using a non-ratcheting socket wrench, there is no switch, you simply turn the entire tool in the direction you want to tighten or loosen. However, use the switch on the ratchet (if having a ratcheting mechanism) to choose the direction. Mostly, by setting the lever to the right side you can loosen the fastener, and tighten it when setting the lever to the left.
Before you start, give the wrench a quick test. First, hold the socket steady and move the handle. A simple rule to remember: if the handle turns freely in a clockwise direction, it’s set to tighten (Righty-Tighty). If it spins the other way, you’re all set to loosen (Lefty-Loosey).
Step 4: Start Turning the Handle
You are now ready to go! Place the open end of the socket drive over the fastener and then turn the handle in your desired direction as far as you can. When you run out of room to turn, simply turn the handle back to where you started. The beauty of the ratchet is that the socket stays perfectly in place on the nut while you reset for the next pull.
With a non-ratcheting wrench, however, you will need to lift the socket off the fastener slightly and reposition the handle before continuing, since there is no ratcheting mechanism to keep it engaged during the reset.
Step 5: Remove the Tool
The job is done now! The socket wrench how to use guide is almost finished. Just you need to pull the socket off. If your socket wrench has a quick-release mechanism, you can easily press the button. If not, you have to physically remove the socket. A small wiggle will help if it’s tight.
Use a Socket Wrench to Change a Tire
So, why would you use a socket wrench? One of the reasons you need to know is how to use a wrench socket for changing a car tire. Almost all of us have experienced this situation and being forced to change the tire. Here’s a quick guide:
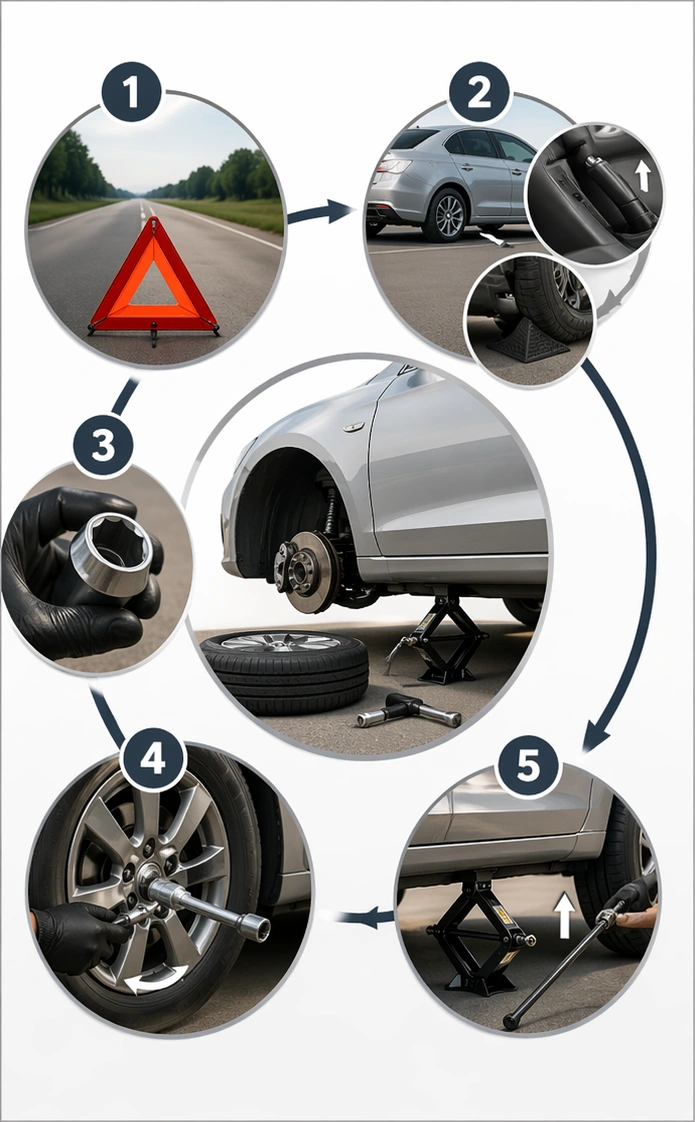
1. Safety First! Make sure you are in a safe place, away from traffic.
2. Prepare your Vehicle: Park on a flat surface, turn off the engine, and engage the handbrake
3. Choose the Right Socket: A tight fit is important to avoid slipping or damaging them.
4. Loosen the Lug Nuts: Slightly loosen each lug nut (Turn the wrench counterclockwise) but not completely.
5. Lift the Car: Use a jack to raise the car until the tire is off the ground.
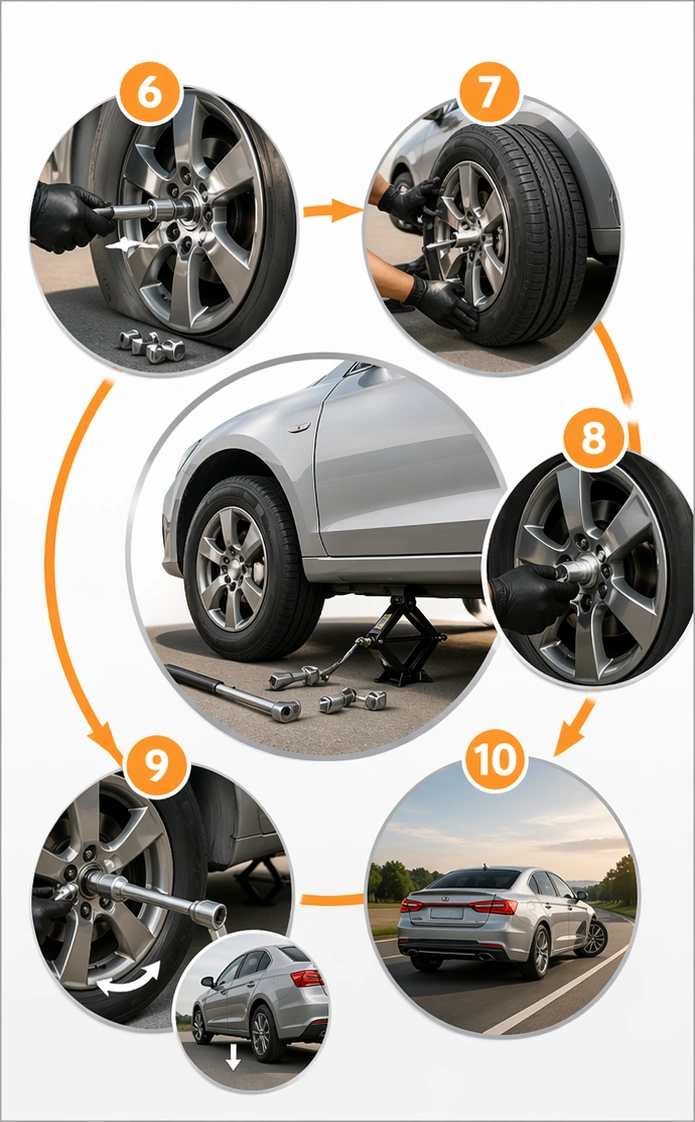
6. Remove the Nuts: Now you can use the socket wrench and fully remove the nuts. Be careful not to lose them! Put them in a safe place.
7. Replace the Tire: Mount the new tire, aligning it with the bolts.
8. Tighten the Lug Nuts: Tighten the lug nuts by hand first while the car is on jack. This way, the car won’t slip off the jack!
9. Lower the Car and Final Tightening: Slowly lower the vehicle and use your socket wrench (Clockwise) to tighten each lug nut.
10. Enjoy Your Drive!
How to Use a Socket Wrench with Extension
The bolts are not always easy to reach! Sometimes they are deep inside or in tight spaces that you cannot do the job with a socket wrench alone. That’s where the extension bar comes in, so you don’t need to change your working angle. Let’s see socket wrench how to use with extension!
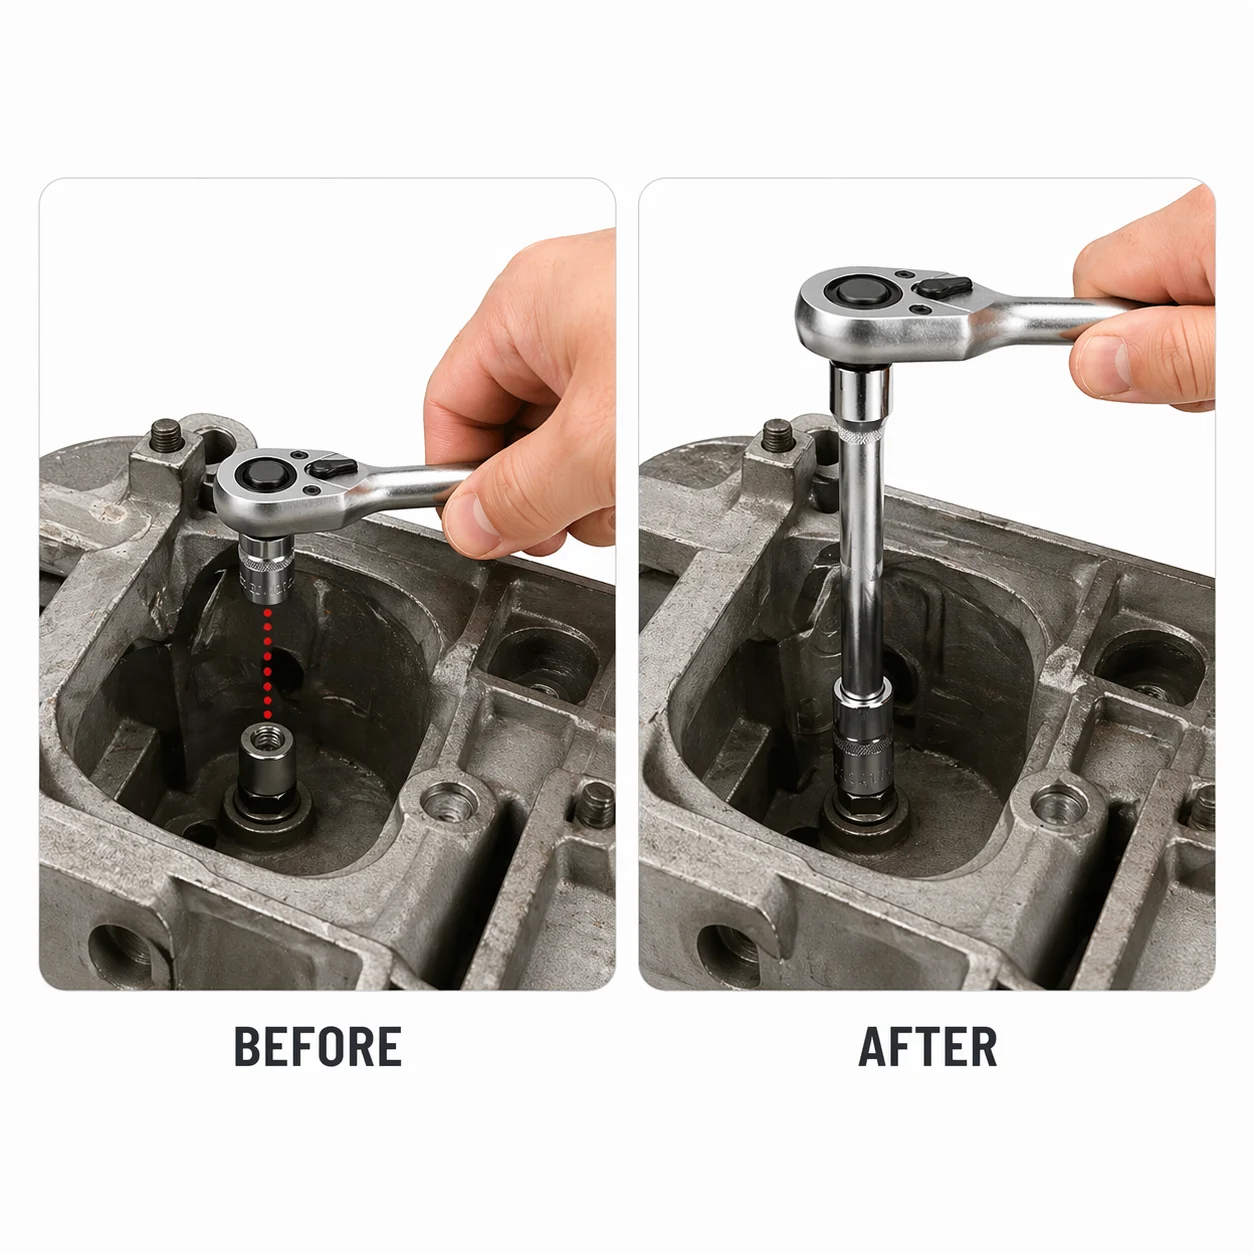
First, connect the extension bar to the wrench exactly the same as you would connect a socket. You should hear a click as it locates into place.
Second, connect the socket to the extension bar the same as you would to the wrench. You’ll hear the click again! Now do the job the same as the steps mentioned before.
Third, remove the extension bar by pressing the release button (or physically if there’s no button) and then remove the socket from extension bar by pulling the two apart.
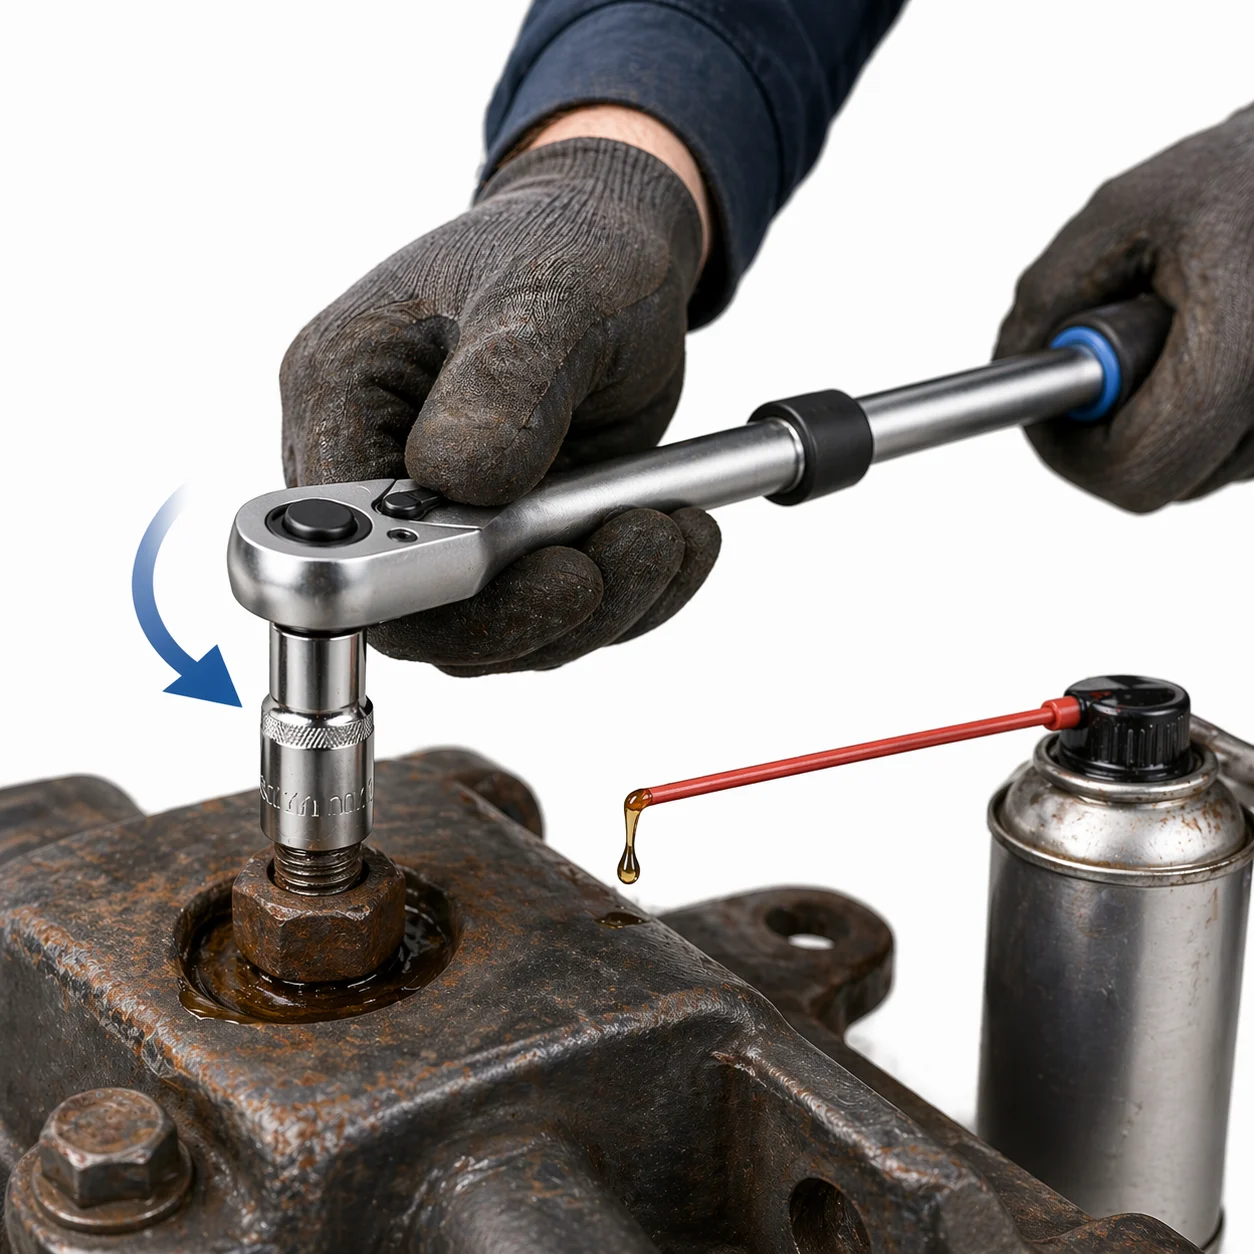
How to Use a Socket Wrench to Loosen a Bolt
It is really straightforward to loosen a bolt with a socket spanner when you go step by step. But sometimes the bolts might be tight or stuck. There are a few tips to better understand how to use a socket spanner:
- Set the Correct Direction
Make sure the socket wrench is set to turn counterclockwise for loosening.
- Ensure a Proper Fit
Use the correct socket size so it doesn’t slip.
- Apply Steady Pressure
Avoid sudden jerks that could damage the bolt or tool.
- Use More Leverage
Switch to a longer handle or a breaker bar to increase your torque.
- Try Penetrating Oil
Apply a lubricant and let it sit for a few minutes to help loosen rust or debris.
- Tap the Bolt Lightly
A gentle tap with a hammer can help break the bond if the bolt is stuck.
- Work It Back and Forth
Slightly tighten, then loosen again to gradually free the bolt.
What Can You Use Instead of a Socket Wrench
Knowing how to use a wrench socket is functional when you have one available! If you don’t have a socket wrench by your side, there are still a few simple tools that can help you get the job done. The right choice depends on the type of fastener and how tight it is. The options below show some common alternatives, from basic hand tools to quick DIY solutions for when you’re in a pinch.
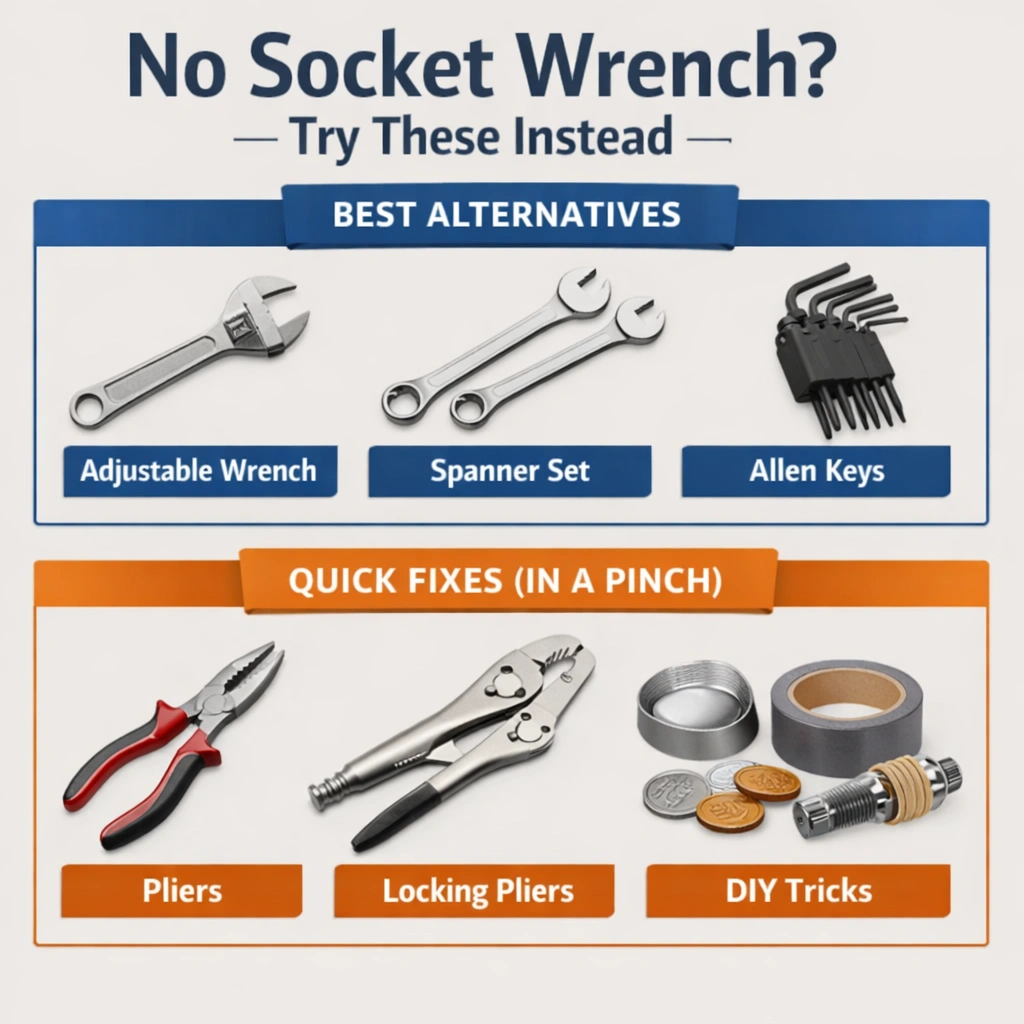
Combination or adjustable wrench can handle most nuts and bolts although with more effort. Fixed size spanners are a good option if you have the right size. Allen Keys are useful if the fastener has a hex-shaped socket. In a pinch, pliers can be also used for light tasks. There are a few DIY tricks so you don’t need to use your fingers and end up with sore fingers!
Duct Tape
Wrap strong duct tape around the nut, leave a handle, then pull to turn it.
Two Coins
Place a coin on each side of the nut and twist them like a grip to turn it.
Zip-tie
Tighten a zip-tie around the nut and use the loose end as a handle to turn it.
Another nut and bolt
Combine a nut and bolt to make a temporary handle, then use it to twist the target nut.
Now you know why would you use a socket wrench! Because you can do your tasks much easier than these alternatives and tricks definitely!
Socket Wrench Maintenance Tips and Techniques
Finally, knowing a socket wrench use and function is not the only thing that matters! Proper maintenance is key to keeping your socket wrench in a good condition.
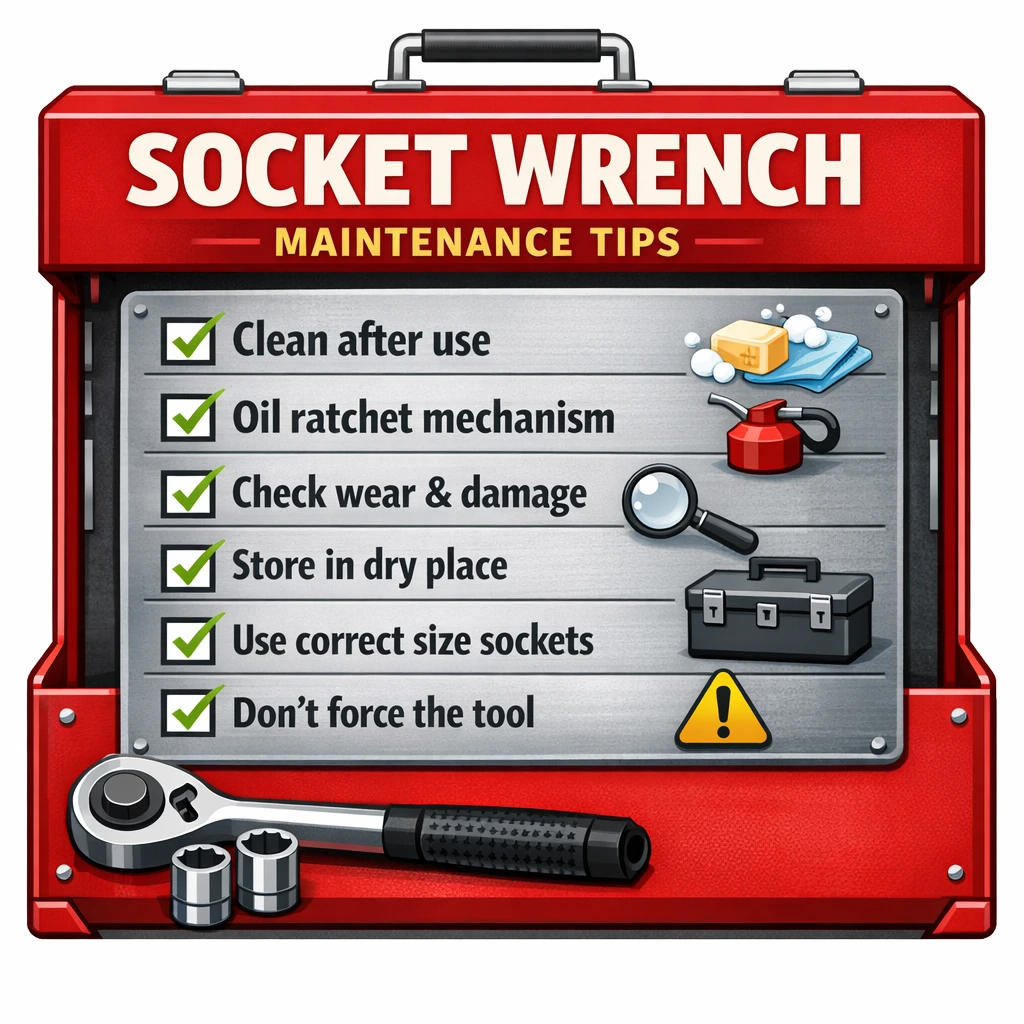
After socket wrench use, make sure to clean the tool to remove dirt and dust, apply a small amount of oil to the ratcheting mechanism for smooth operation, inspect the sockets and wrench for signs of wear or damage, store it in a dry place, use the correct socket size, and avoid over-tightening or forcing the wrench.
Conclusion
So, there you have it! From understanding the basic terms, different types, and alternative, to learning step-by-step usage, working with extensions, and maintenance tips, we tried to provide a complete guide on this valuable tool. Whether you are a DIY beginner or someone who regularly works on different projects, knowing how to use socket wrench will save you time, effort, and frustration.

Ronix
27 April 2026