- 8min
- 1027
- 0

‘Having a roof over your head’ has always been the concern of mankind. That, and also the strive to stay safe under this roof. You could say that everything starts with the roof. As you might know, roof and roofing materials last for 25-35 years, and they will wear out eventually. If you don’t reroof your house soon, you will have to spend thousands of dollars repairing it professionally. To thoroughly weatherproof your house, some tools and materials are required. We took the liberty to profession a list of tools for roofing for you to use as a reference if you decide it’s time you redid your roof.
Materials Needed for Roofing Projects
In the process of roofing, the most important material you’ll be working with is obviously the roof above your head and what it consists of. But after a while -the 25-35 years we’ve mentioned-, you’re going to need other materials as well. Or you might even need to remove your existing roof and replace it wholly with another roof. So, let’s see what materials you’re going to need in this roofing tools list:
- Roofing Nails/ Screws
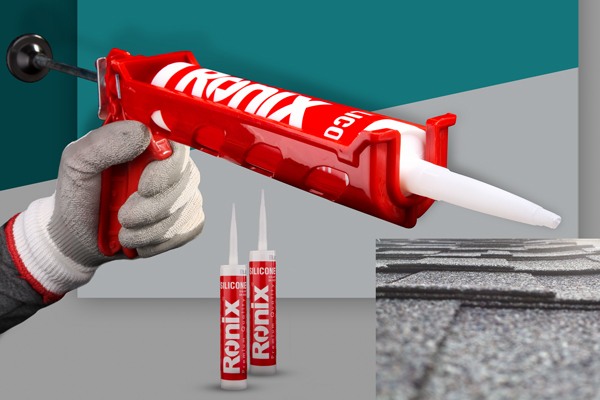
- Roofing Sealant
- Waterproof Underlayment
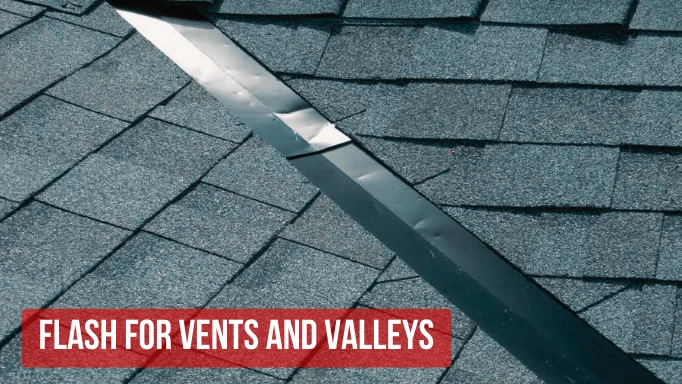
- Flashing
- Felt
- Flash for Vents and Valleys
- Asphalt-composition shingles or asphalt
- Roofing cement
- Felt paper (No. 15 or No.30)
- Drip edge
If we want to do roofing projects, there are two groups of tools that come to the rescue: one, tools for roofing, and two, tools for roofing installation.
Let’s explore them together:
Essential Roofing Tools List
If you live in a rather old house, or you’re a builder or a house renovator, you probably asked yourself “What tools should a roofer have?”
To answer this question of yours, here’s a list of roofing tools to get you started:
- Safety gear (roof harness, work gloves, goggles, non-slip boots, …)
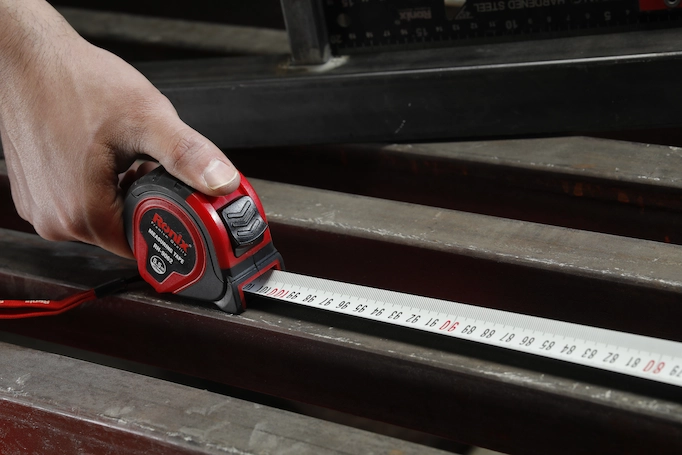
- Measuring and marking tools (chalk line, measuring tape, straight edge, roofing square, level, marking pencil, …)
- Fastening tools (roofing stapler, caulking gun, hammer, …)
- Roofing material handling tools (ladder, roofing shovel, roof hoist, wheelbarrow, …)
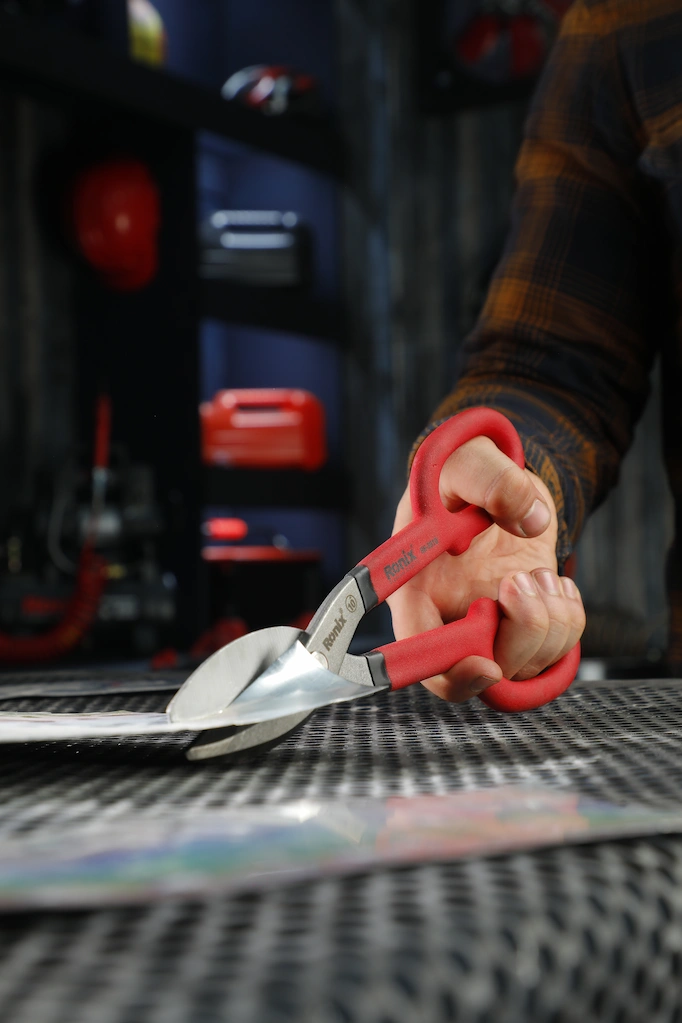
- Cutting tools (snips, utility knife, circular Saw, shingle cutter, …)
- Cleanup tools (broom, roof rake, debris bags, magnetic nail sweeper, …)
- Air Compressor
Tools Needed for Roofing Installation
As for tools for roofing installation, all the tools above can be put to work but there are some specific tools that can be specifically used for this task:
- Roofing Shovel or Tear-Off Tools
- Roofing Underlayment Stapler
- Roofing Adhesive Applicator
- Roofing Square
- Roofing Shears
- Roofing Material Cutter
- Roofing Ventilation Tools
- Shingle Gauge
- Roofing Hoist or Conveyor
How to Reroof a House in 10 Steps?
The guide below outlines ten steps to add a roof to a residential building; take a look at these ten steps to accomplish your roof-building project yourself. Along with teaching you how to do it, we’ll also let you in on the best roofing tools.
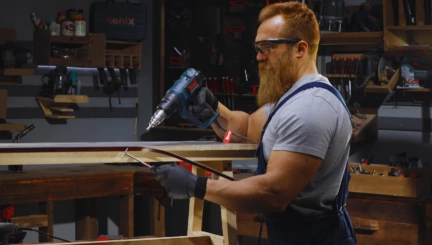
1- Using Tools for Removing Roofs
The initial task is rather clear; you need to remove the old roof to install the new roof. In case you want to remove the flashing and underlayment, you will feel the need to tear off the old layer first. So, let’s start with the needed tools for removing roofs. Wear your roof safety harness and work gloves, go up the extension ladder, and get your hands to work. First, start removing the damaged layer with the recommended Ronix snips (RH-3903) and utility knife; while you are removing the worn-out layer, pound and flatten the nails to prevent them from destroying and ripping the new shingles. Ronix utility knives (RH-3001/RH-3003) cut the old surface out sharply. Tap on the following link to read more about Ronix utility knives as suitable roofing tools.
2- Installing Underlayment
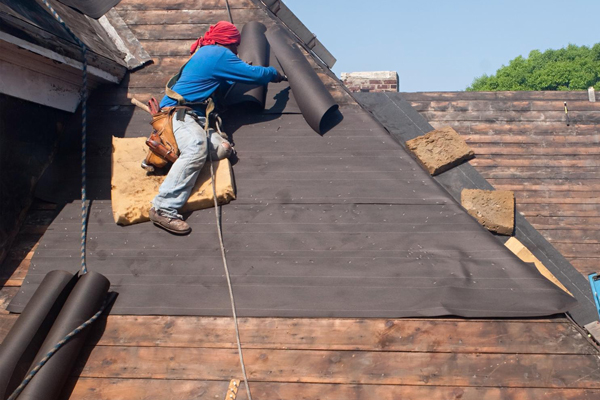
The next step is installing underlayment. For this task, you need to use a compressor. This tool for roofing frees your roof from any debris. After cleaning your roof surface, apply self-adhesive, waterproof underlayment. You can also use a Ronix branded caulking gun (RH-4007) and roofing stapler in this step.
To resist wind, snow, and rain, this underlayment has to be waterproof. Remove any old underlayment left. if you aren’t able to remove it, try to level it with the roof surface as much as possible.
3- Use Tar Papers to Cover the Underlayment
The next step is to add another extra layer to the top of the underlayment; felt paper number 13 or 15 should be used. Buy a waterproof felt paper that is treated with an asphalt composition or asphalt.
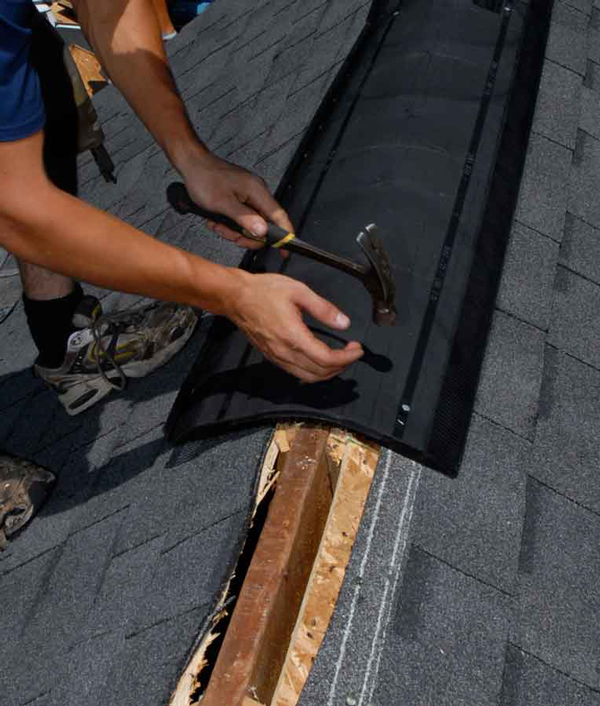
4- Add the flashing
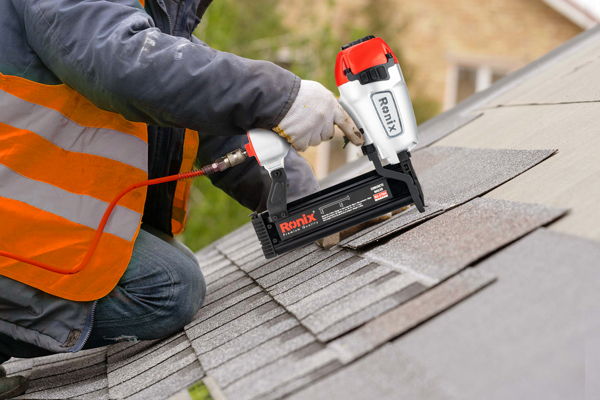
Some homeowners install drip edge flashing on the eaves to make their roofs look nice and pleasing. The best roofing tool you can use for this task is a nail gun. You can use the suggested Ronix nail gun (8910) and nail down the flashing to keep it in its place. If the flashings don’t fit, use tin snips and suggested Ronix circular saw (4320) to cut and mold it. After heavy rain and huge snowfall, the valleys tend to store and pool the water inside. Flashing the valleys is the key to fixing this problem. This flashing protects and reinforces your roof against heavy rains and strong wind force.
5- Lay the First Shingles
Notice the starter shingles’ placement and orientation since they are the basis of any extra row you will lay later. One of the most needed items in the essential roofing tools list is a chalk line. You can use Ronix chalk line (RH-9901) to accomplish this process. to do so find the center of the roof and then snap the chalk line vertically; take advantage of the line as your guide and work right and left of the line regularly.
6- Install All Shingles

In this stage, move the roof materials’ heavy bags to the rooftop; this is when you should start placing the exterior layer on the roof. Notice that the first row of your layer should have an overhang with the placed drip edge. Apply this overlapping principle; each new layer should overlap the previous layer.
7- Nail the Layers Down
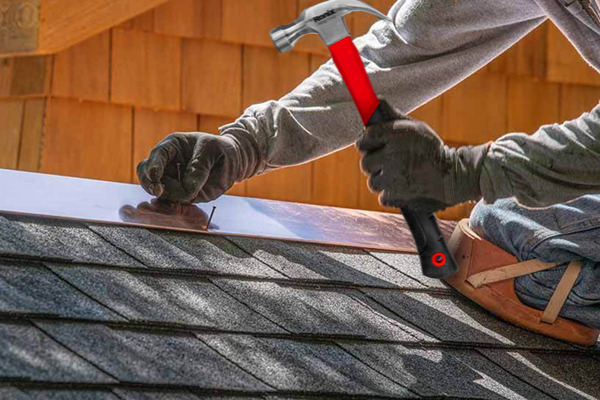
A must-have item on the roofing tools list is a nail stapler. Use this tool to nail the roof and ensure they are tight enough so that they be protected from wind and rain. You can also use the handy tool, a hammer. The number of nails you want to use is totally up to you but nail 3-4 nails per shingle. In case the area you are living in is windy or stormy, use more nails. You can also take advantage of horizontal chalk lines (RH-9901) to get a correct orientation.
8- Install Extra Flashing If Needed
In case there are any protruding structures from your building, like a dormer, don’t forget to inspect them carefully to find all stacks and vents and then flash them. Then, use the equipment from the list of roofing tools to install extra flashing.
9- Cap Your Roof Ridge
The Ridge is the top area of the roof where the two sliding parts of the roof meet. Most repairmen neglect this step, but this is undeniable that a straight ridge offers more roof protection.
10- Seal the Exposed Nails Up
In this final clean-up step, find the nails that stick out, hammer them to flat, and seal up any exposed nails and flashings. One tool from the list of tools for roofing that can be used in this stage is a claw hammer. And to do so, Ronix can be a good companion for you in the process of removing and installing your roof.
FAQs of Roofing Tools with a Quality to the Roof
What tools are used by roofers?
Some of the tools used for roofers are:
- Safety gear (roof harness, work gloves, goggles, non-slip boots, …)
Measuring and marking tools (chalk line, measuring tape, straight edge, roofing square, level, marking pencil, …)
- Fastening tools (roofing stapler, caulking gun, hammer, …)
- Roofing material handling tools (ladder, roofing shovel, roof hoist, wheelbarrow, …)
- Cutting tools (snips, utility knife, circular Saw, shingle cutter, tin snips, …)
- Cleanup tools (broom, roof rake, debris bags, magnetic nail sweeper, …)
- Air Compressor
What tools do I need to remove a roof?
Some of the tools you need to remove a roof are:
- Snips
- Utility knife
- Circular saw
- Shingle cutter

Ronix
10 March 2021